
This is a blurry snip out of a video, but all I have of the decks after repairs and before most deck hardware started going back in.
Here is the video that Ethan took : https://youtu.be/JIN54KBdevI
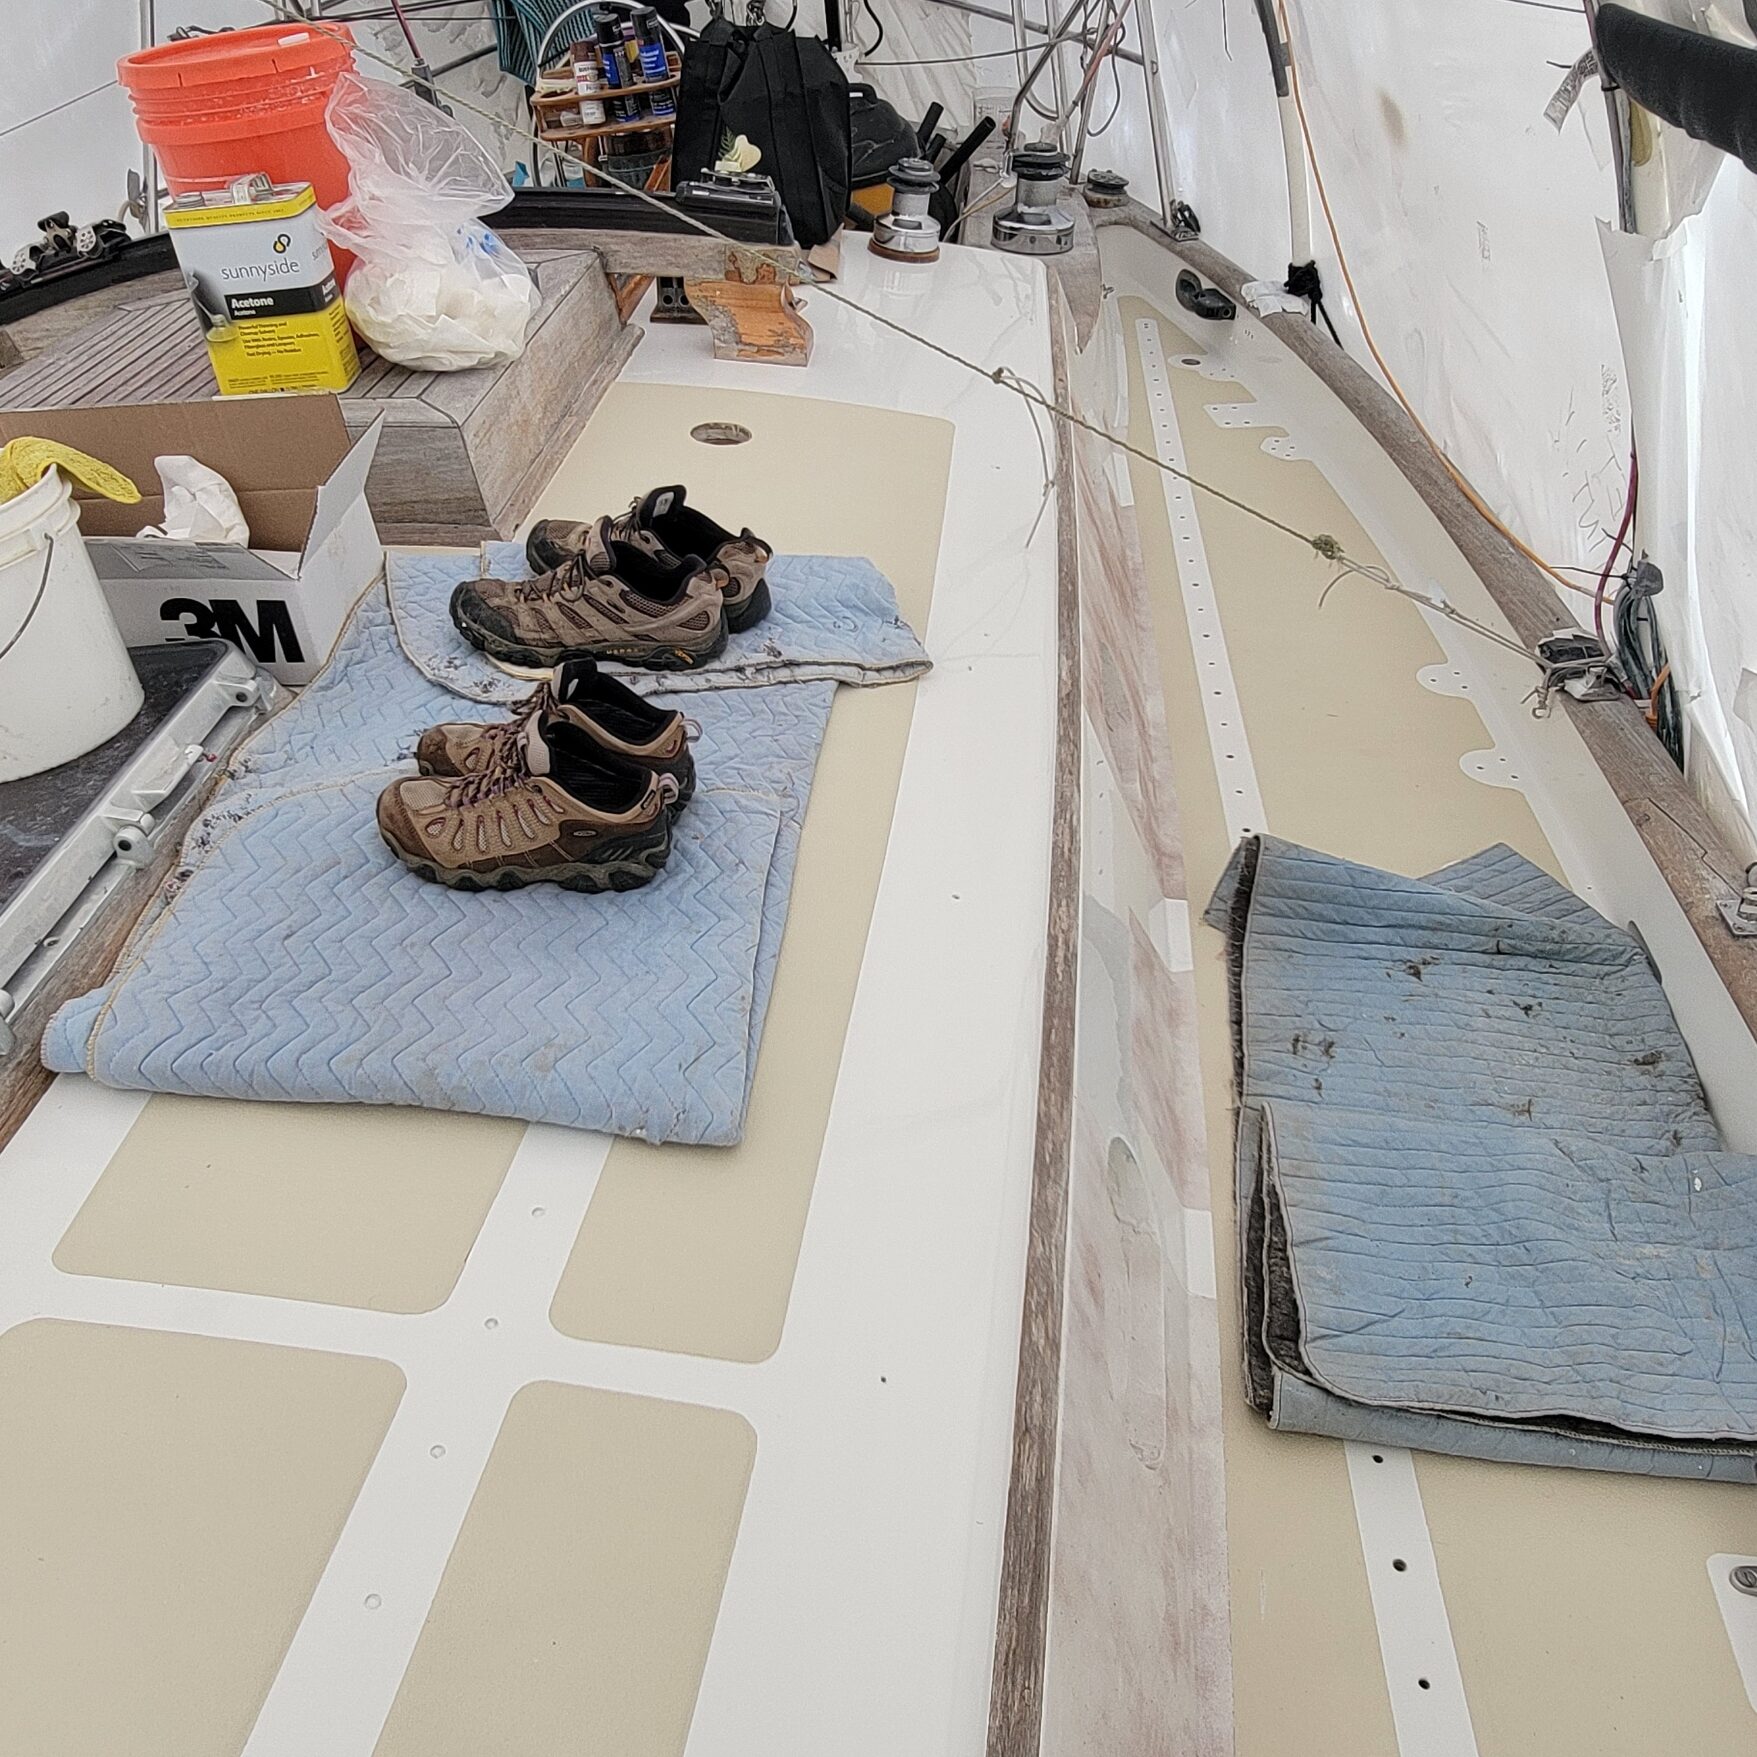
I don’t know what week it is, and honestly don’t care. The decks are done! And not only done, but beautifully done. I told myself when this project started that I would have to work on convincing myself it was OK to not have those beautiful teak decks. But now, seeing what we have, more importantly knowing why, and having so much appreciation for all the hard work that went into this project, I could absolutely not be any happier.
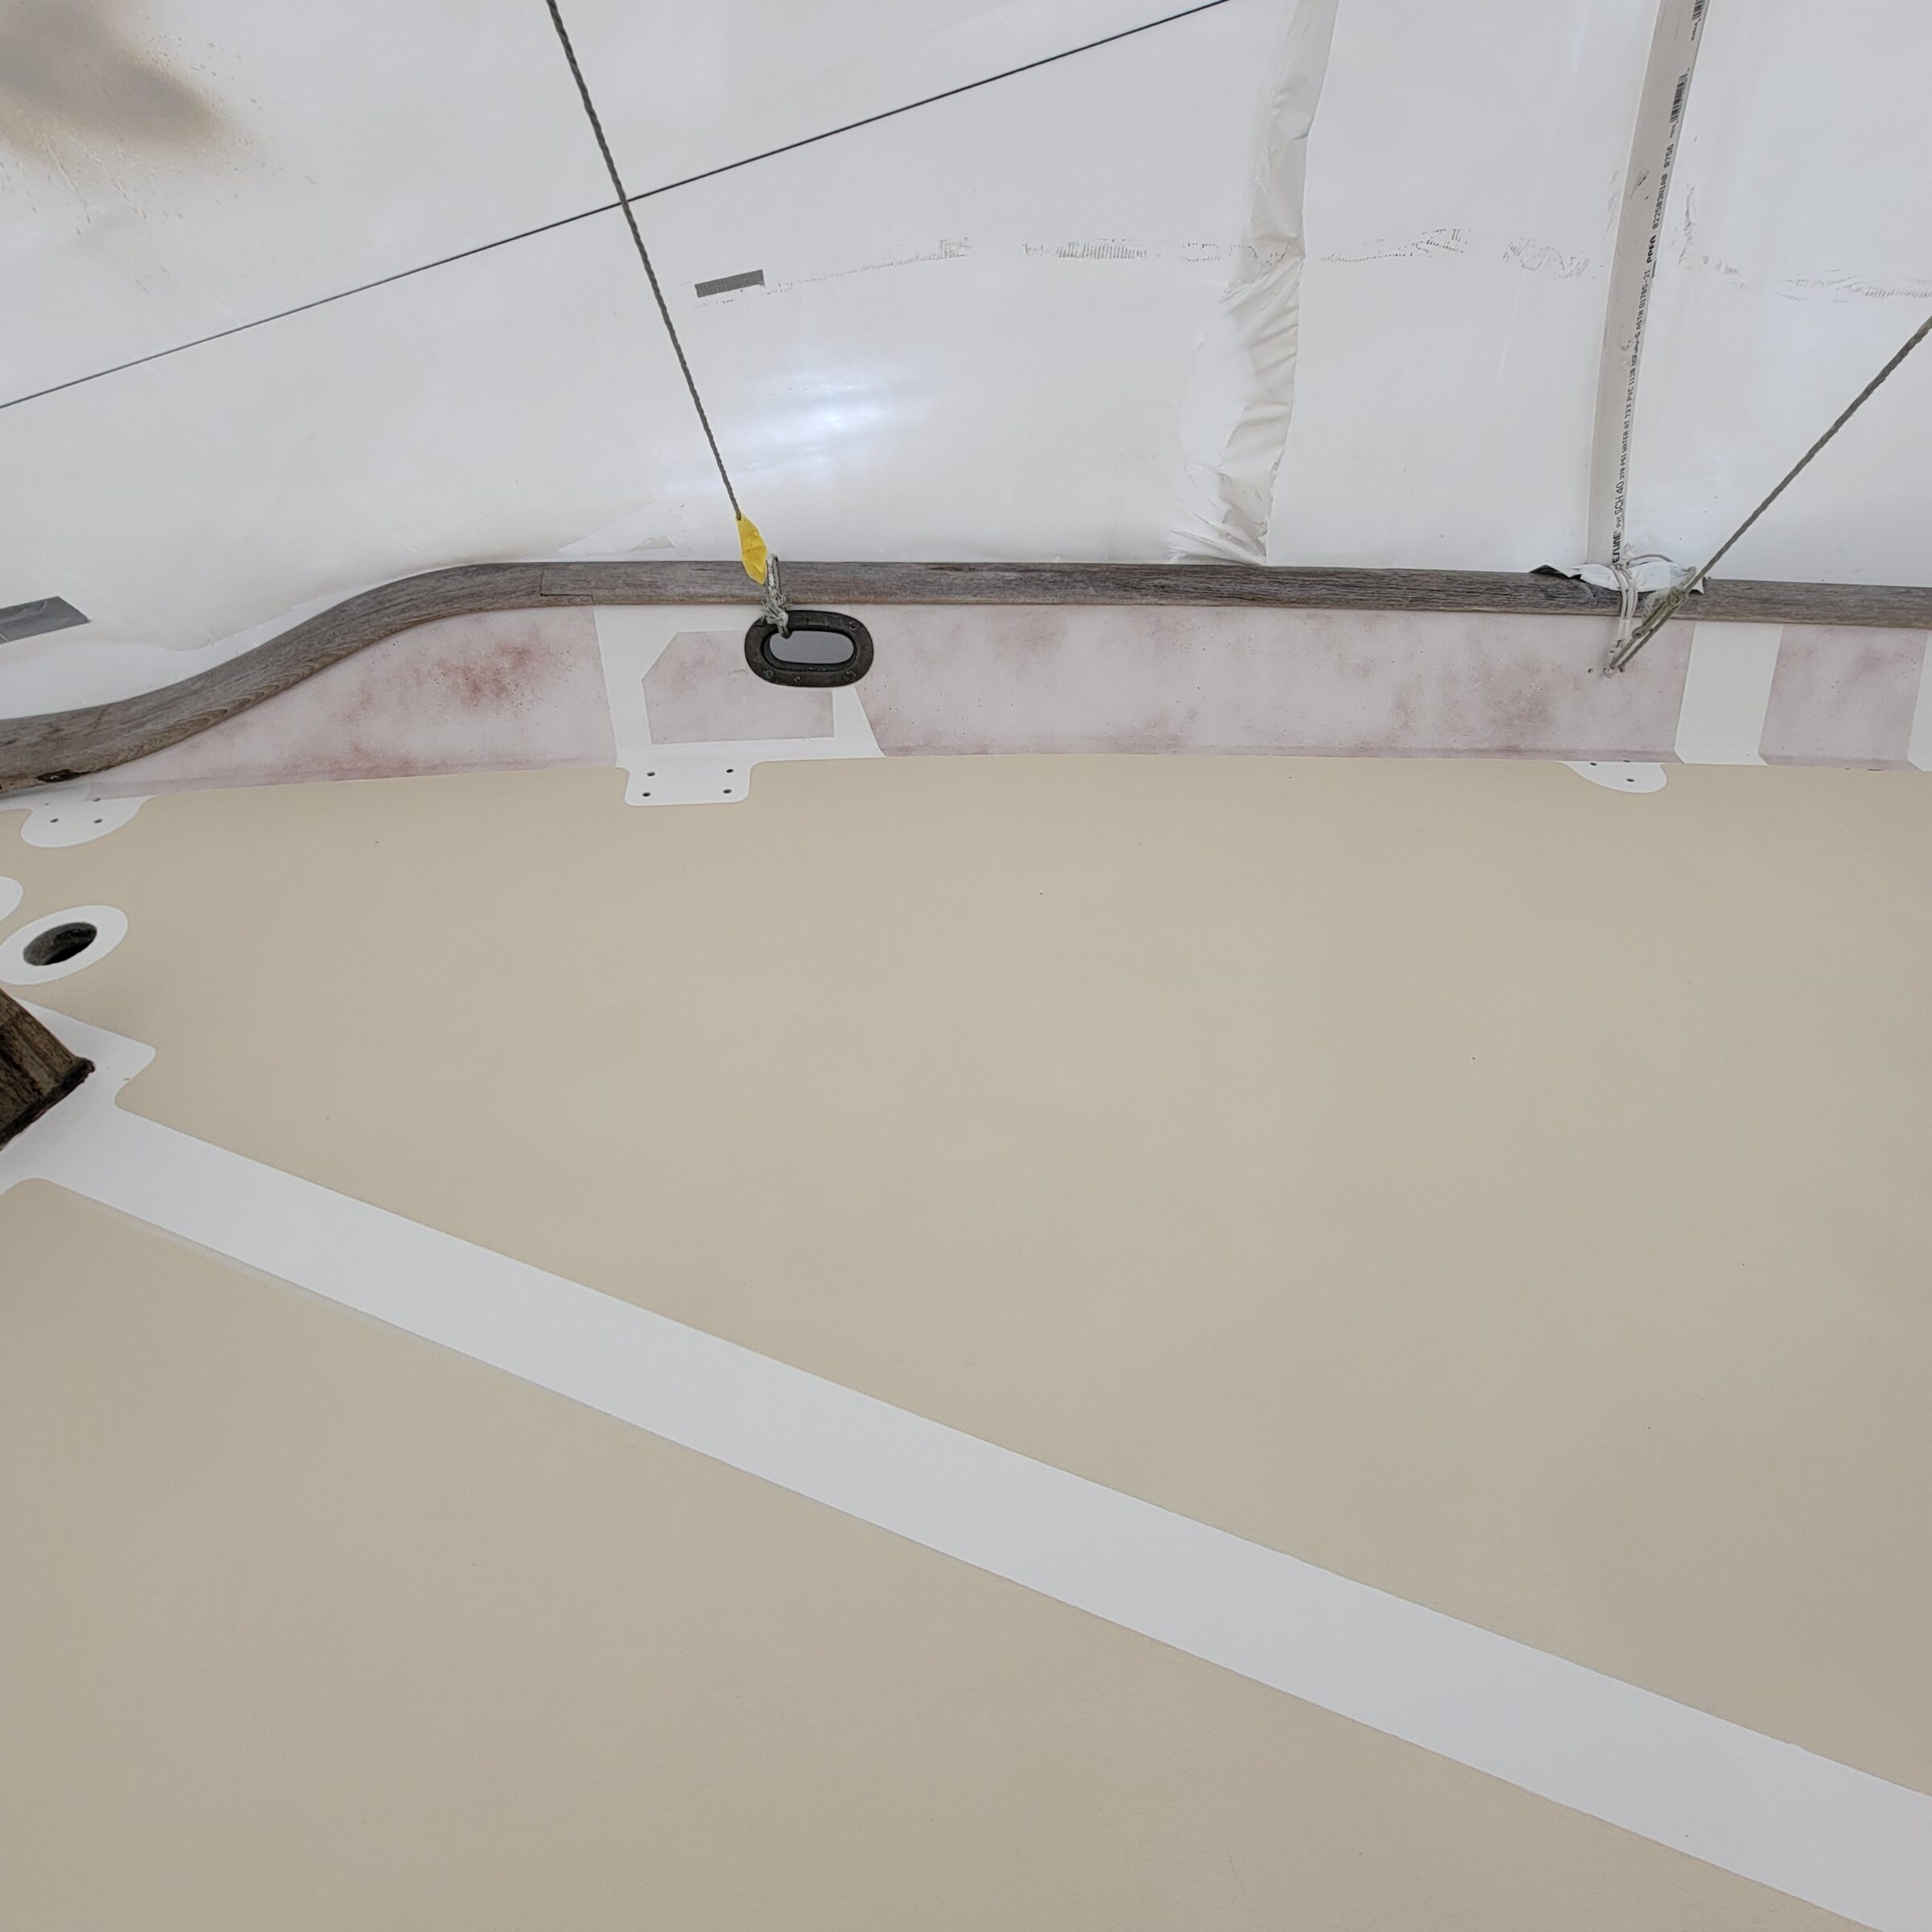
Once they finished the last coat on the deck level nonskid, there were two rounds of repairs. First they do all the touchups on the gelcoat. Then a final round of touchup is done after all the boat goes back into the water, where Rob and I get a lesson in how to make the repairs ourselves. They marked off all the spots that needed touchups.
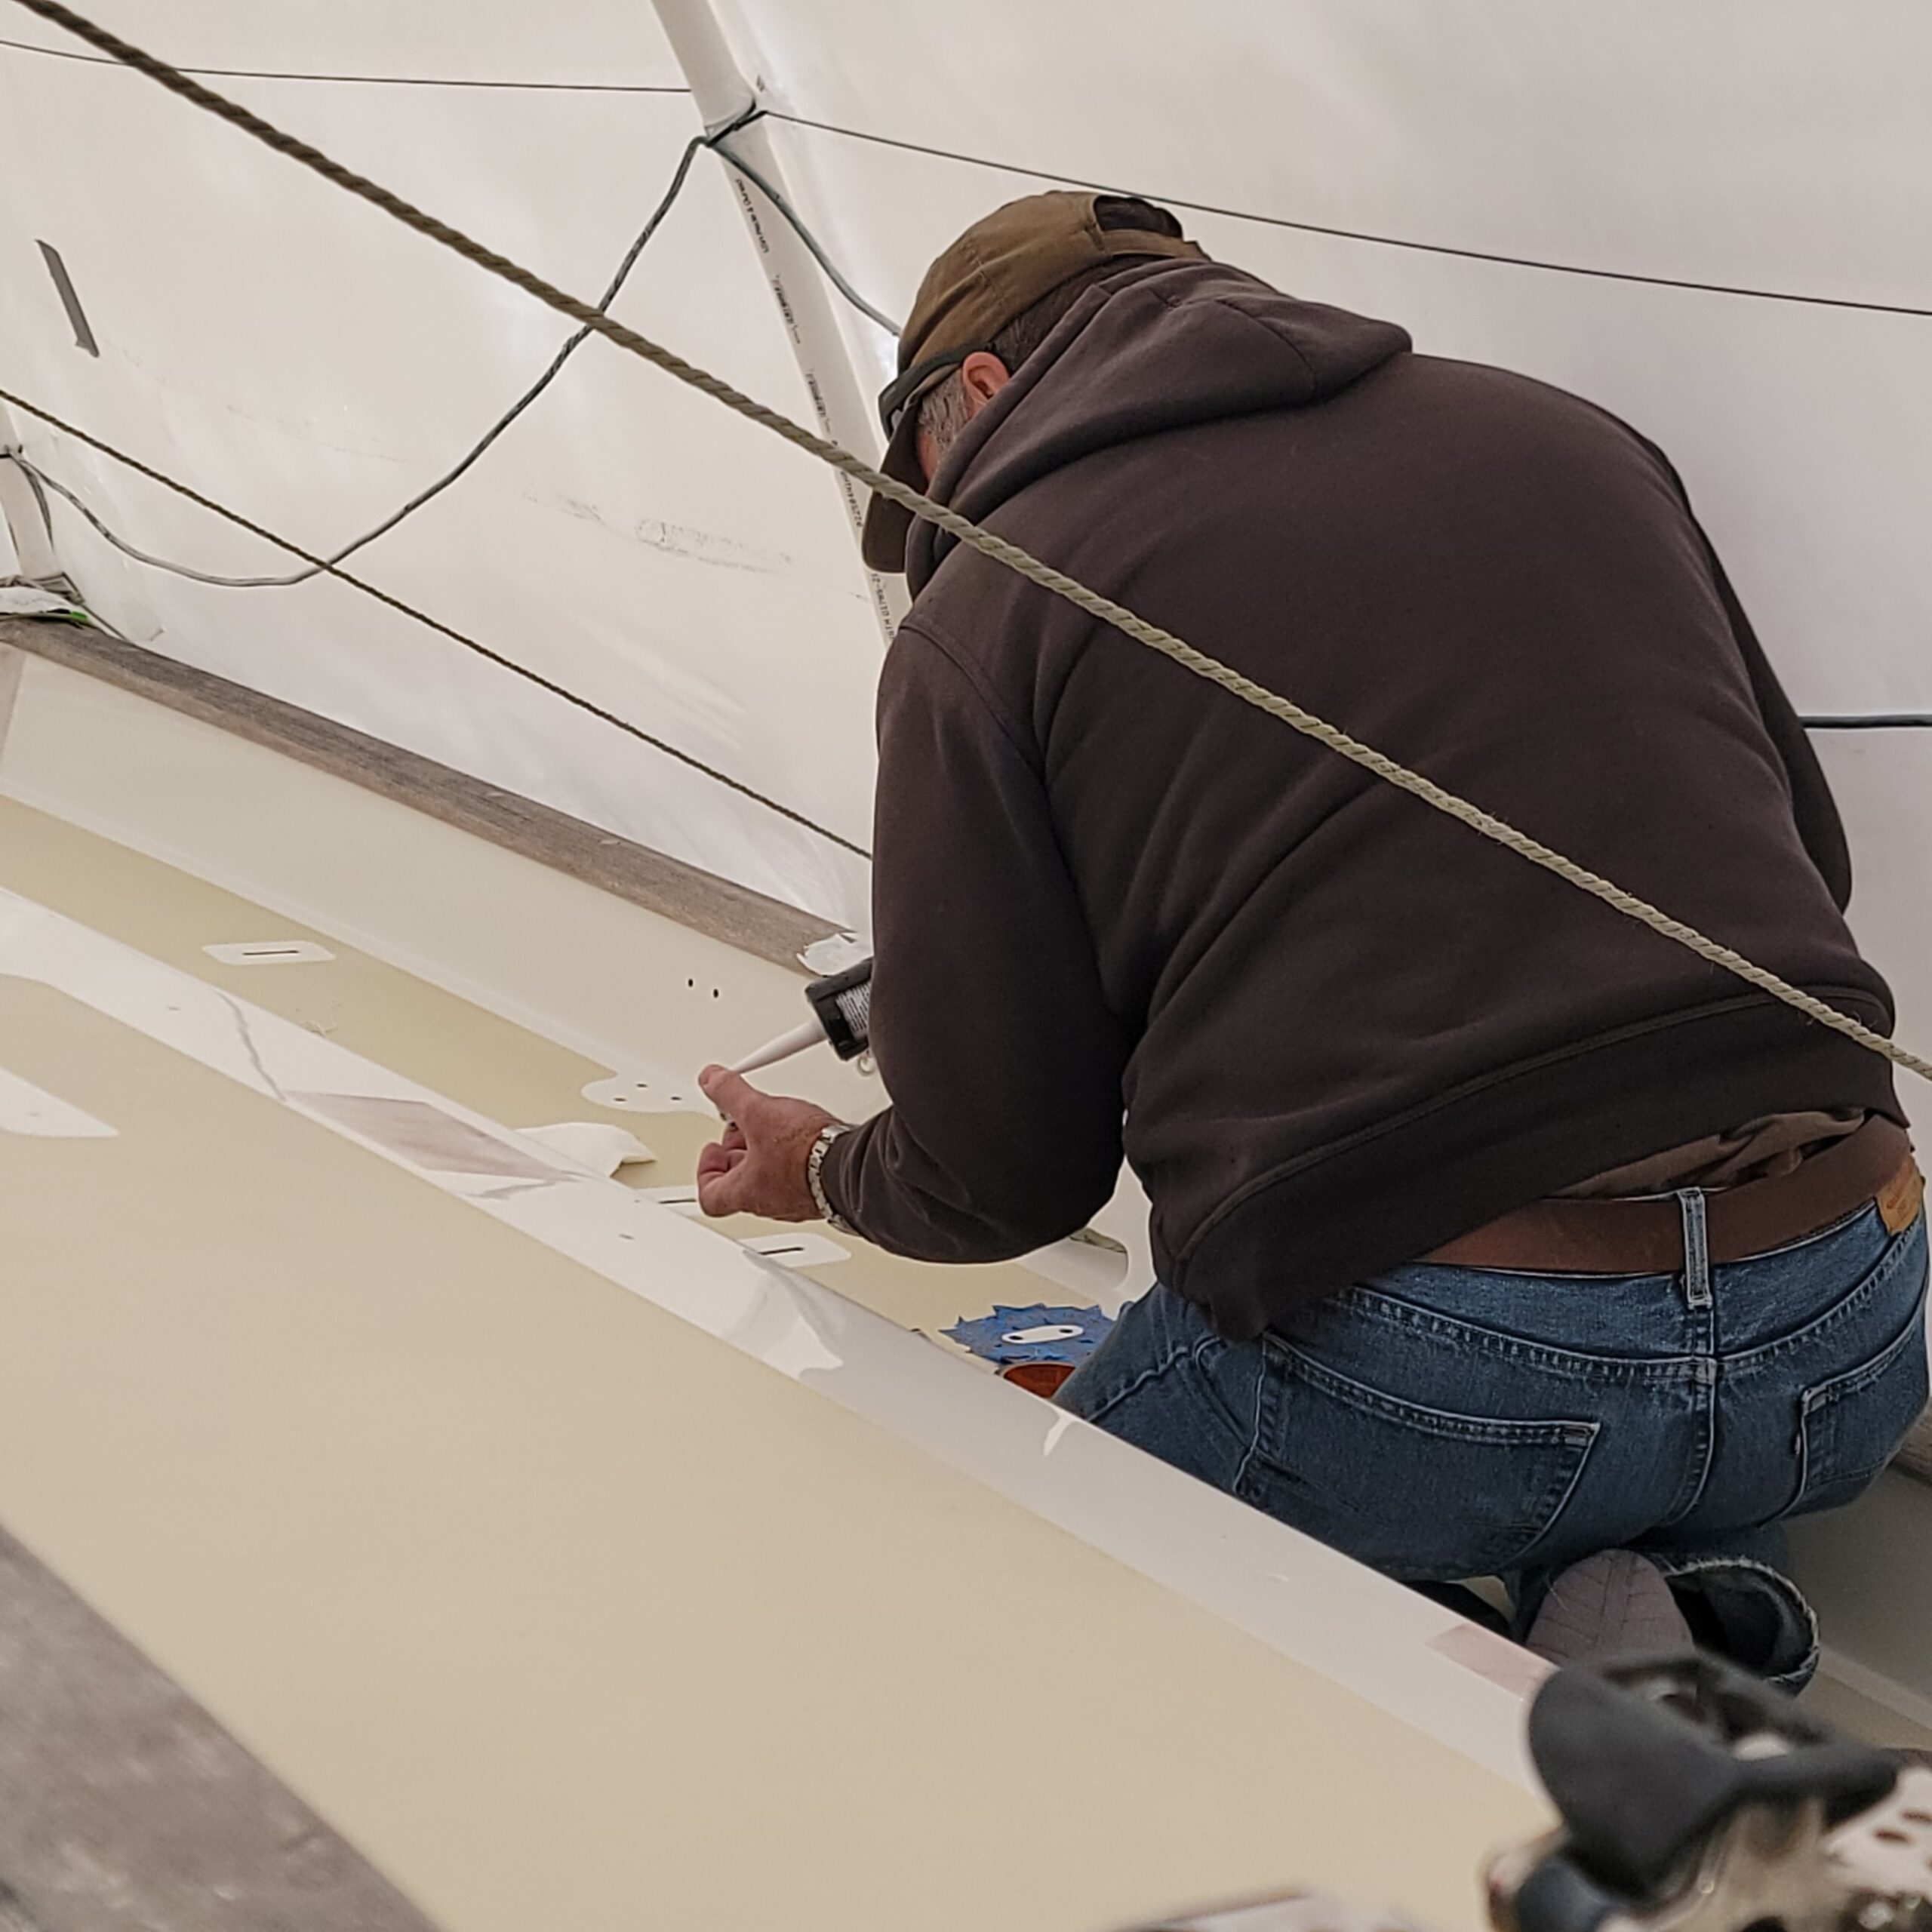
Rob & I came back to start reinstalling deck hardware, then went home to give them time to make those repairs, which included gelcoat and wetsanding. Now we’re back and in full on deck hardware installation mode. Many of the hardware pieces have holes drilled through the new decks so Ethan could lay nonskid around them, but there are also a fair number of things (like padeyes for jacklines and dinghy tie down) that require us drilling new holes from below where the old holes were.
We have so many other concurrent projects going on while we finish the decks:
- Repaint the mast and reinstall all mast hardware
- Splice new halyards
- Install new radar and instruments
- Install new sewage tank in the forward cabin/remove old tank
- Install new fresh water flush electric toilet
- Install new drip feed fuel tank for the furnace
- Install new power winch for the main and jib halyards
- Build and install a new bowsprit
- Build and install new handrails
- Build and install new samson post
- Repaint hard dodger with gelcoat that matches the decks
- Replace innards of dorades where original plywood was completely gone
- Reinstall sandblasted portlight trim rings
- Replace vinyl inside lockers and some overhead panels
- Replace chainplates (were original and cracked)
- Replace original 42 year old windlass
- Rebuild stanchion bases for lower deck height
While we couldn’t be happier with the decks, we’re now into spring and have been at this since fall. This list is big, and we want to take the boat to the Broughtons this summer. But of course besides the boat, life happens. I’ve had a recent death in the family that requires my time to help my sister. But we know what all these tasks require, and how to get them done. It’s just a matter of more time now.

We went into this knowing the cost was going to be high. This was never expected to be a budget deck job. But at the end of the day, I can take all we spent, plus whatever we could sell this boat for, and not come anywhere close to another boat that makes us happy. Our girl Yohelah is tough, beautiful, and sails like a dream. She has fantastic ambiance topsides and below.
We live in one of the most amazing cruising grounds on the planet. No, it’s not warm year round, but we can sail all year if we want to bundle up. There are an abundance of beautiful and protected anchorages when the weather gets stinky. The amount of years we have left will never be enough to explore all that the Salish Sea and Alaska can offer, without ever having to make another 1,000 mile passage across the open ocean. I guess what I’m trying to say is to anyone who thinks we shouldn’t have deep dived into the reift on a 40 year old girl, I beg to differ. She’s worth this effort, and we have no regrets. See you on the water!