Here again is the teaser pic about where we end up at the end of this blog. I am just blown away about how nice this is looking. We both knew this would be a hard adjustment to lose those once beautiful teak decks, but this is exceeding expectations and the transition isn’t going to have to be “well it’s ok and I’ll get used to it”.
When we left off last time they were sanding gelcoat. This is a pic of the final polishing. Shiny enough? I think so.
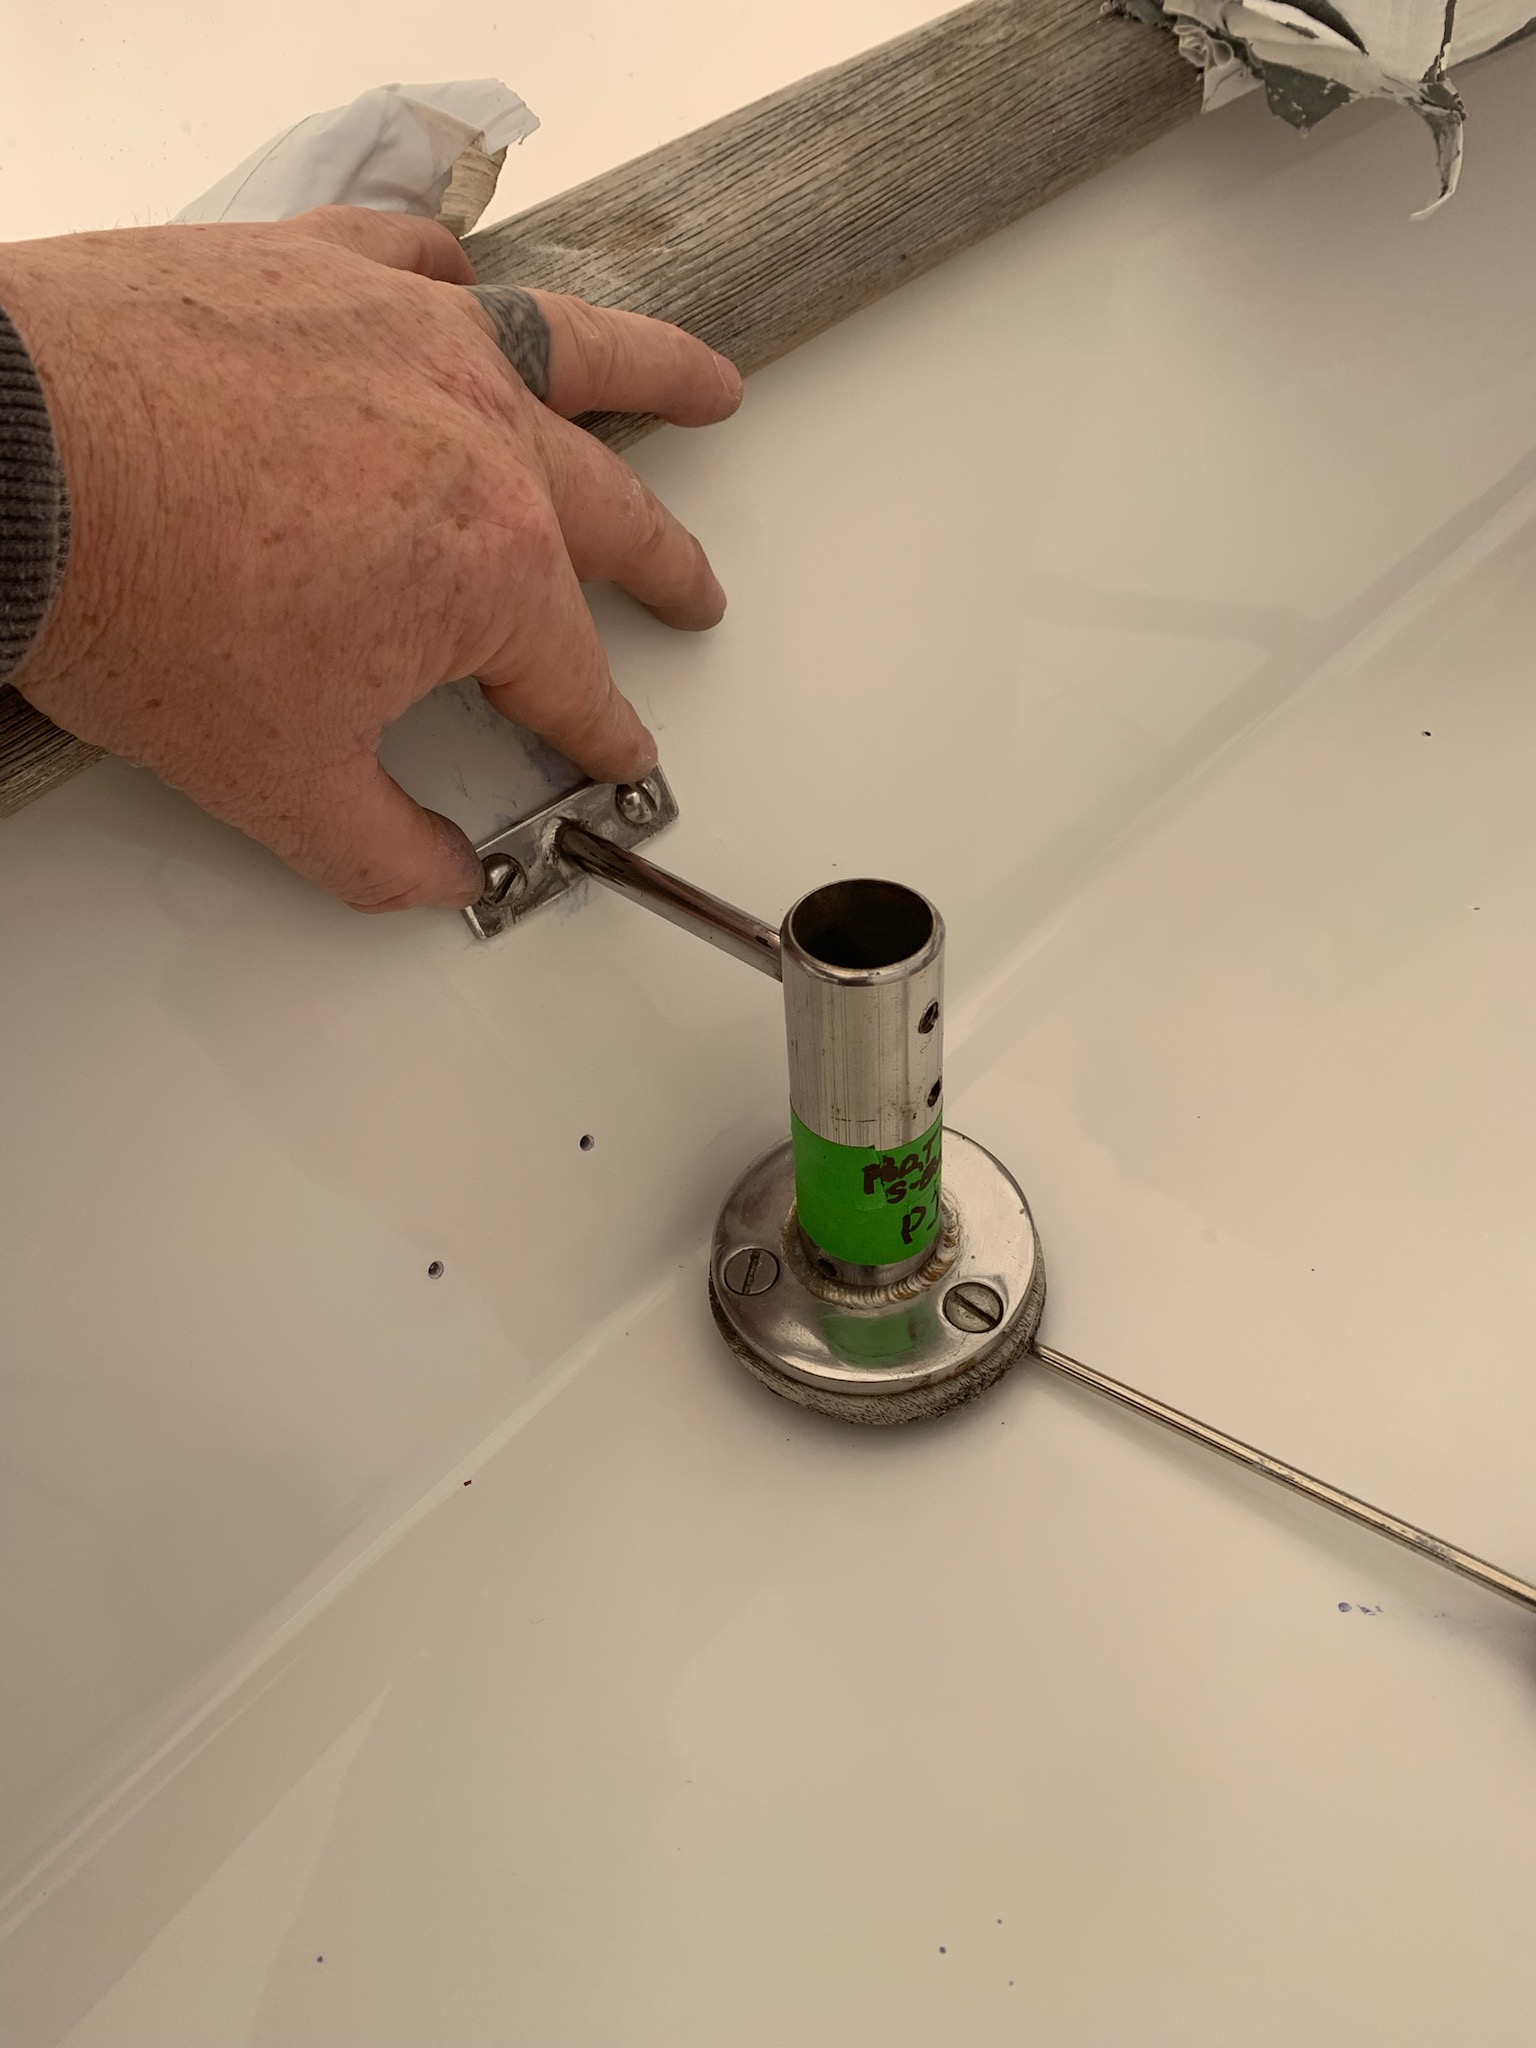
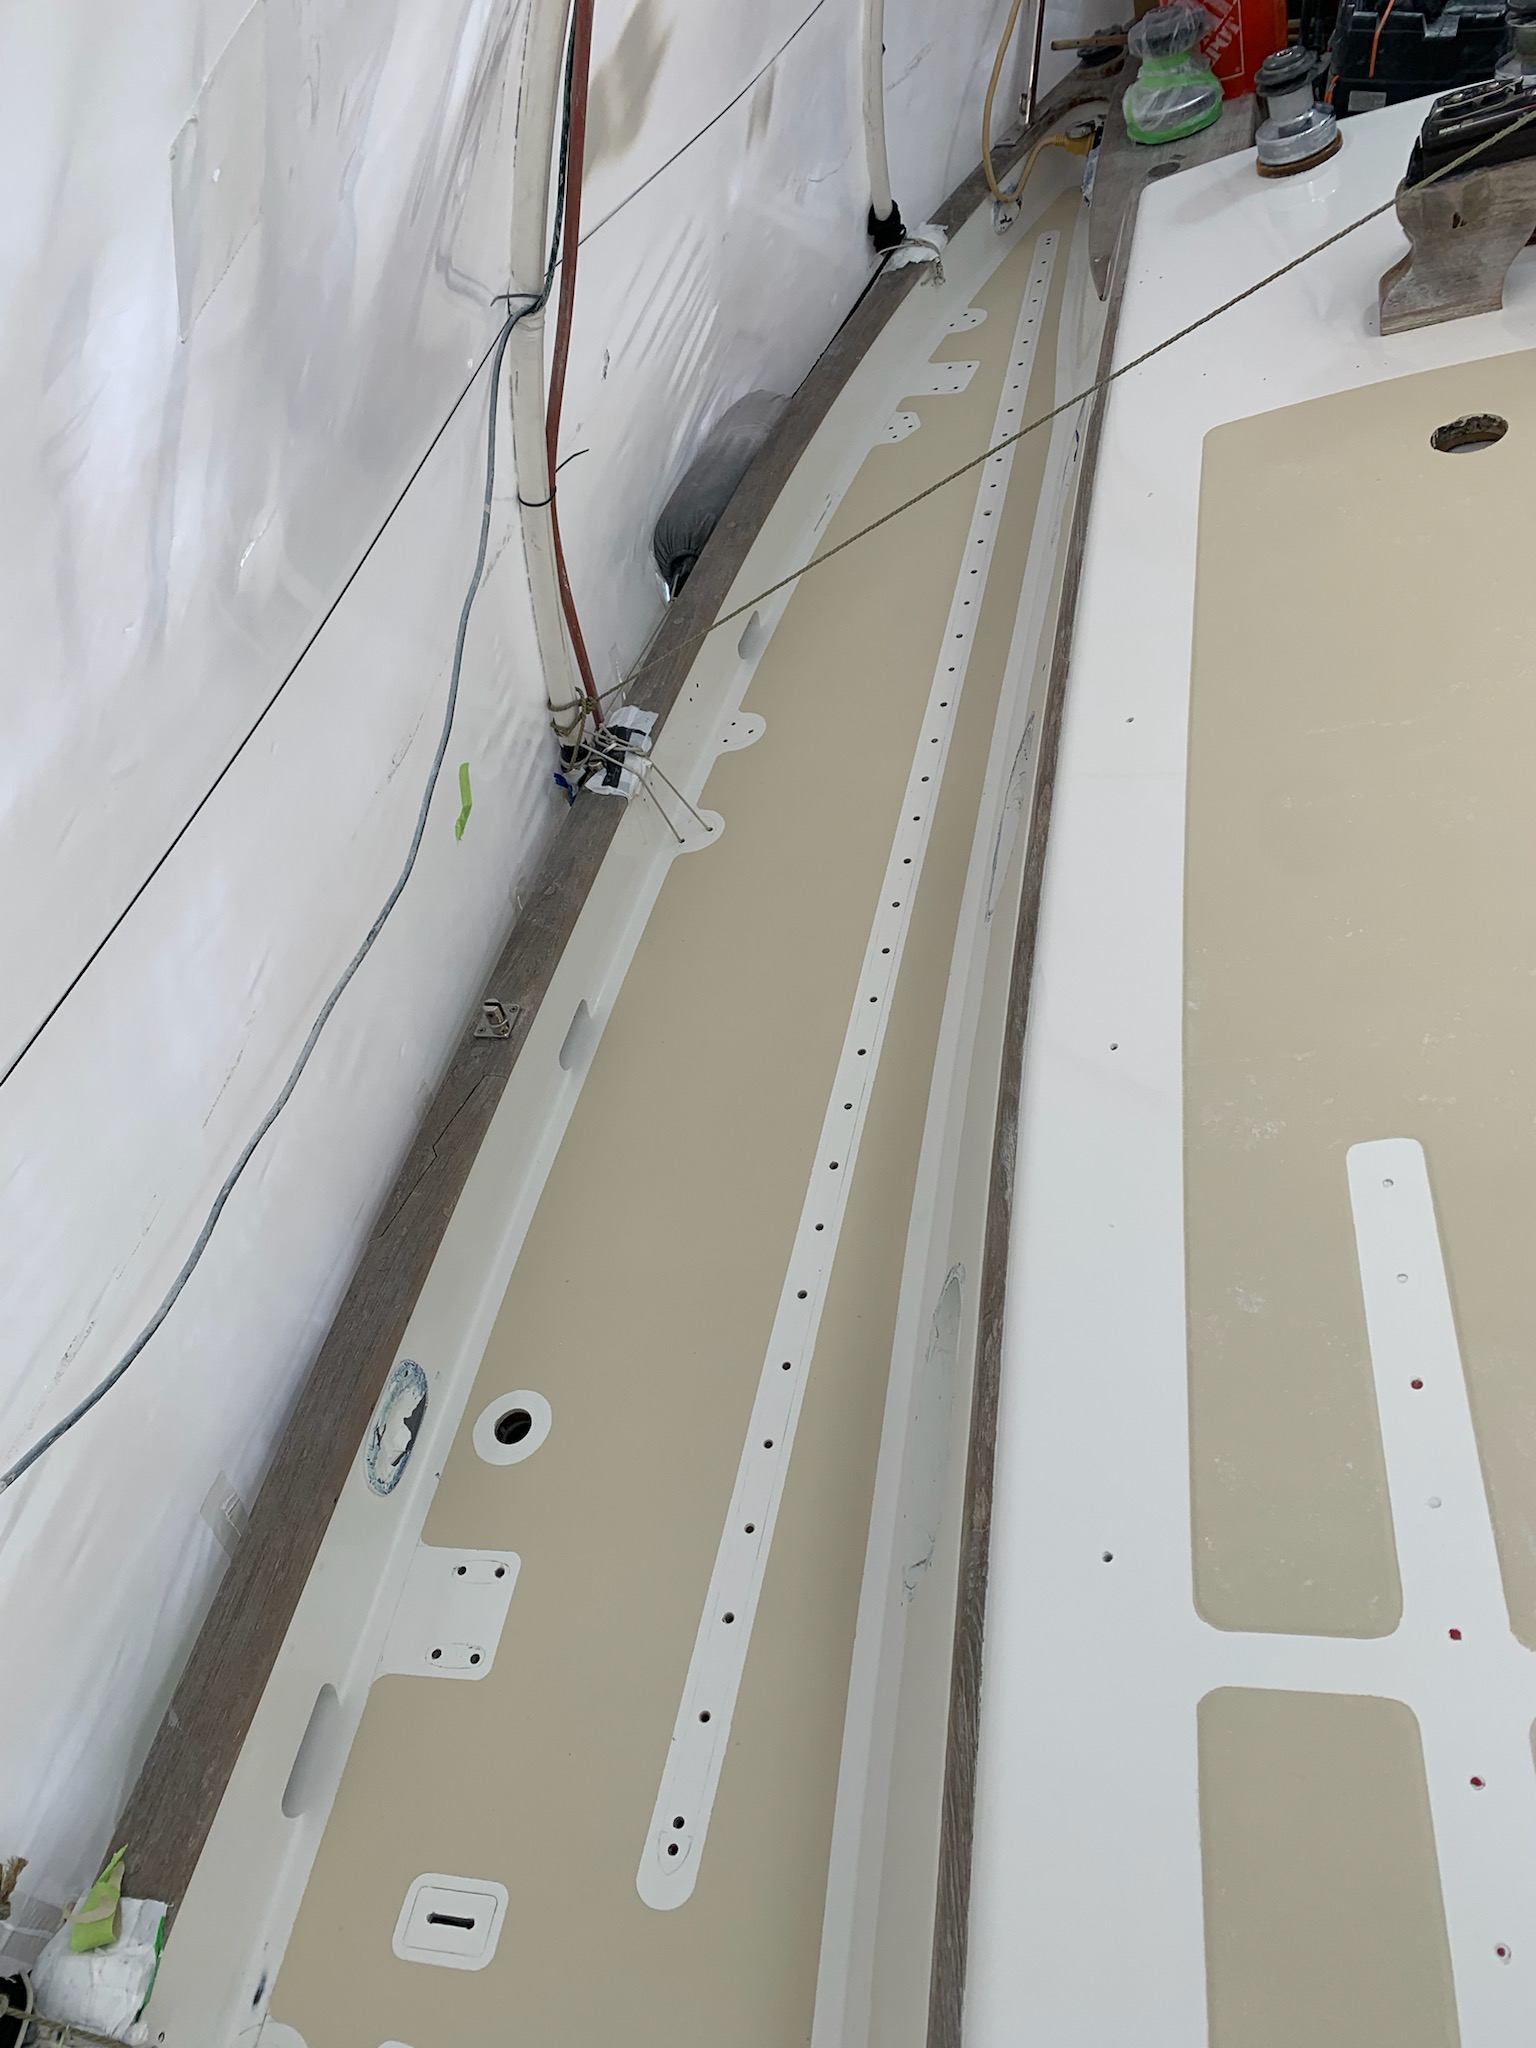
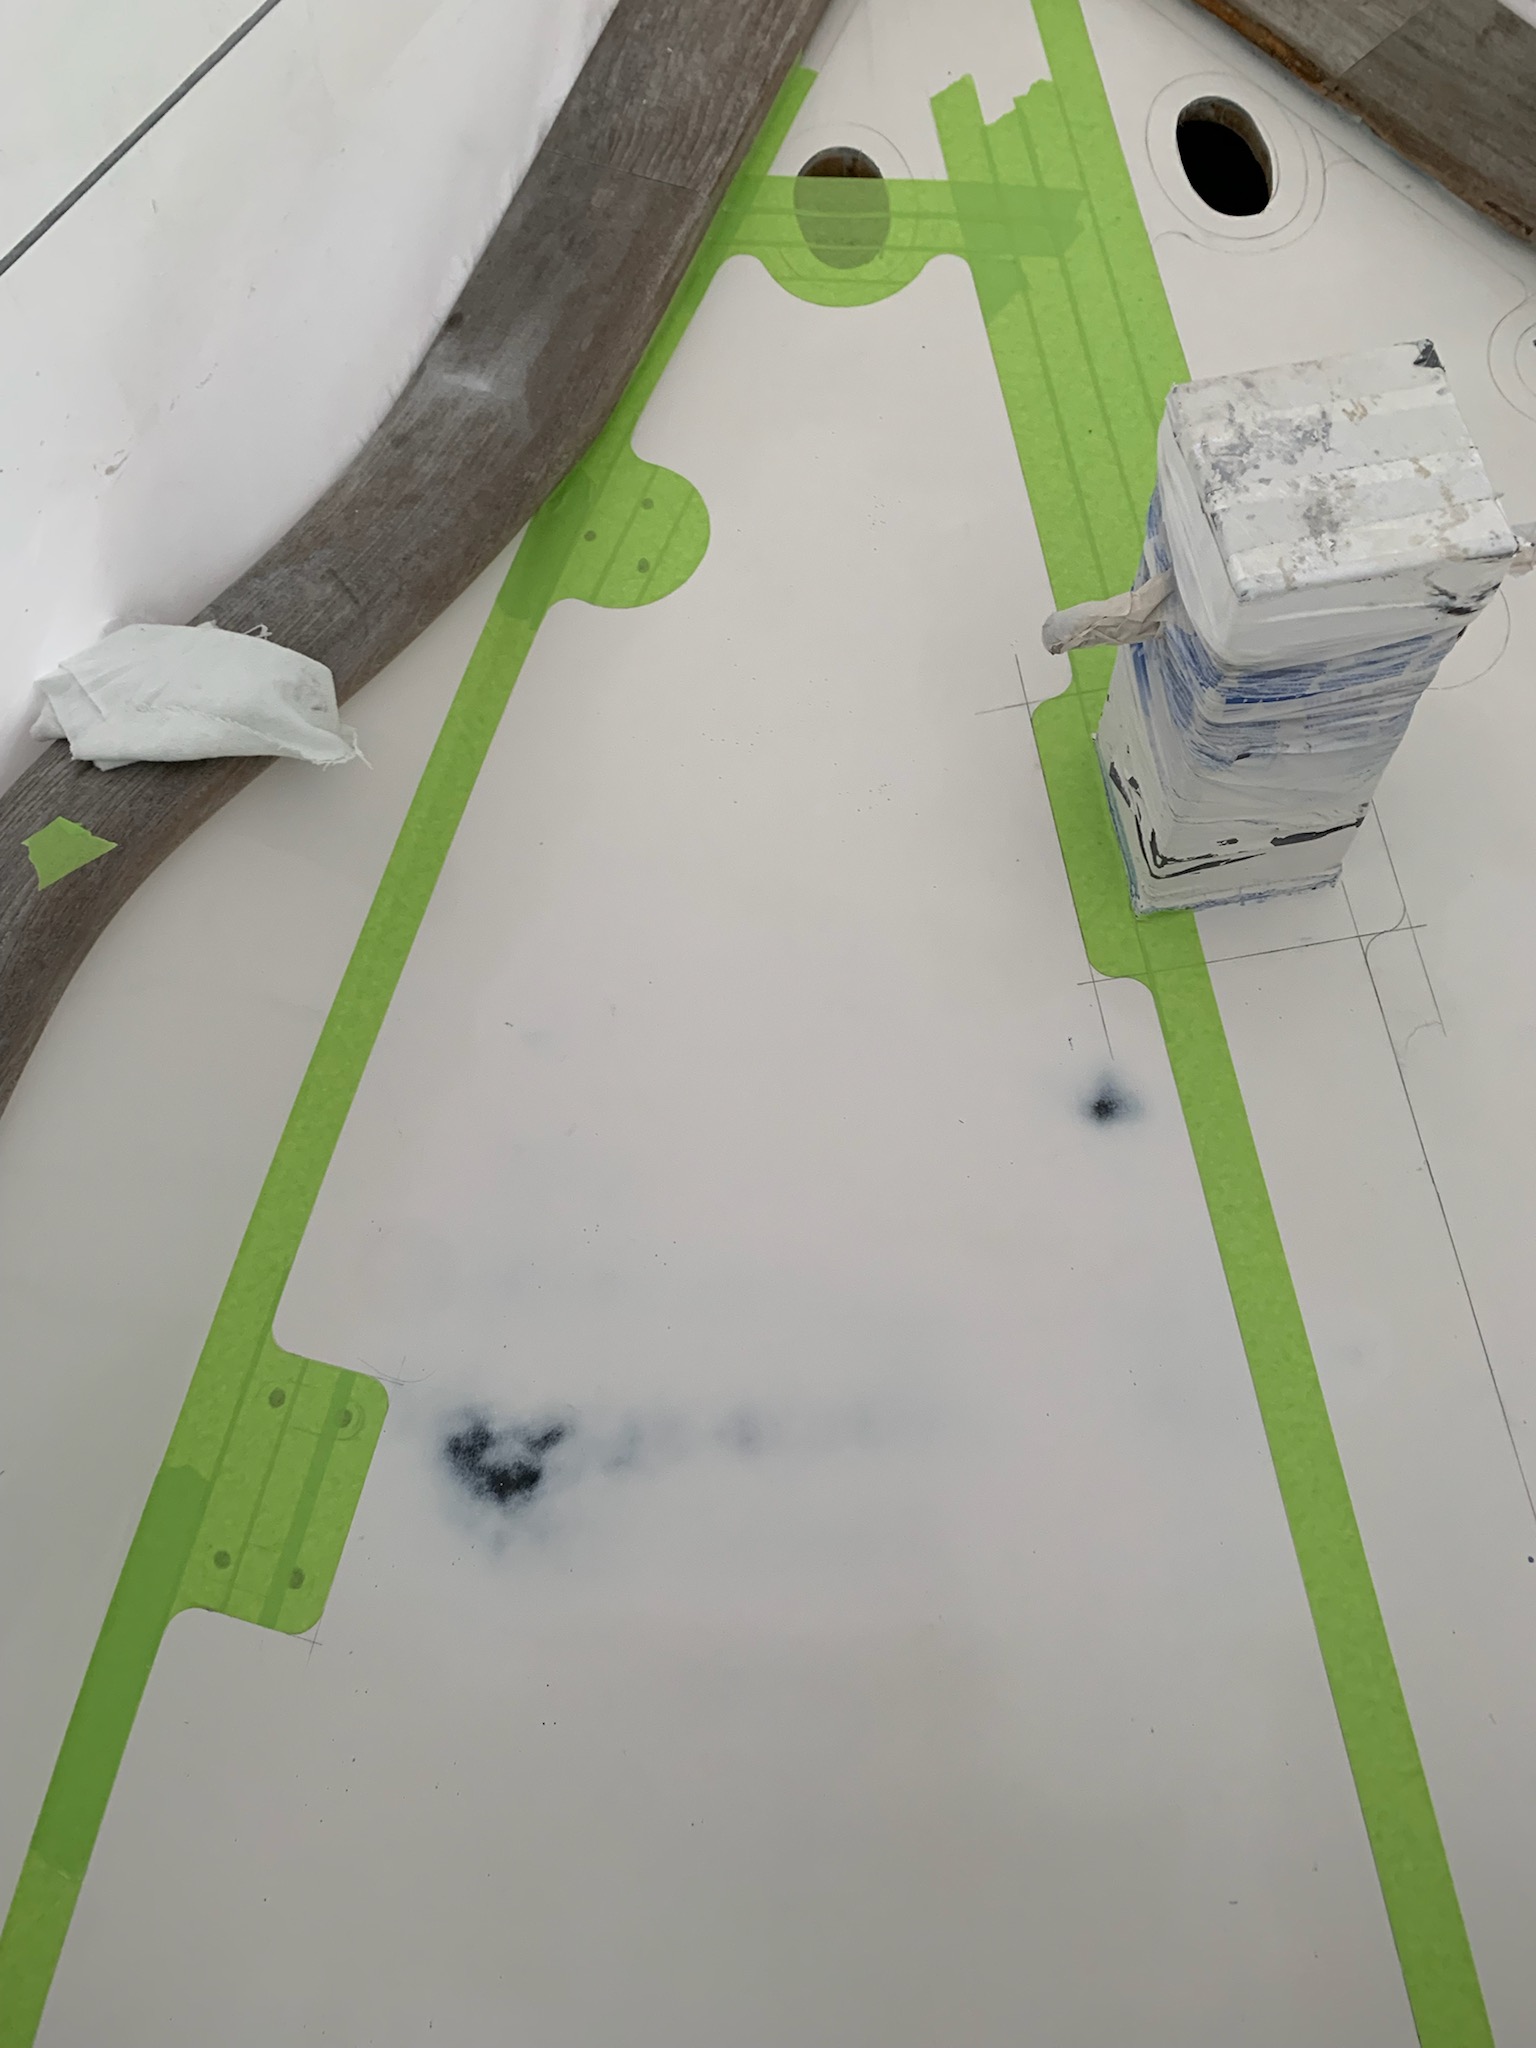
Now it’s time to start dry fitting the hardware to make the pattern for the nonskid. But first we have to deal with the stanchion bases. Last time we pulled hardware and sanded the decks, Rob built custom teak pads beneath each base to match the angle and height. Now that the decks are lower, the bases no longer fit.
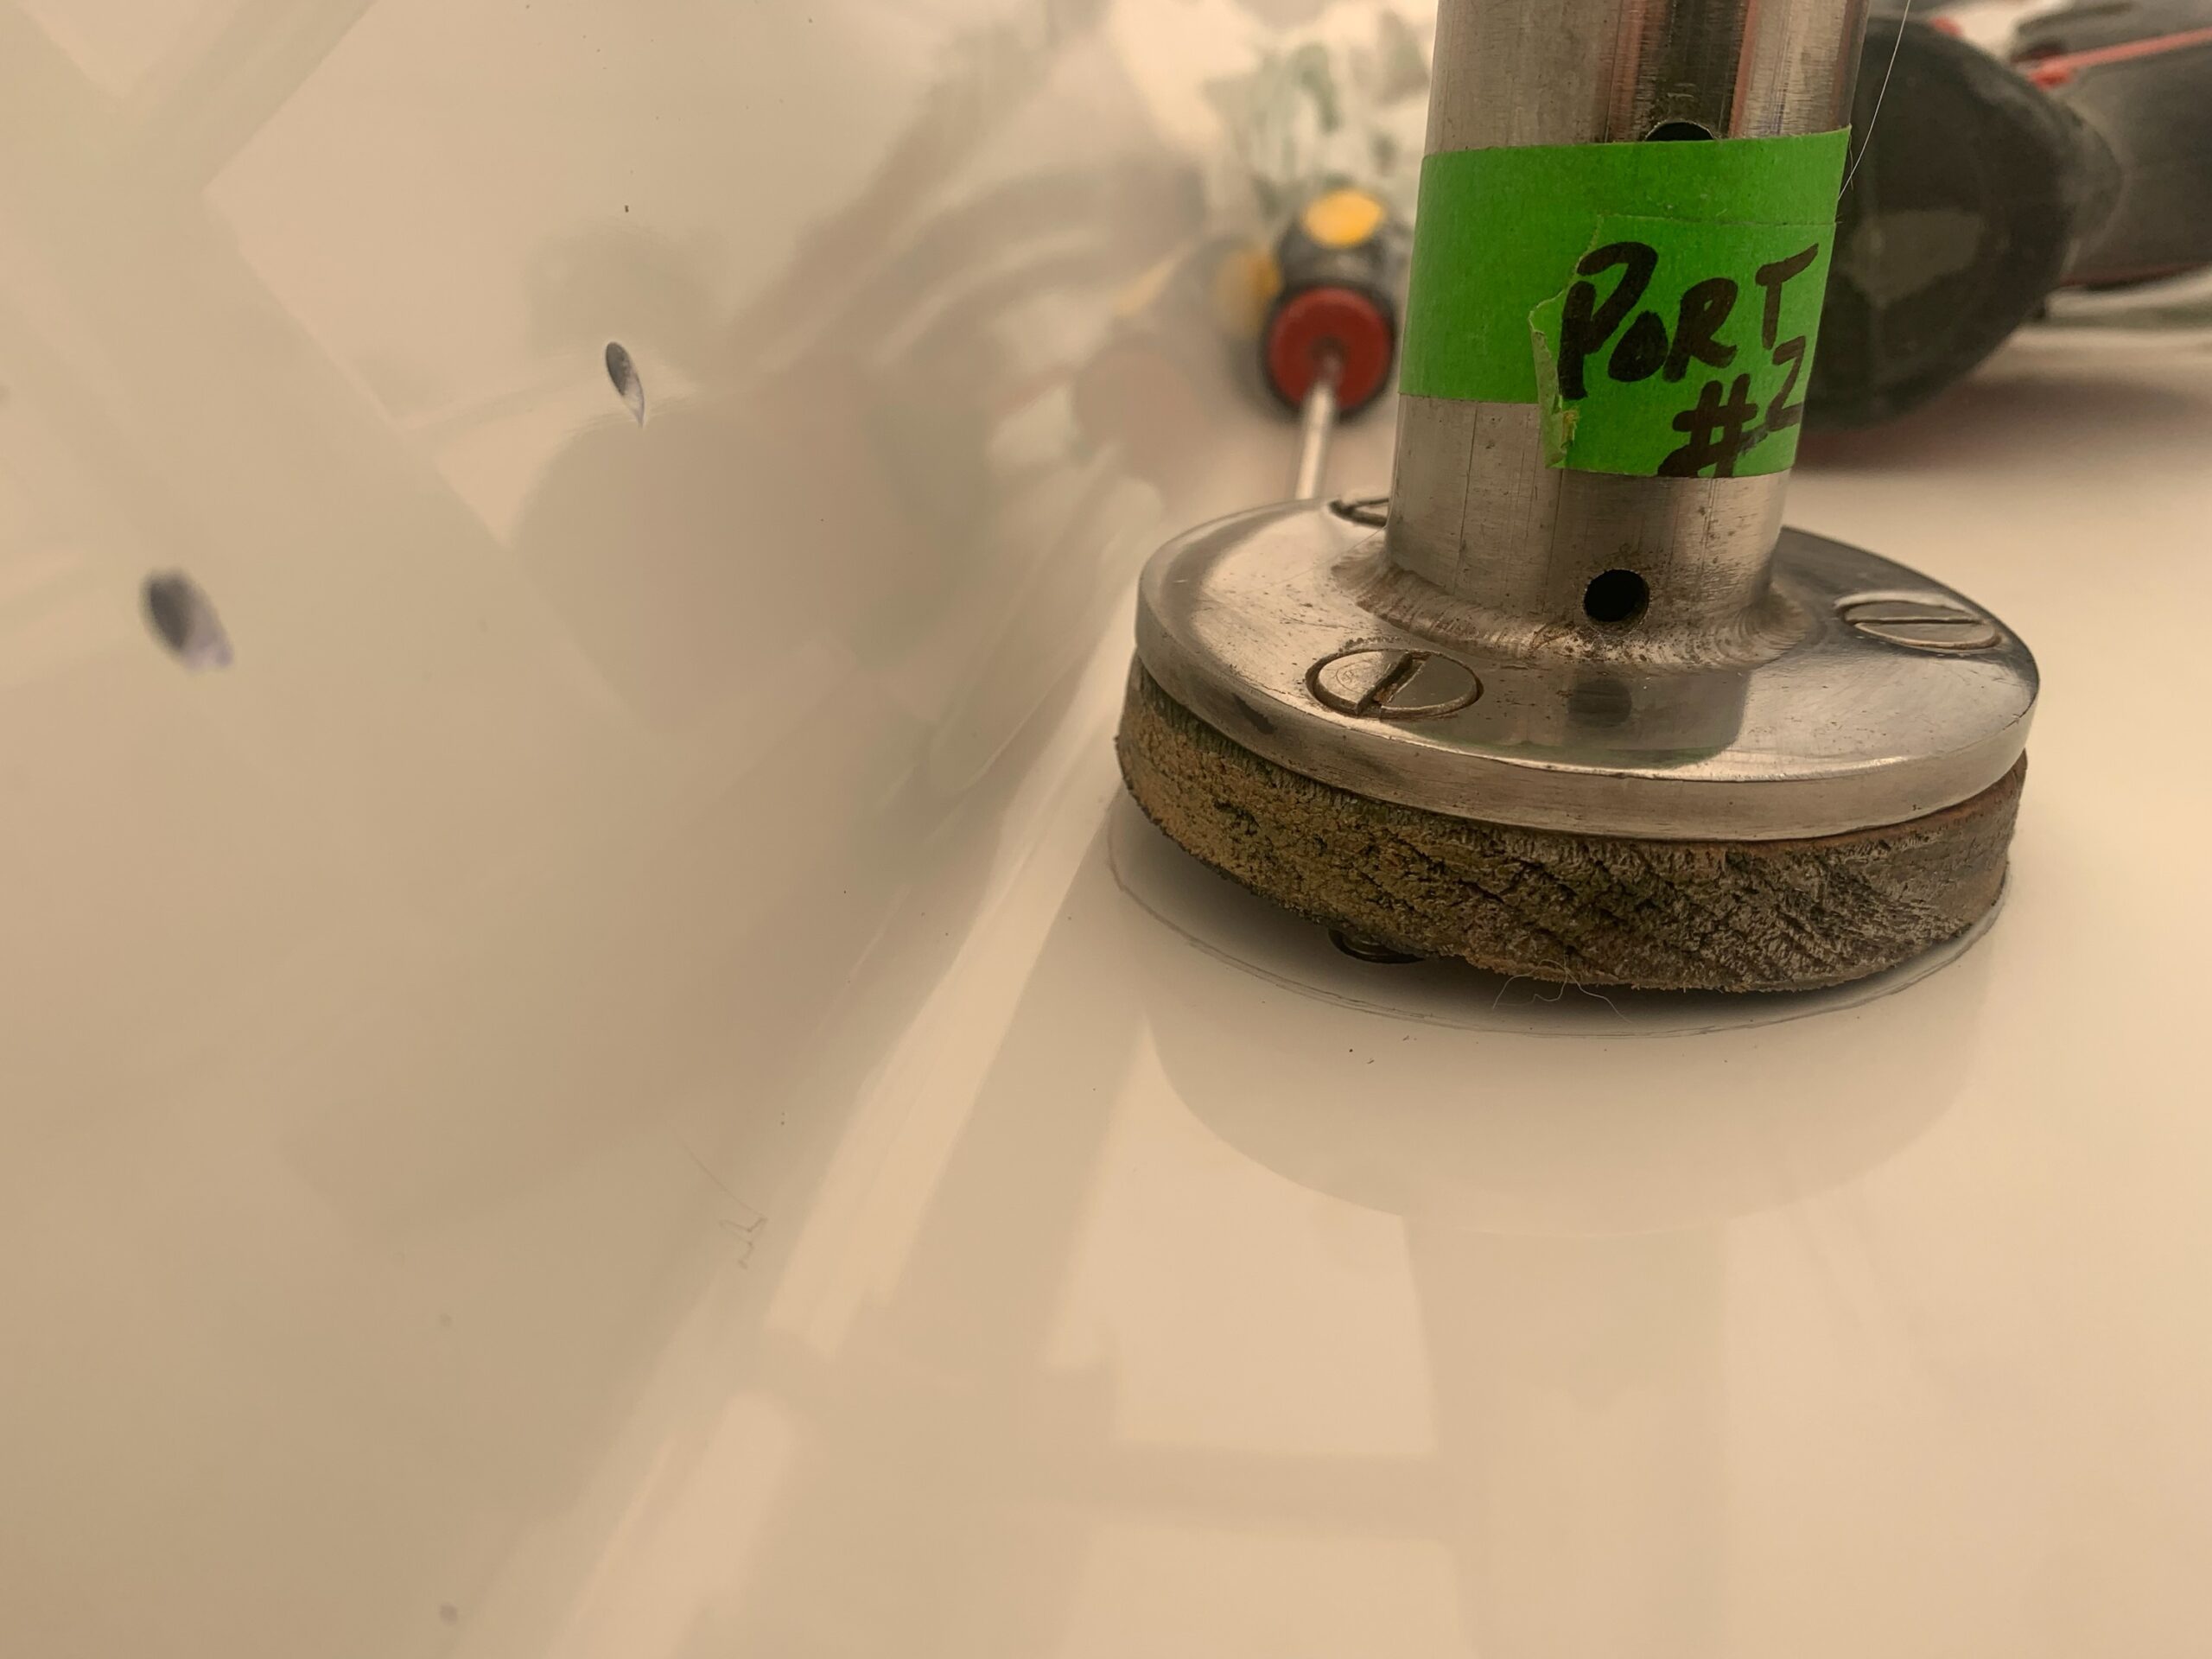
Plus, honestly, the teak bases are a pain in the ass. In the Pacific Northwet, they just get green. So Ethan is going to remake them in the shop at the new height, but out of coosa board and fiberglass over them. So no scrubbing and worrying about the teak soft wood, just power wash off the green.
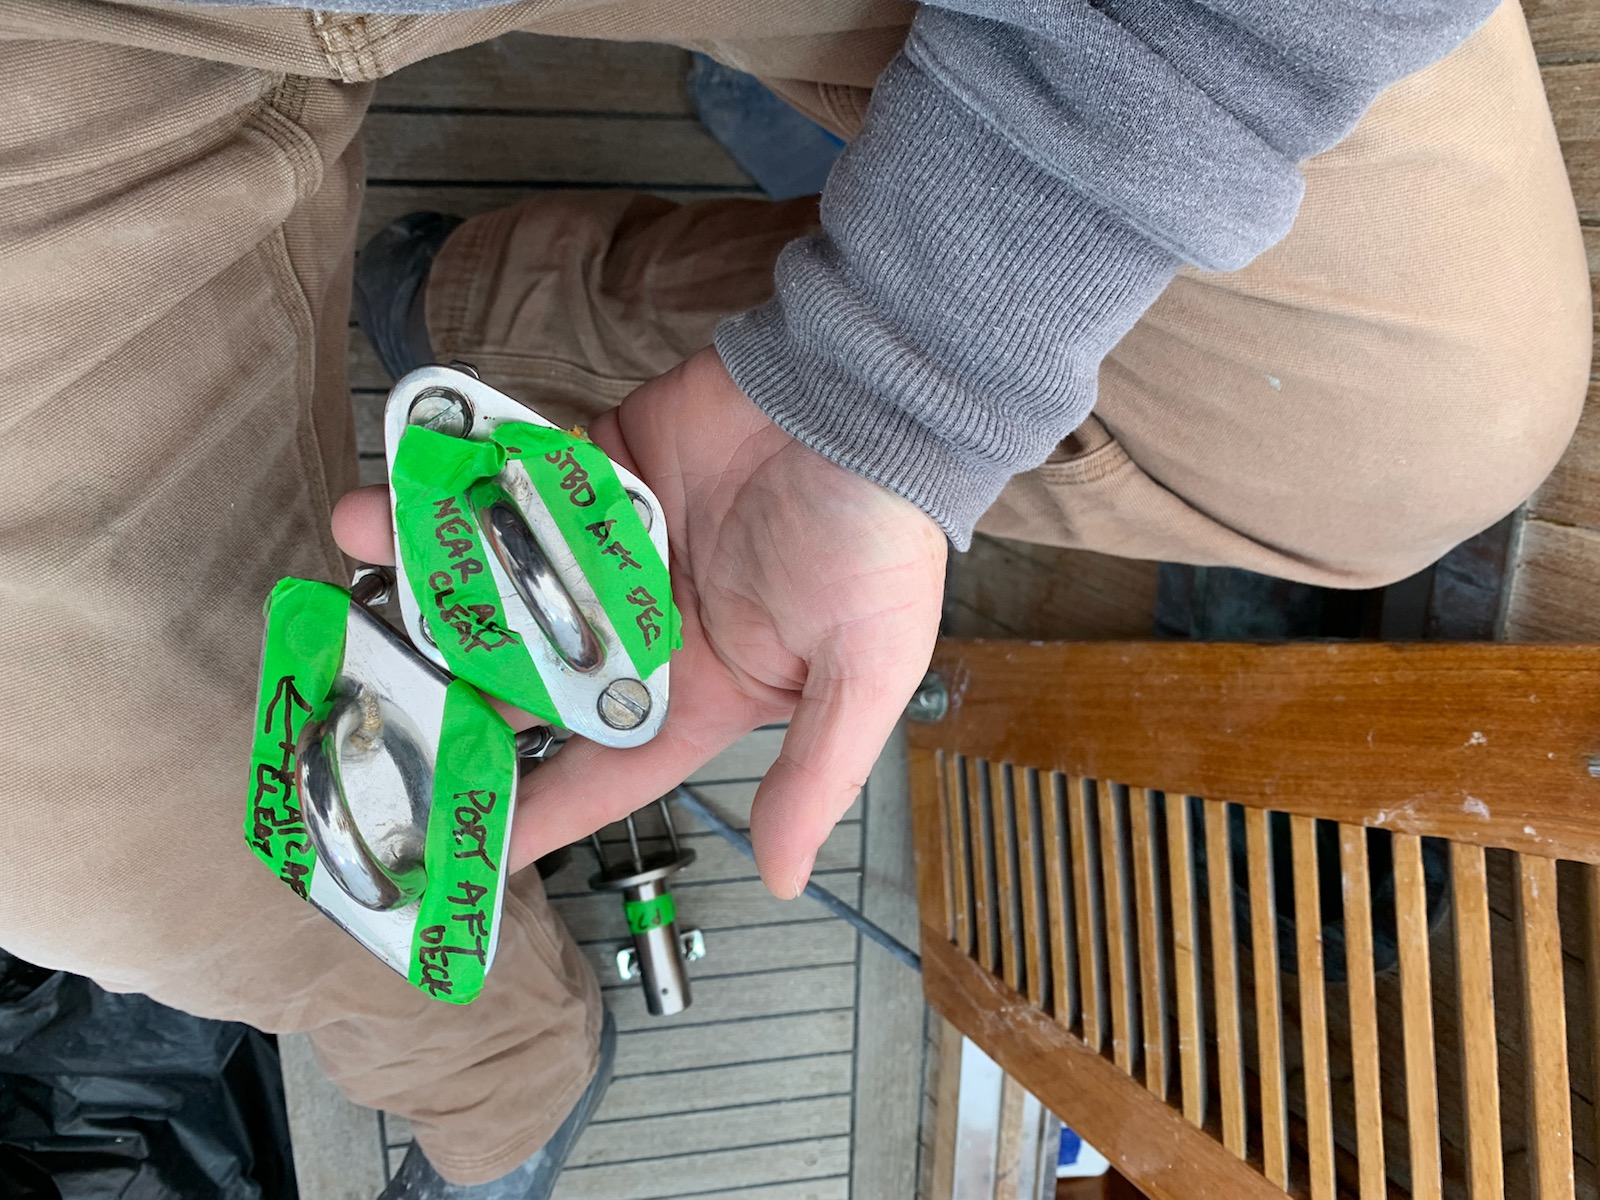
We had all the hardware at home to be cleaned, but after an inventory discovered we were missing two pieces. These are the padeyes that the running backs attach to. We had to make sure and find everything before the layout started.
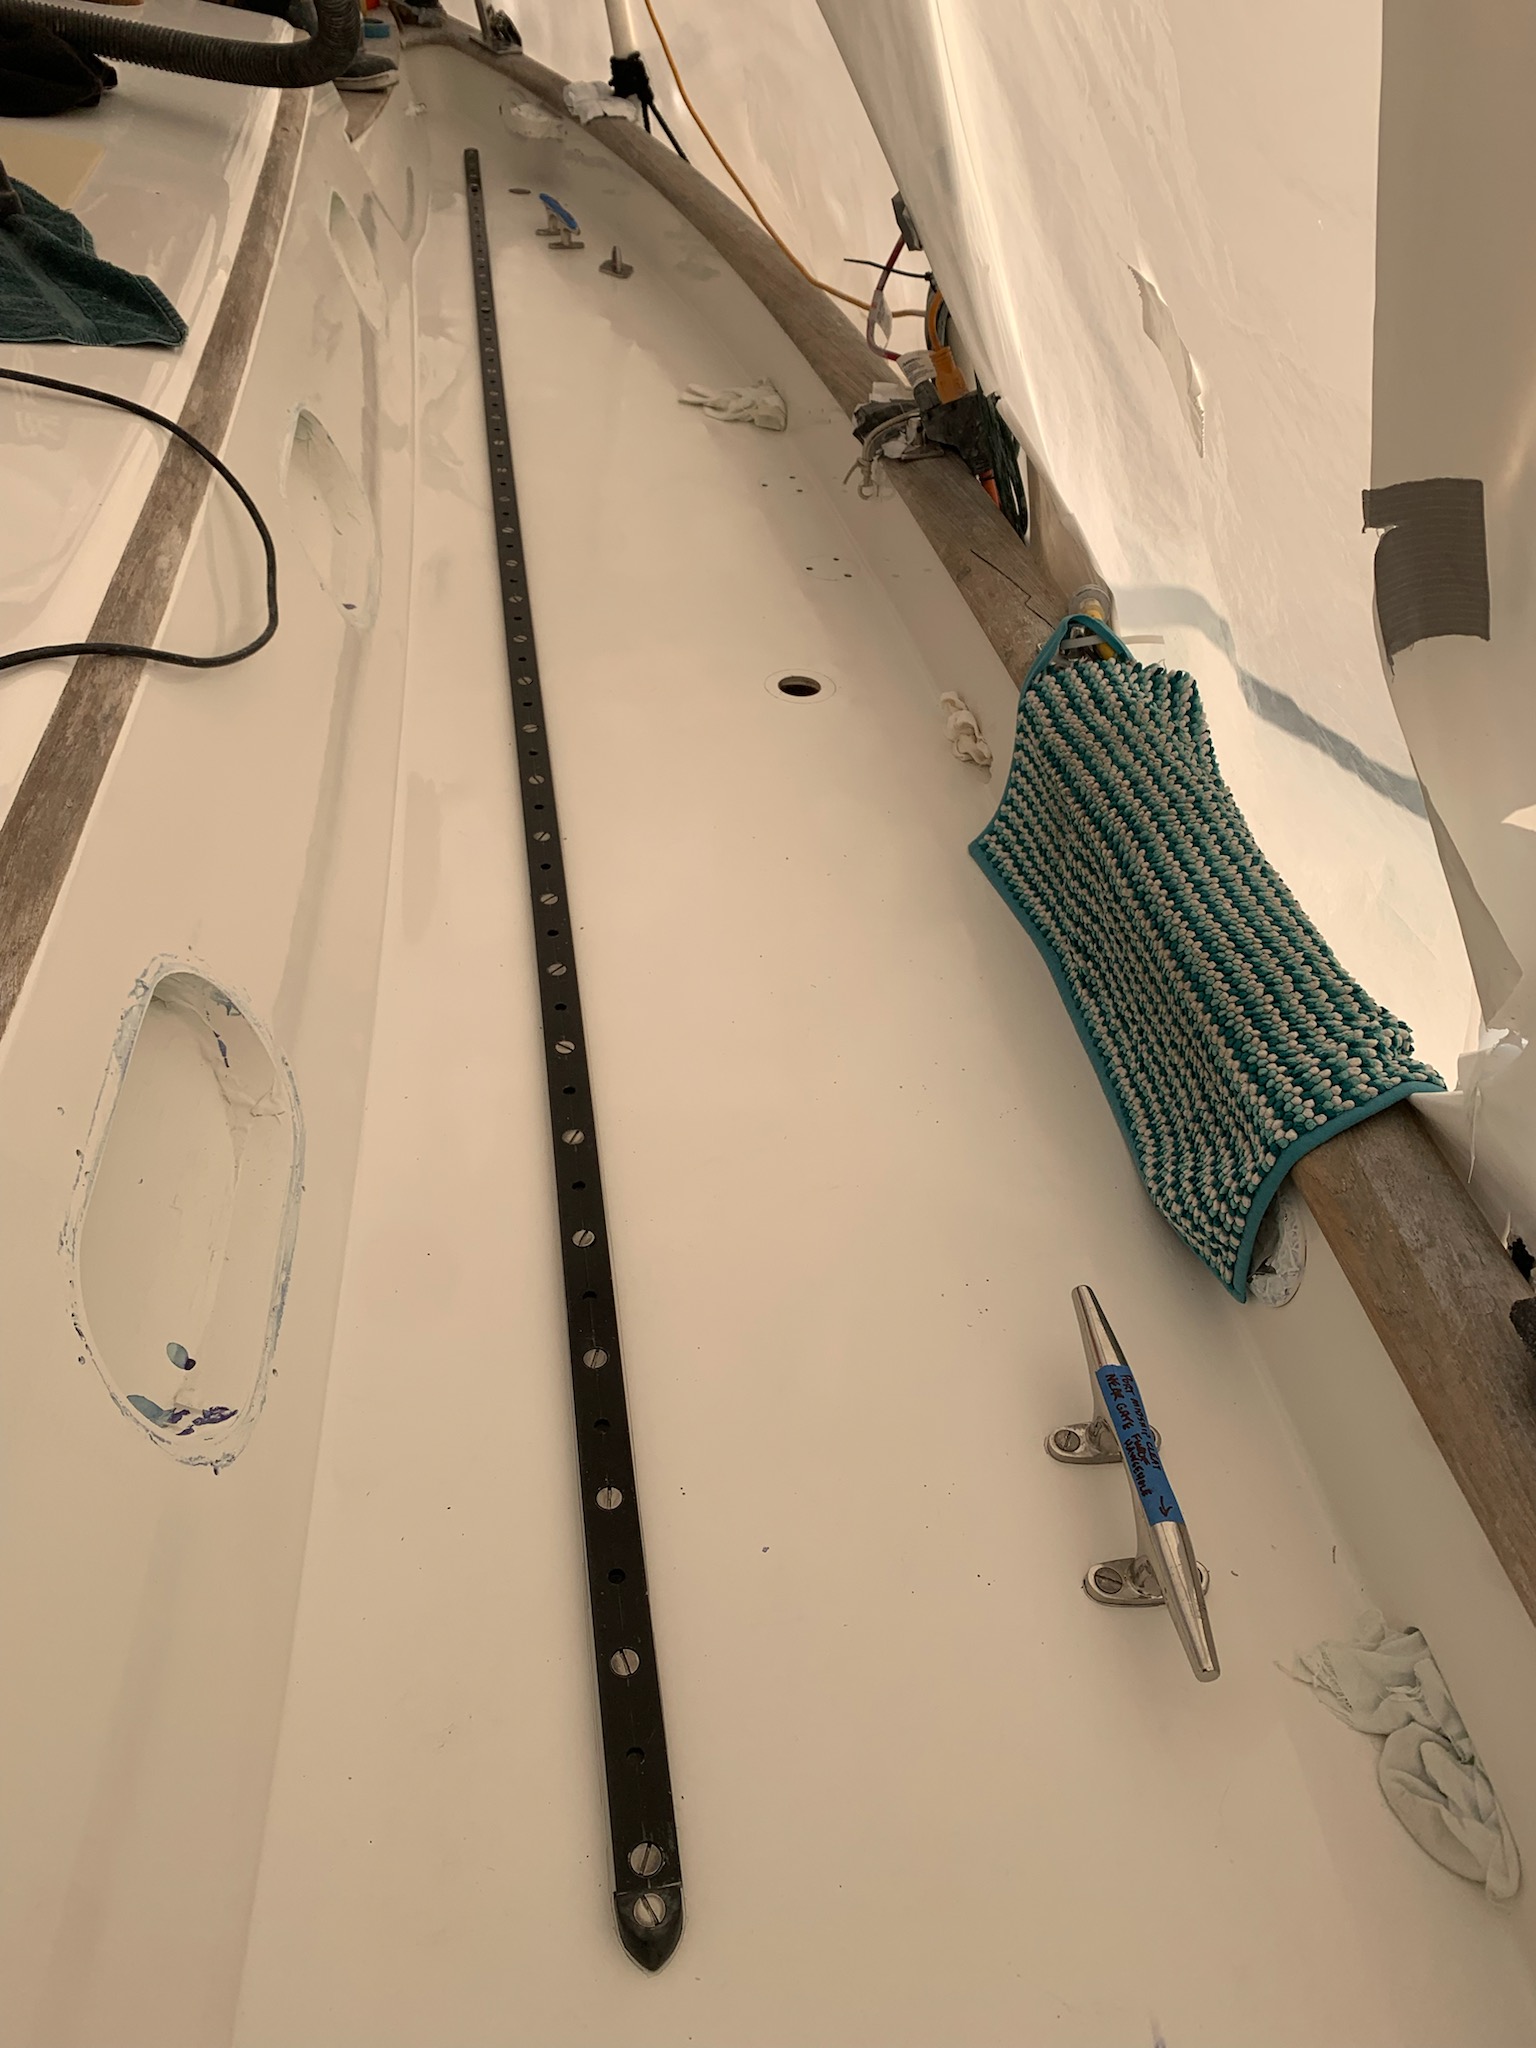
Ehtan and Michael dry fit all the hardware, which included drilling all the holes through the new deck and gelcoat. Honestly, we were super glad we didn’t have to do that job. Ethan has years of practice at not messing up new gelcoat.
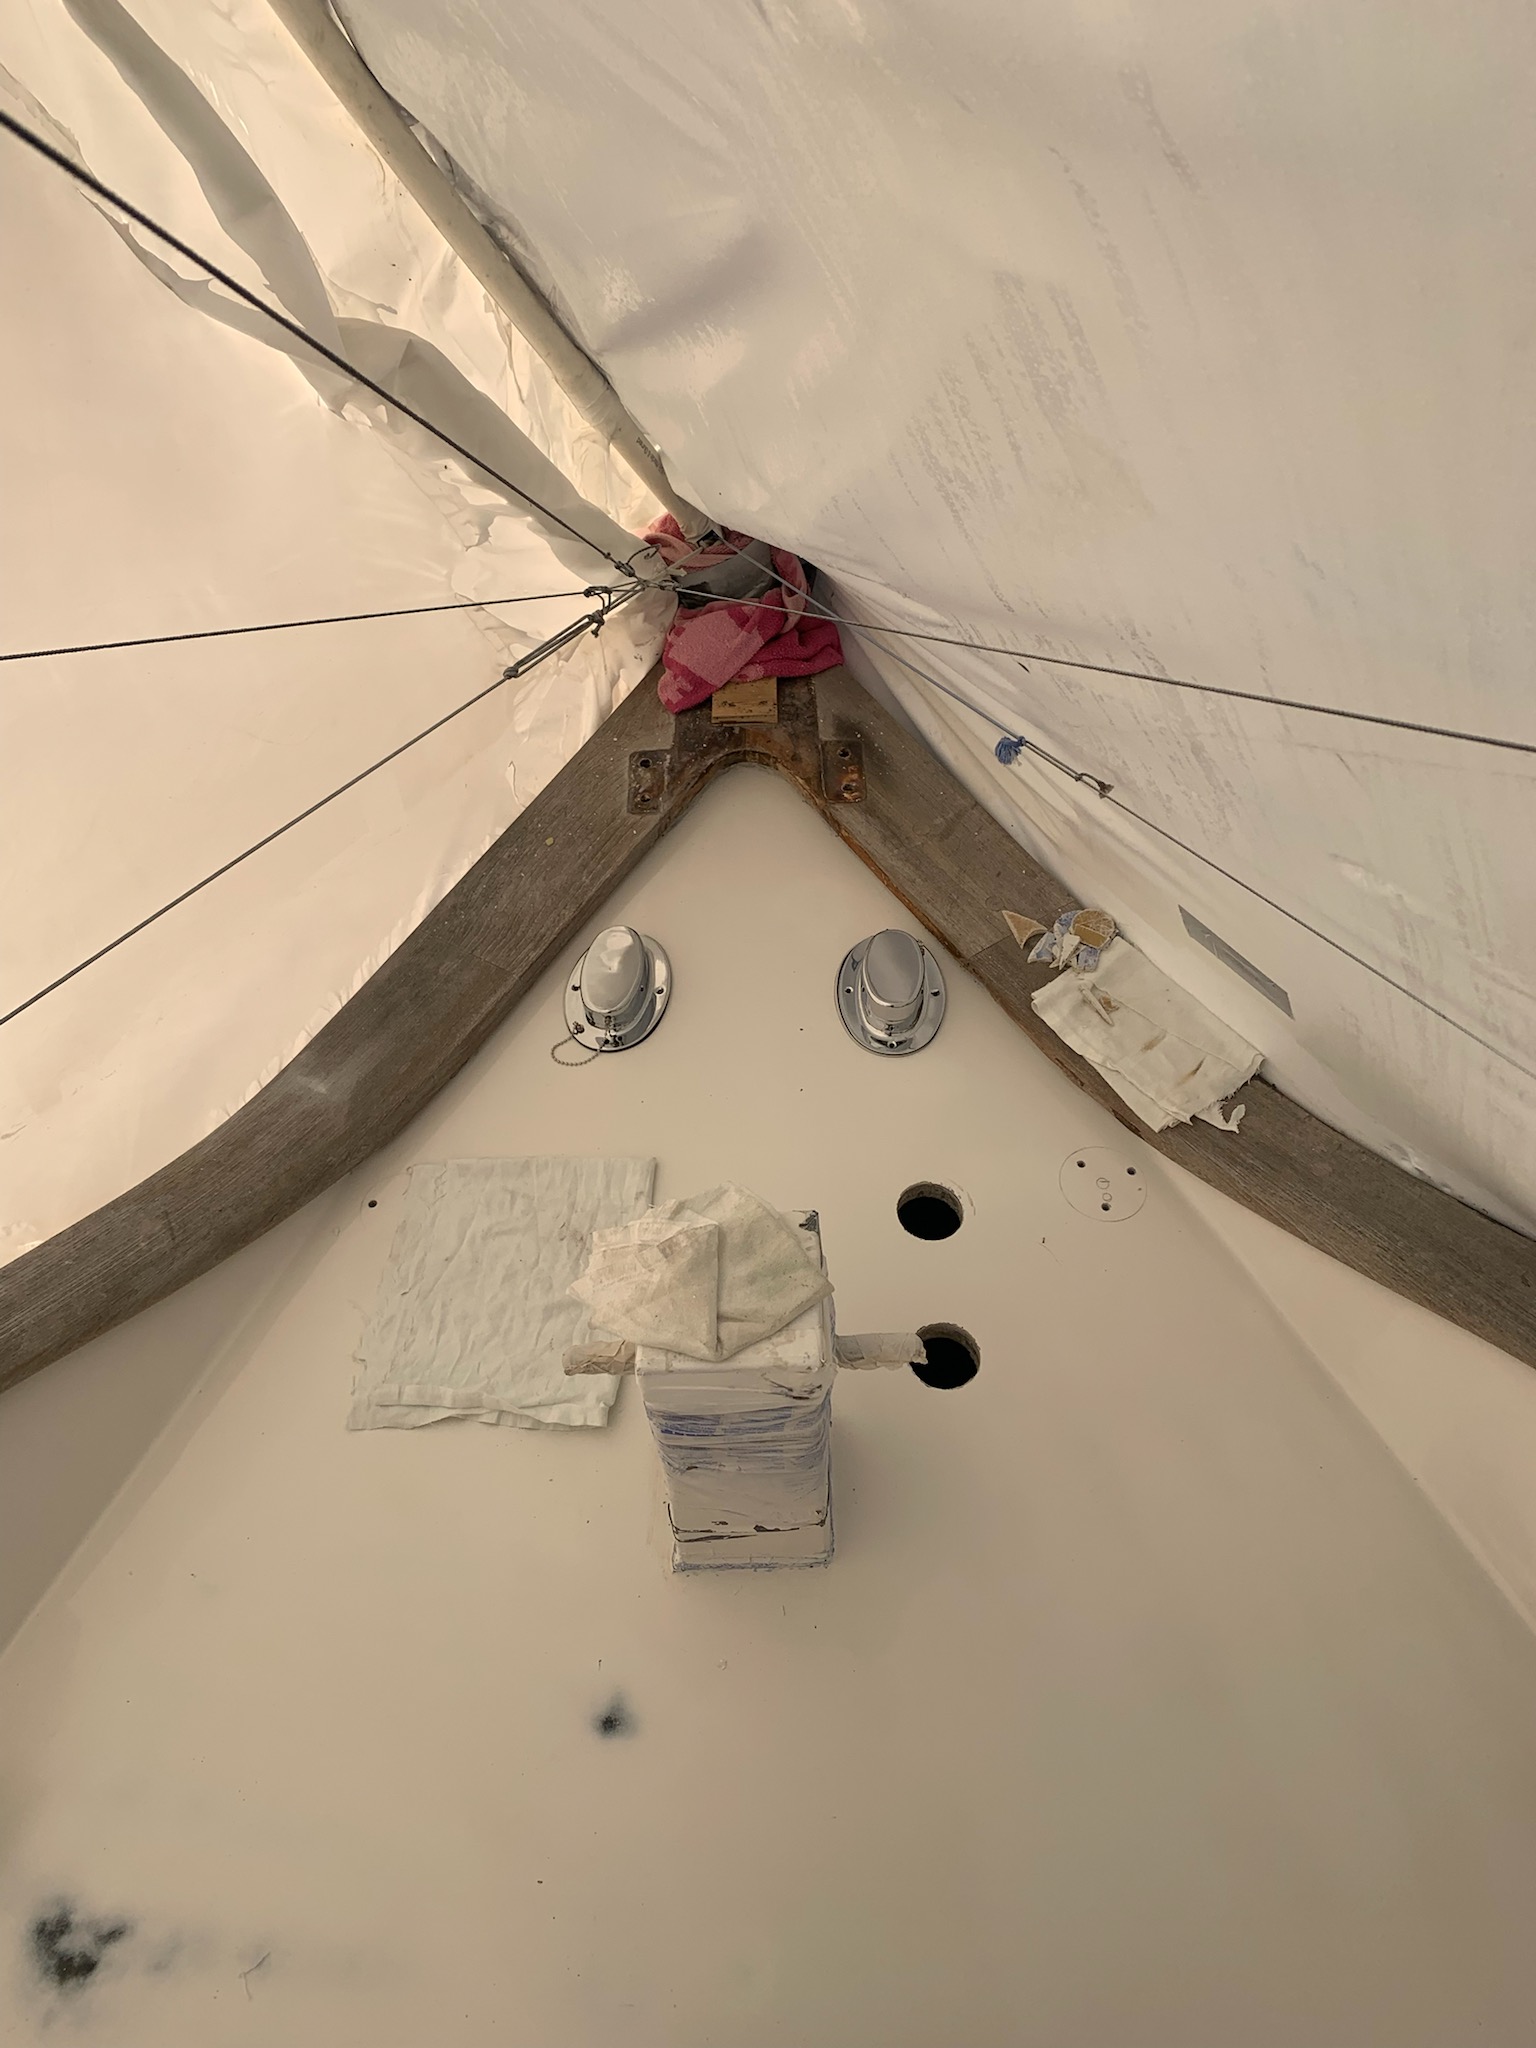
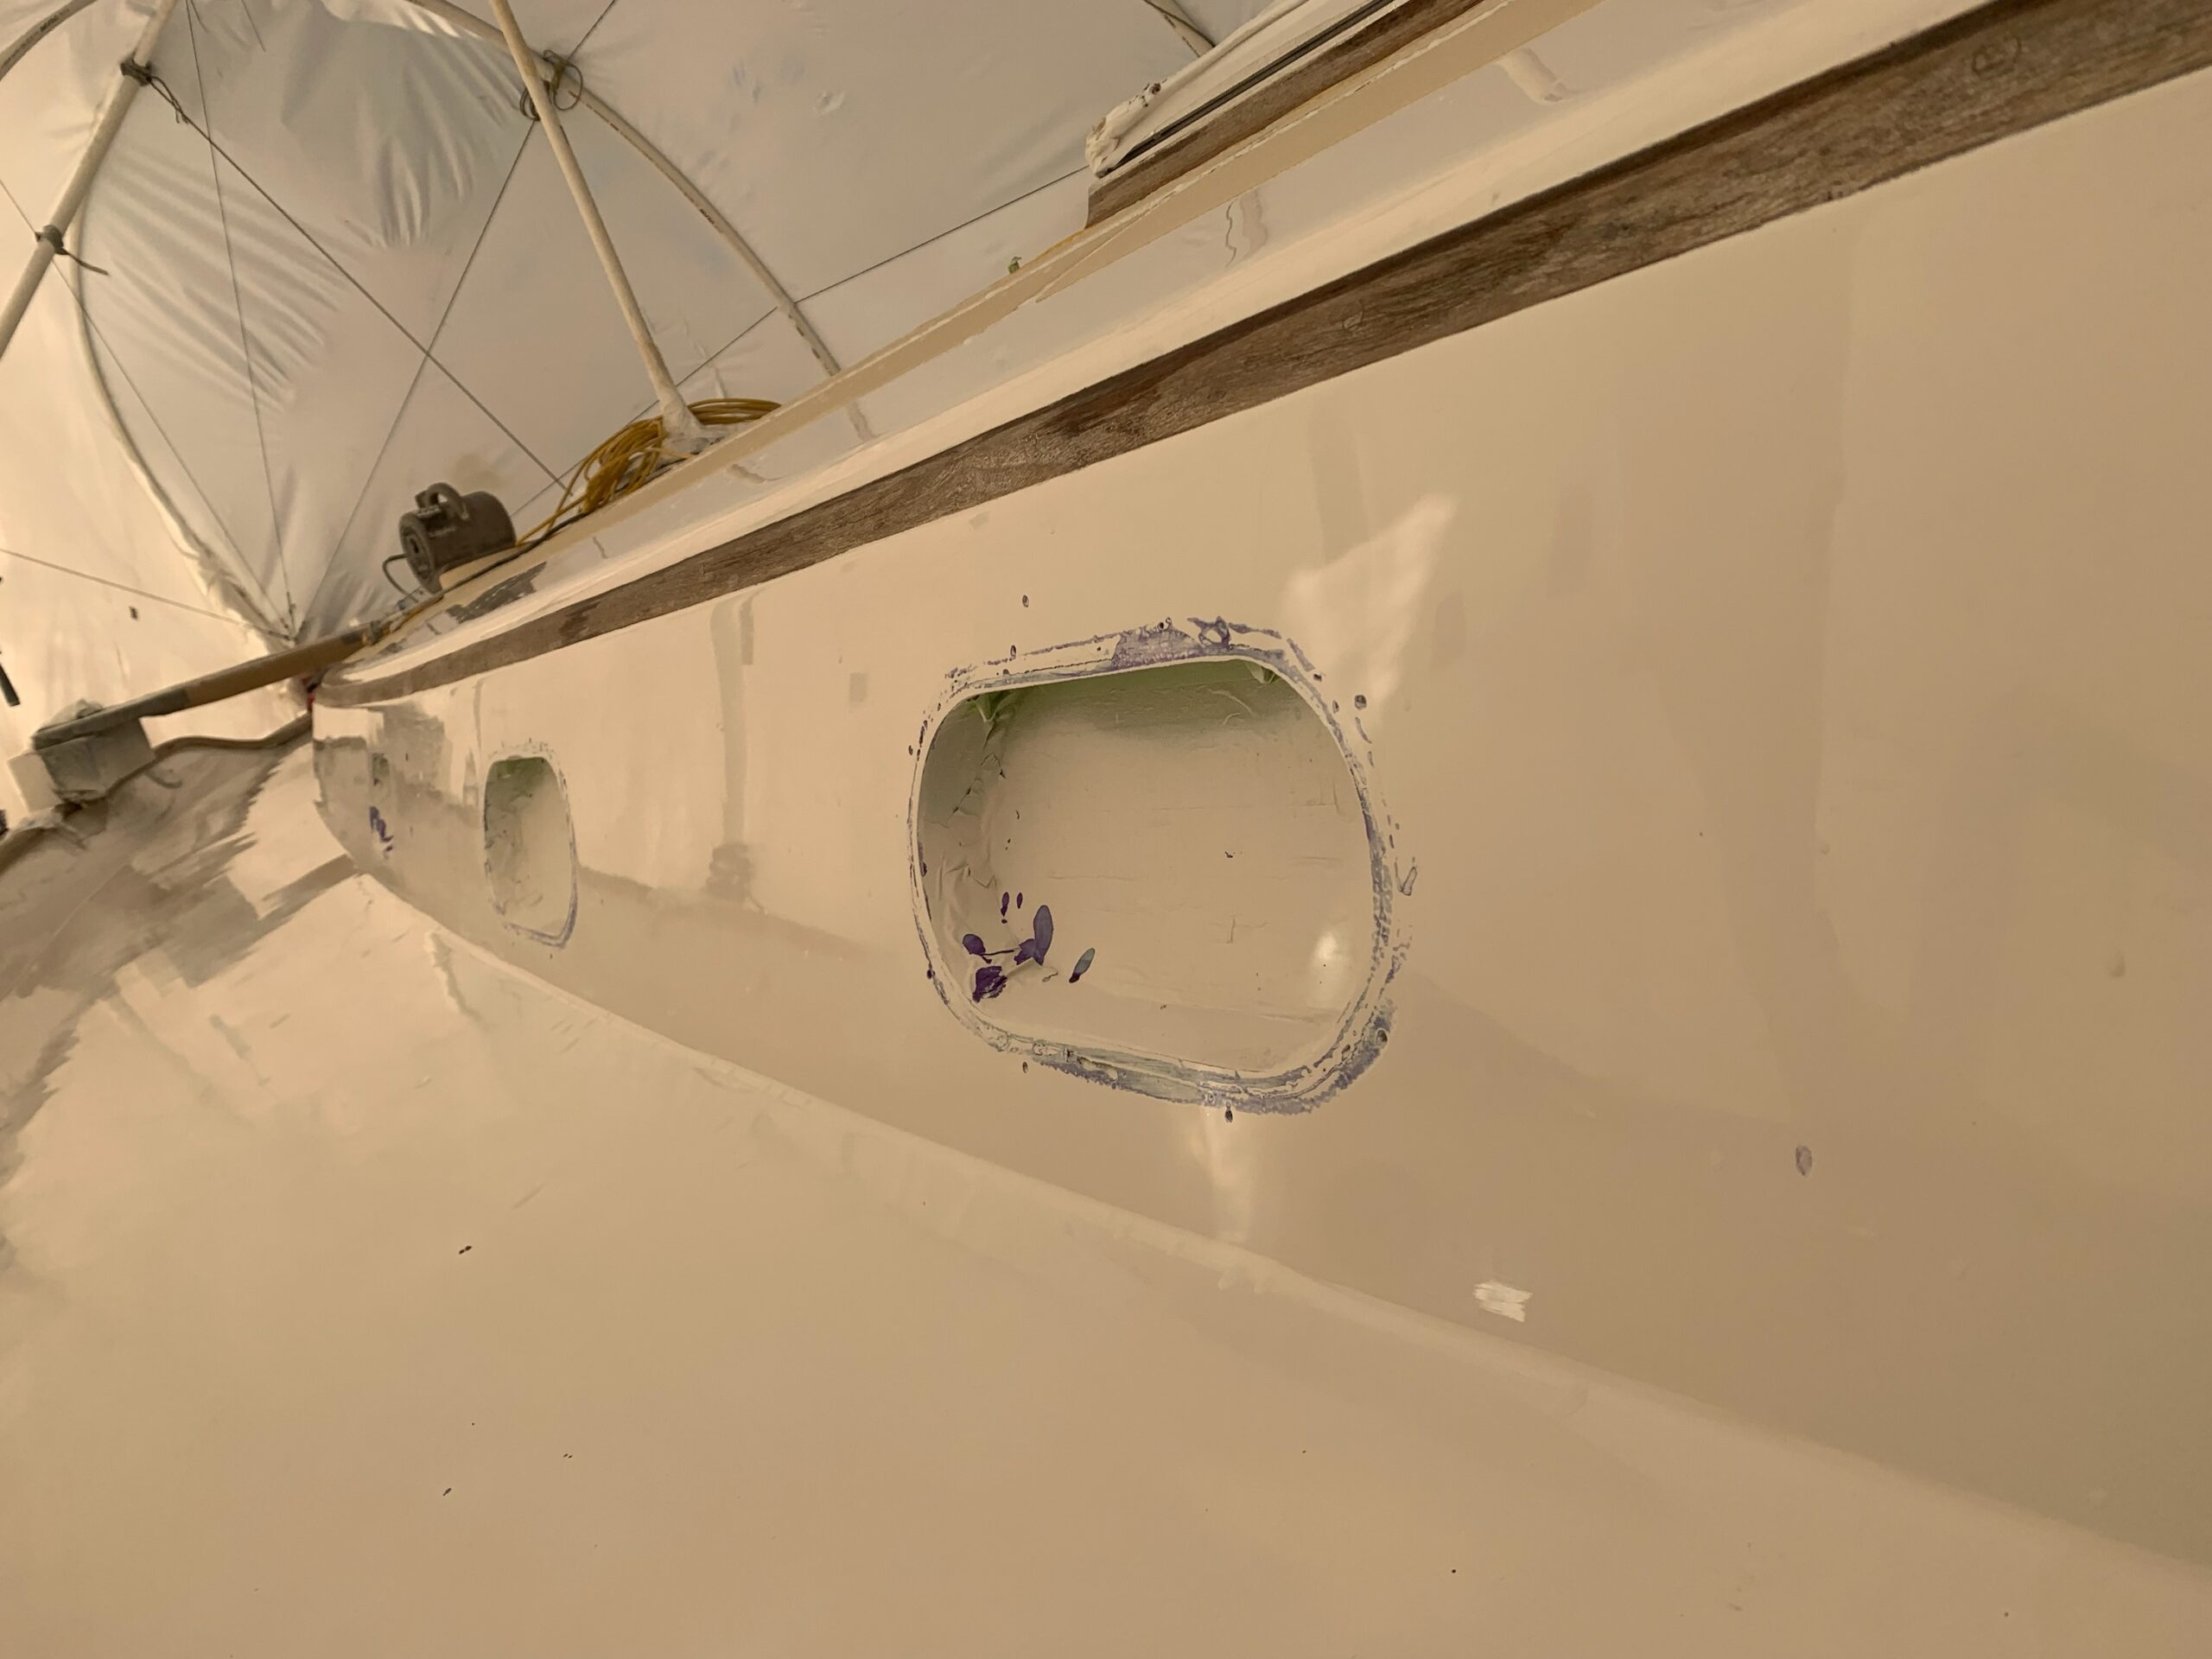
One the foredeck are the two shiny new deck pipes for the chain and openings for two new switches for the windlass.
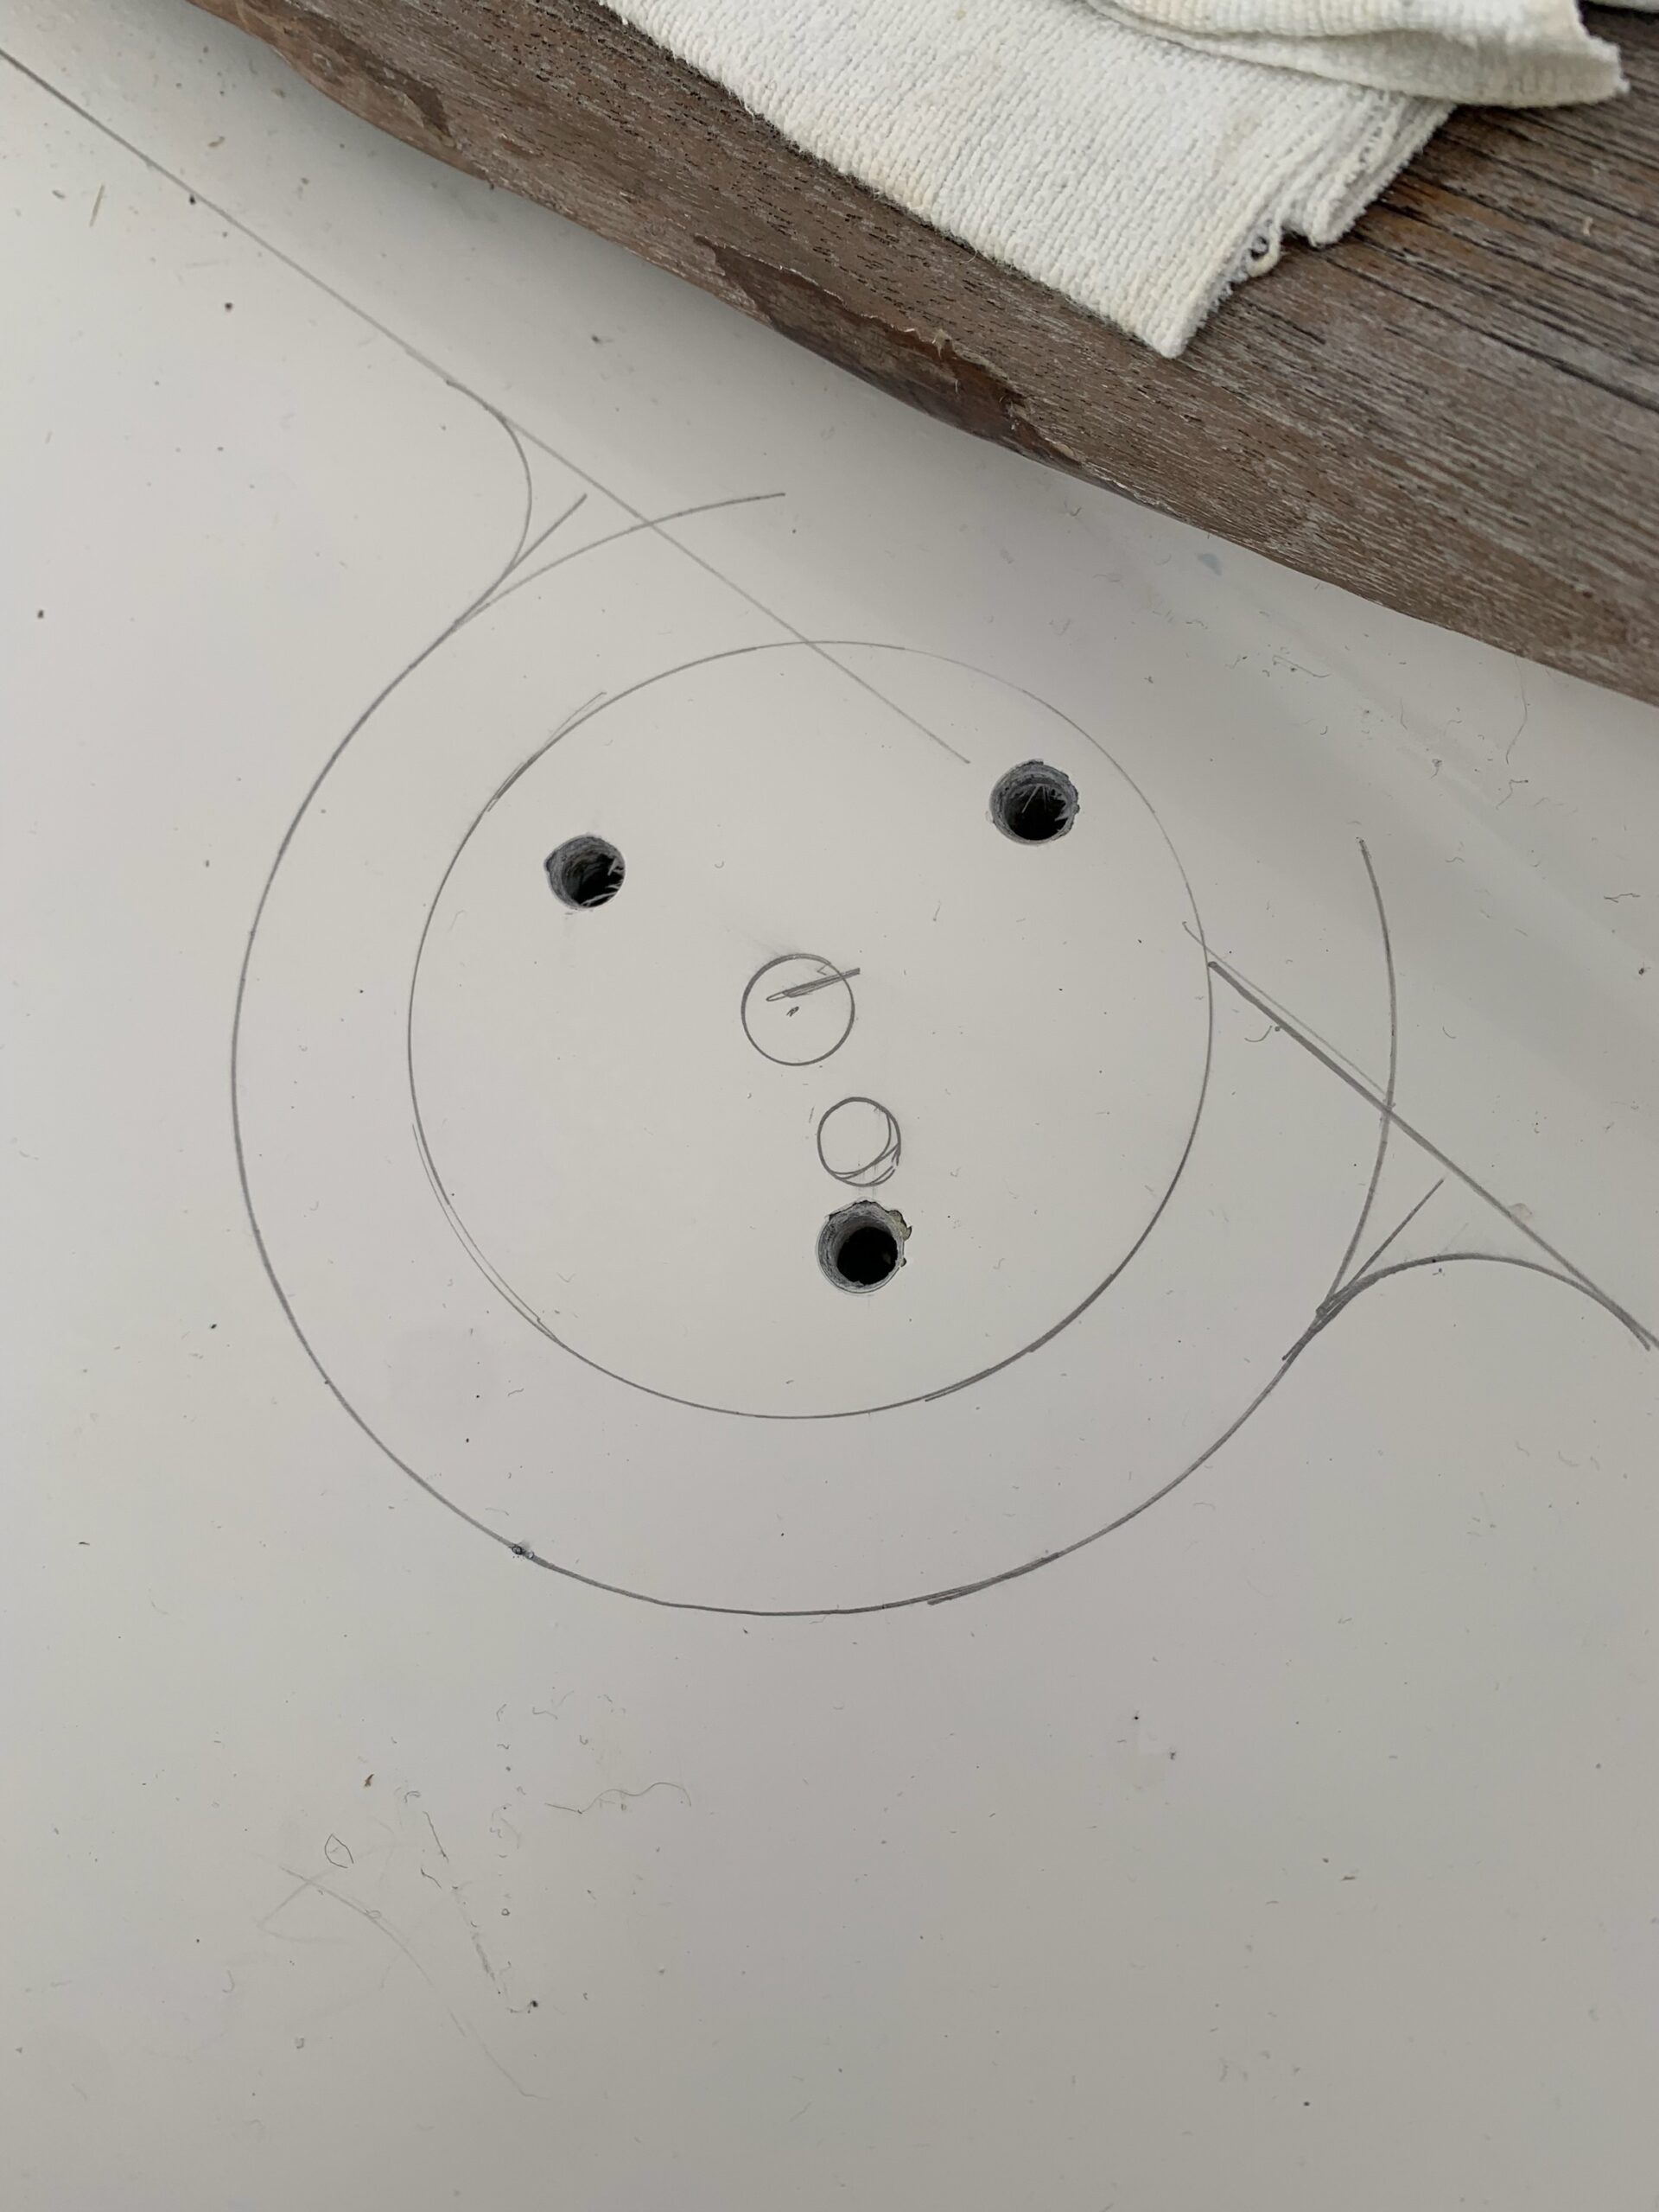
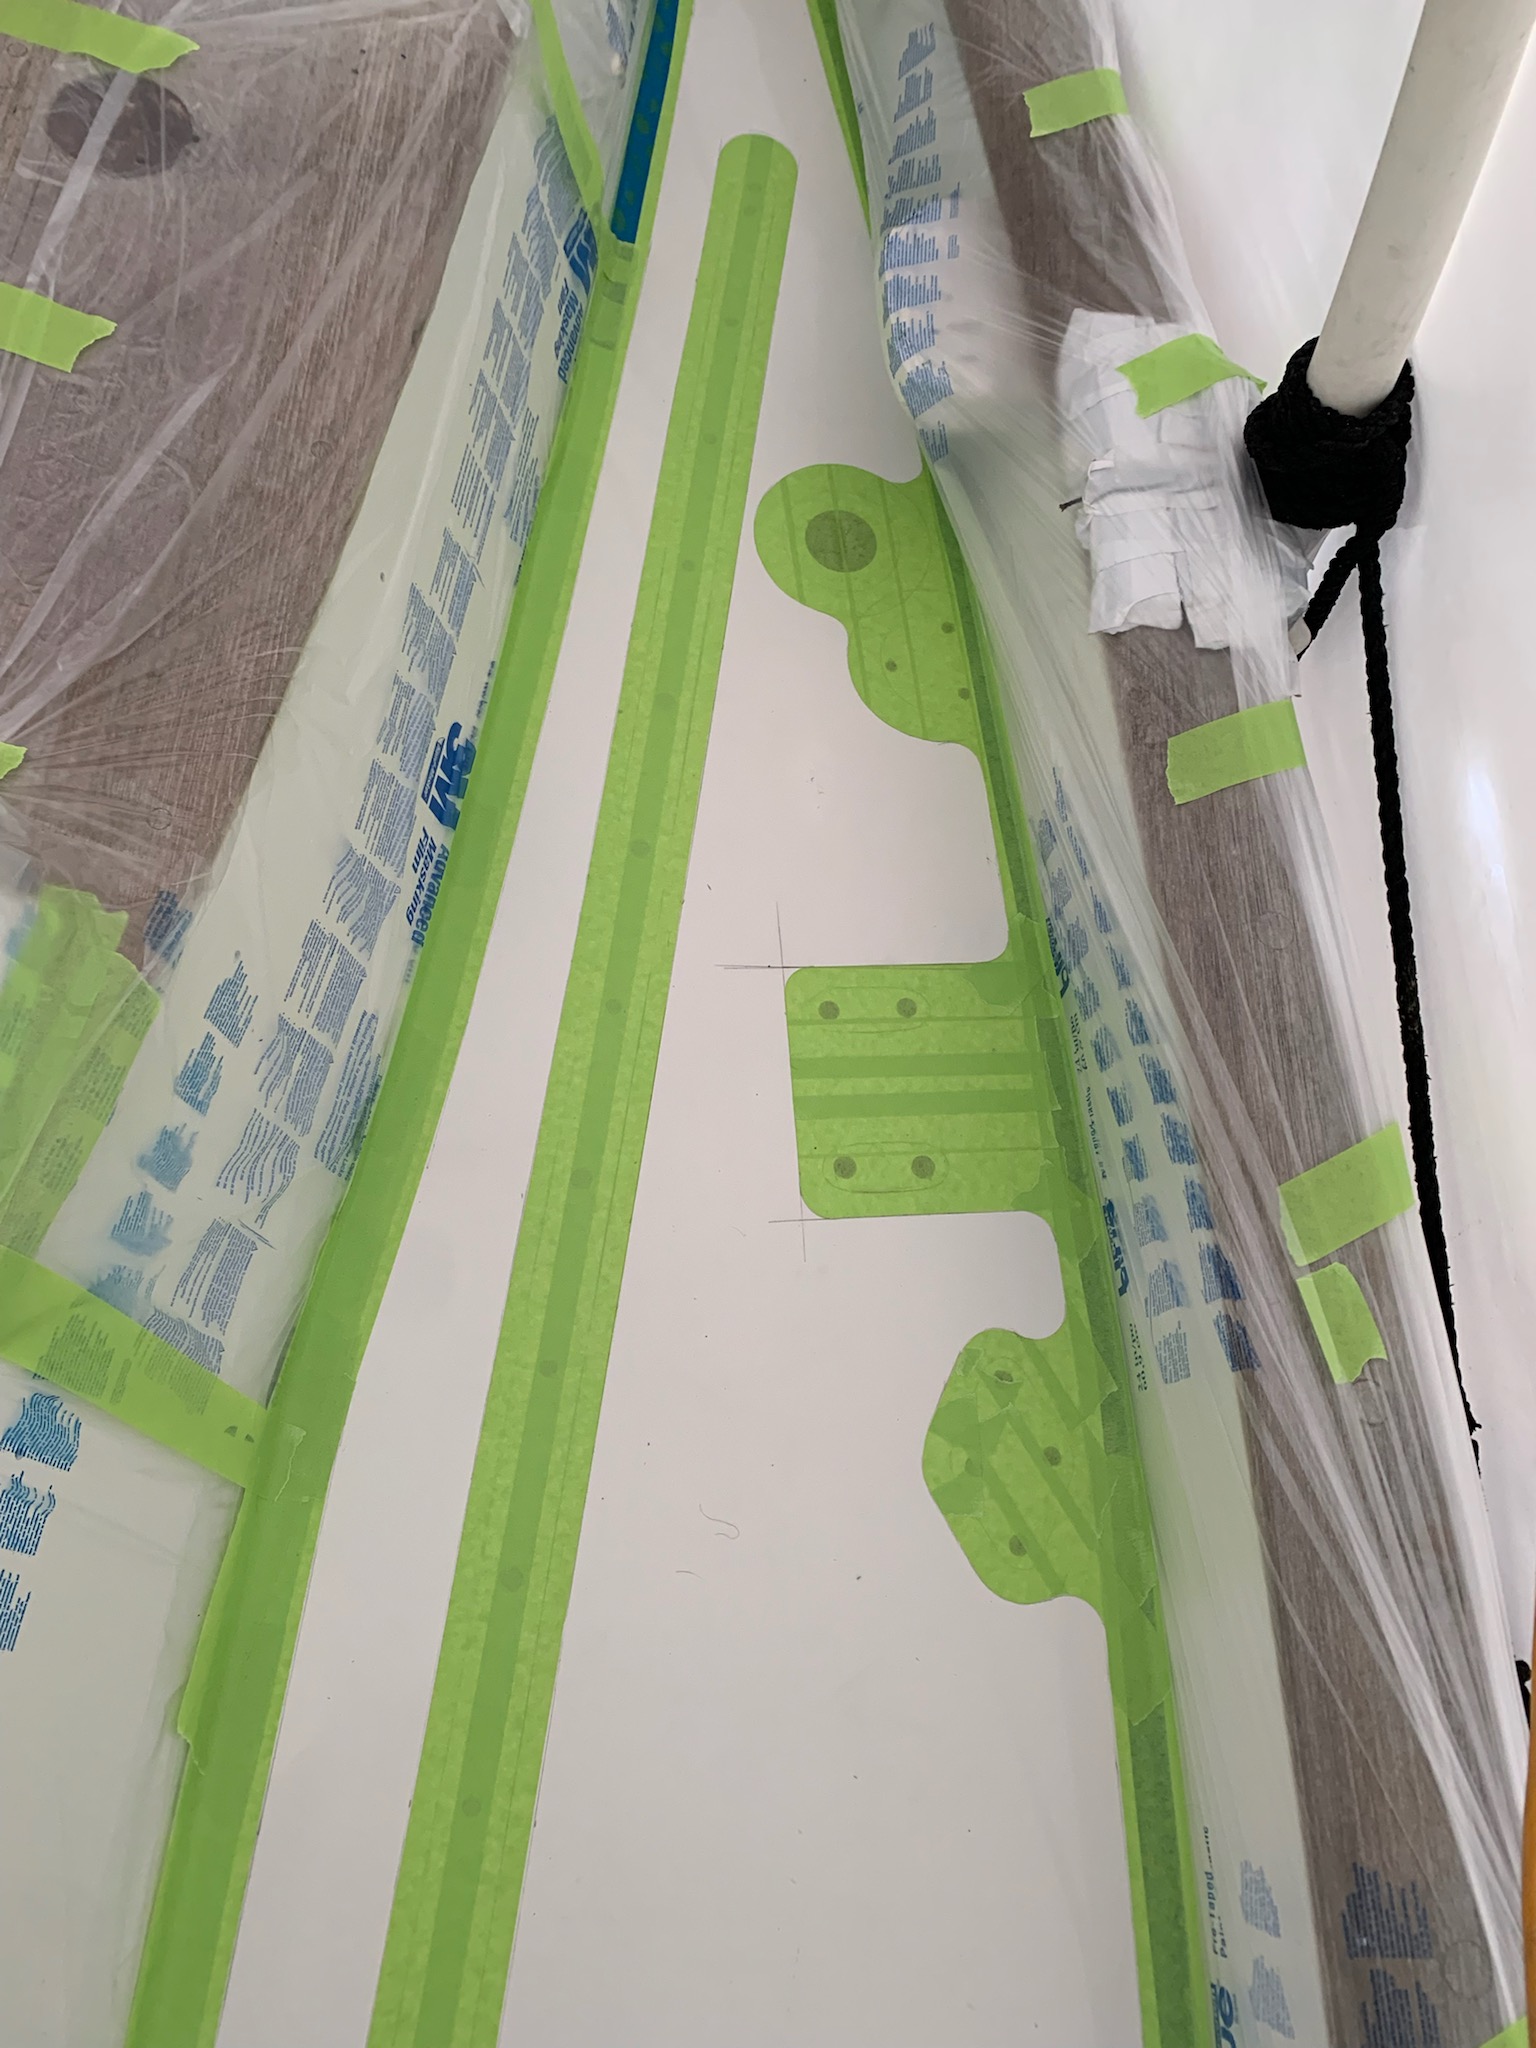
Ethan draws out the hardware and adds a gap for the nonskid.
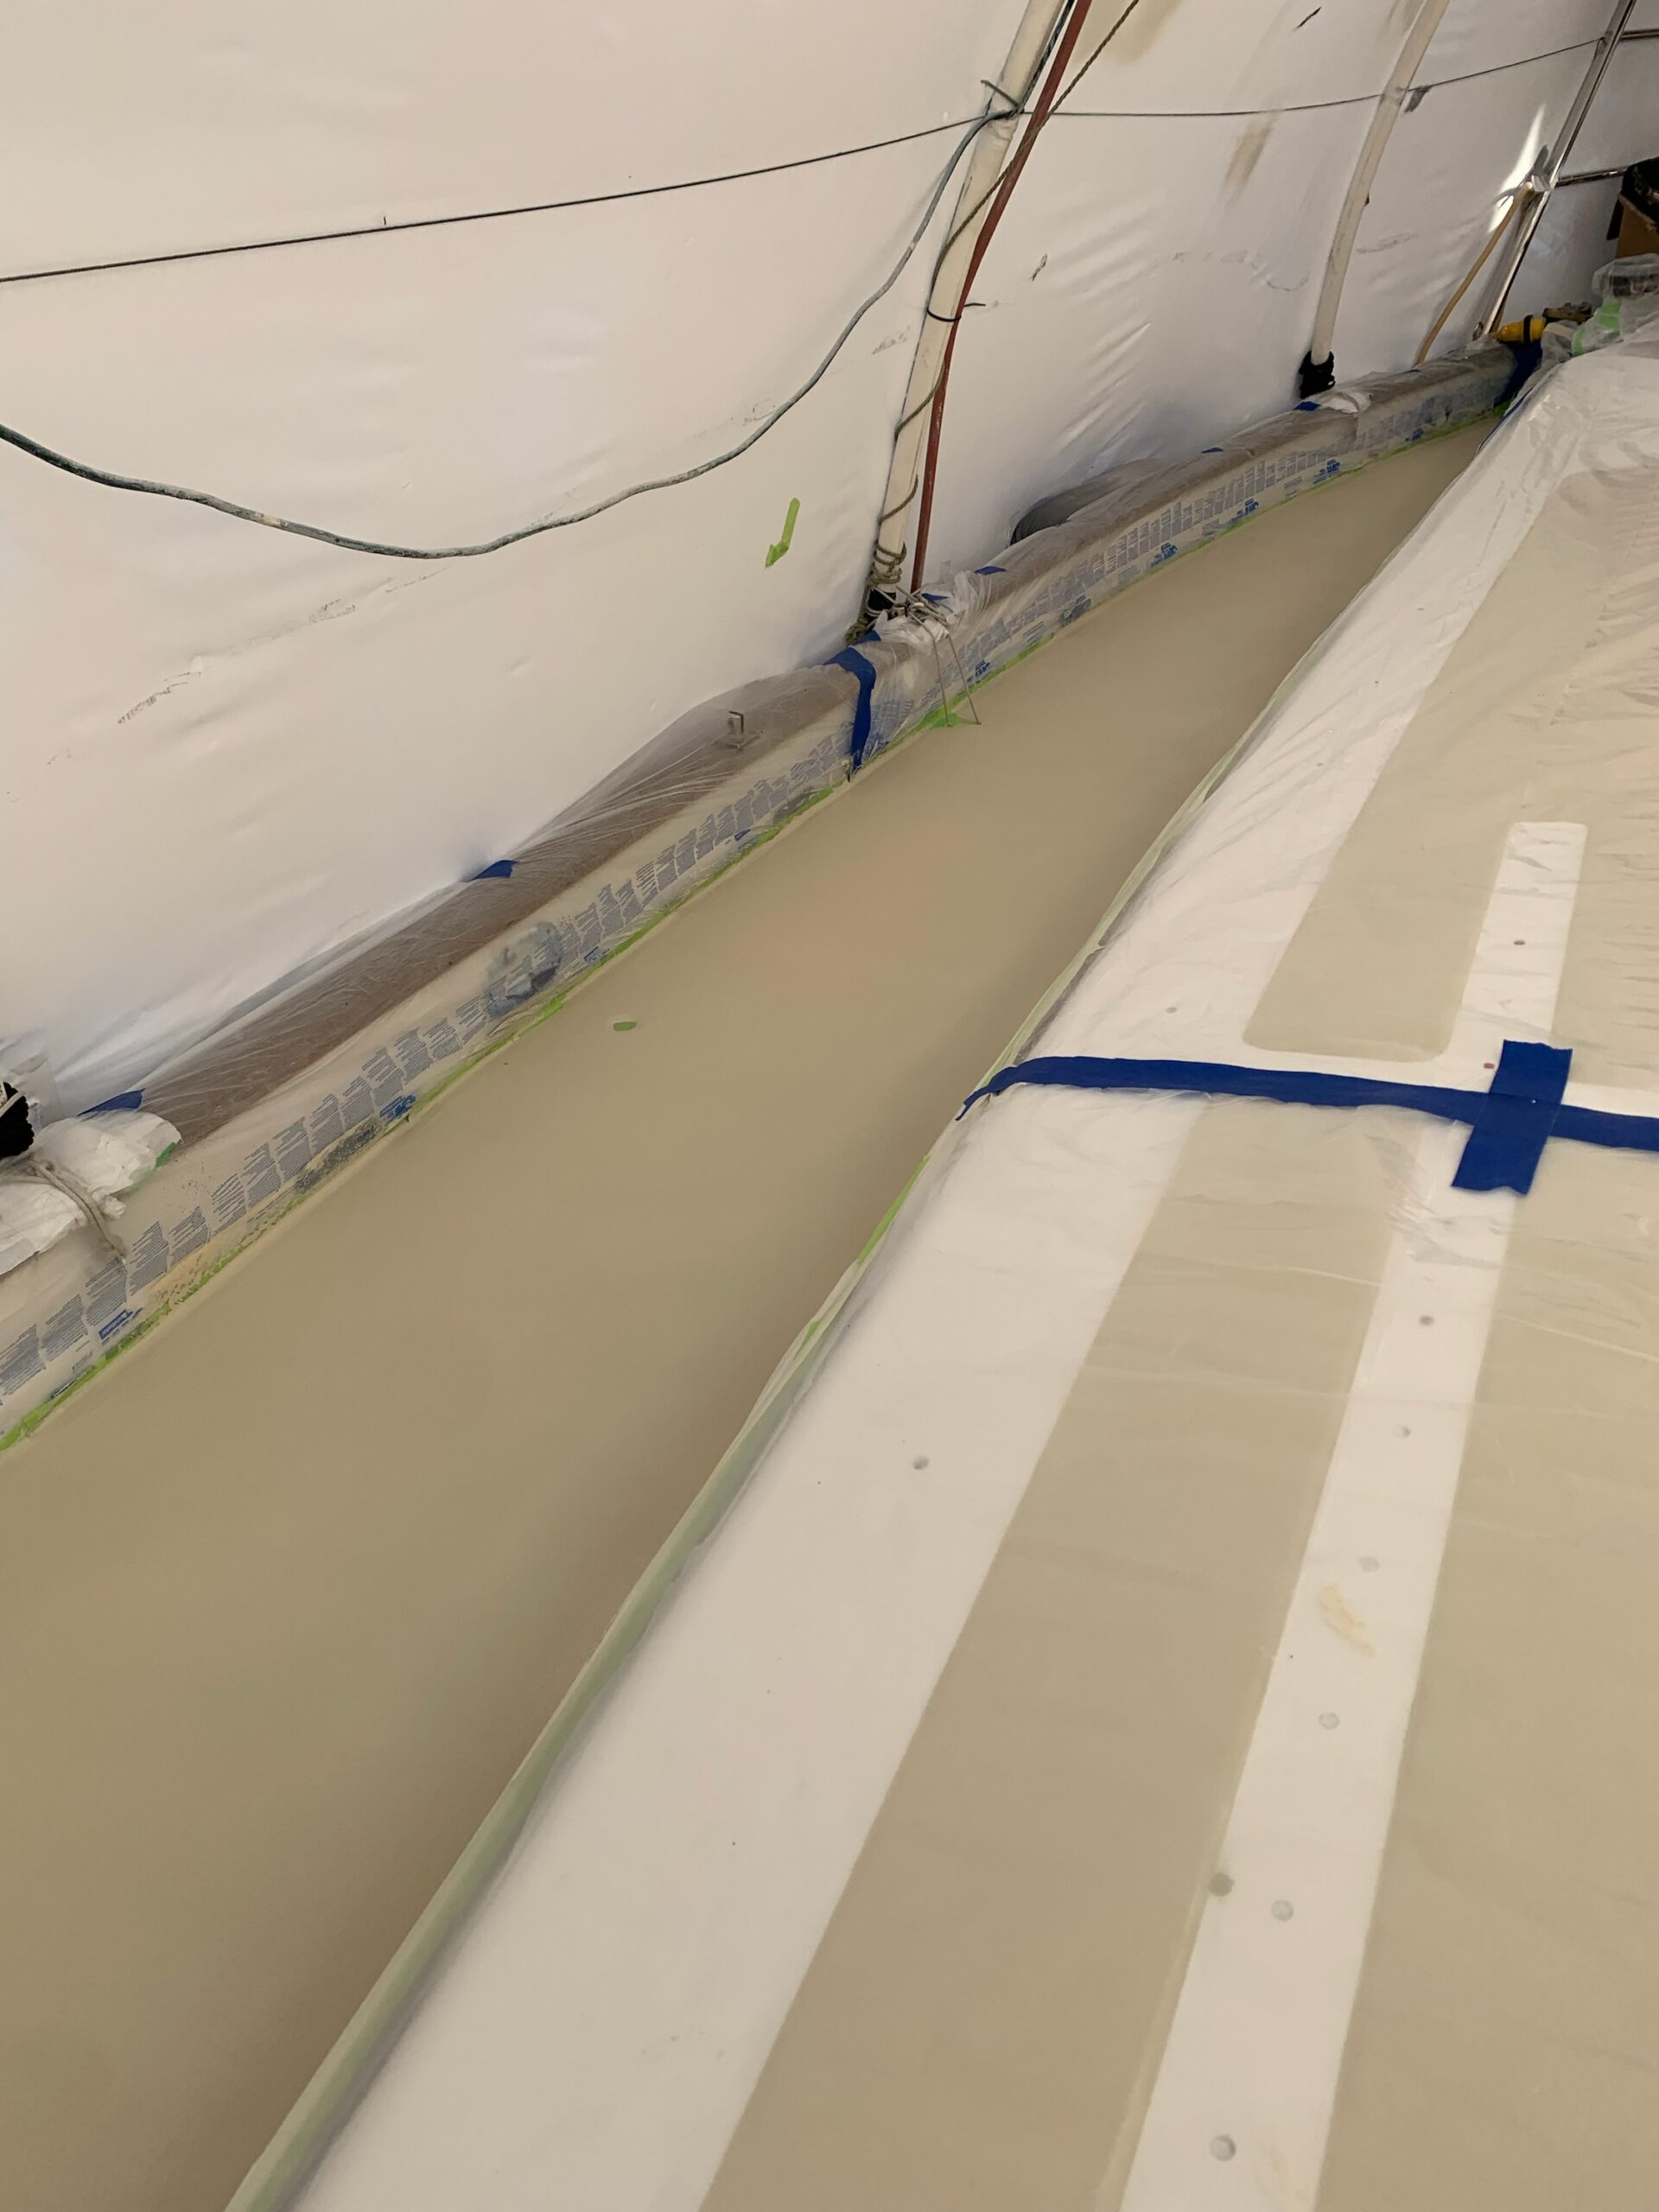
Then they tape over everything that doesn’t get awlgrip painted over it. And start sanding again.
Once again I’m blown away by the level of detail.
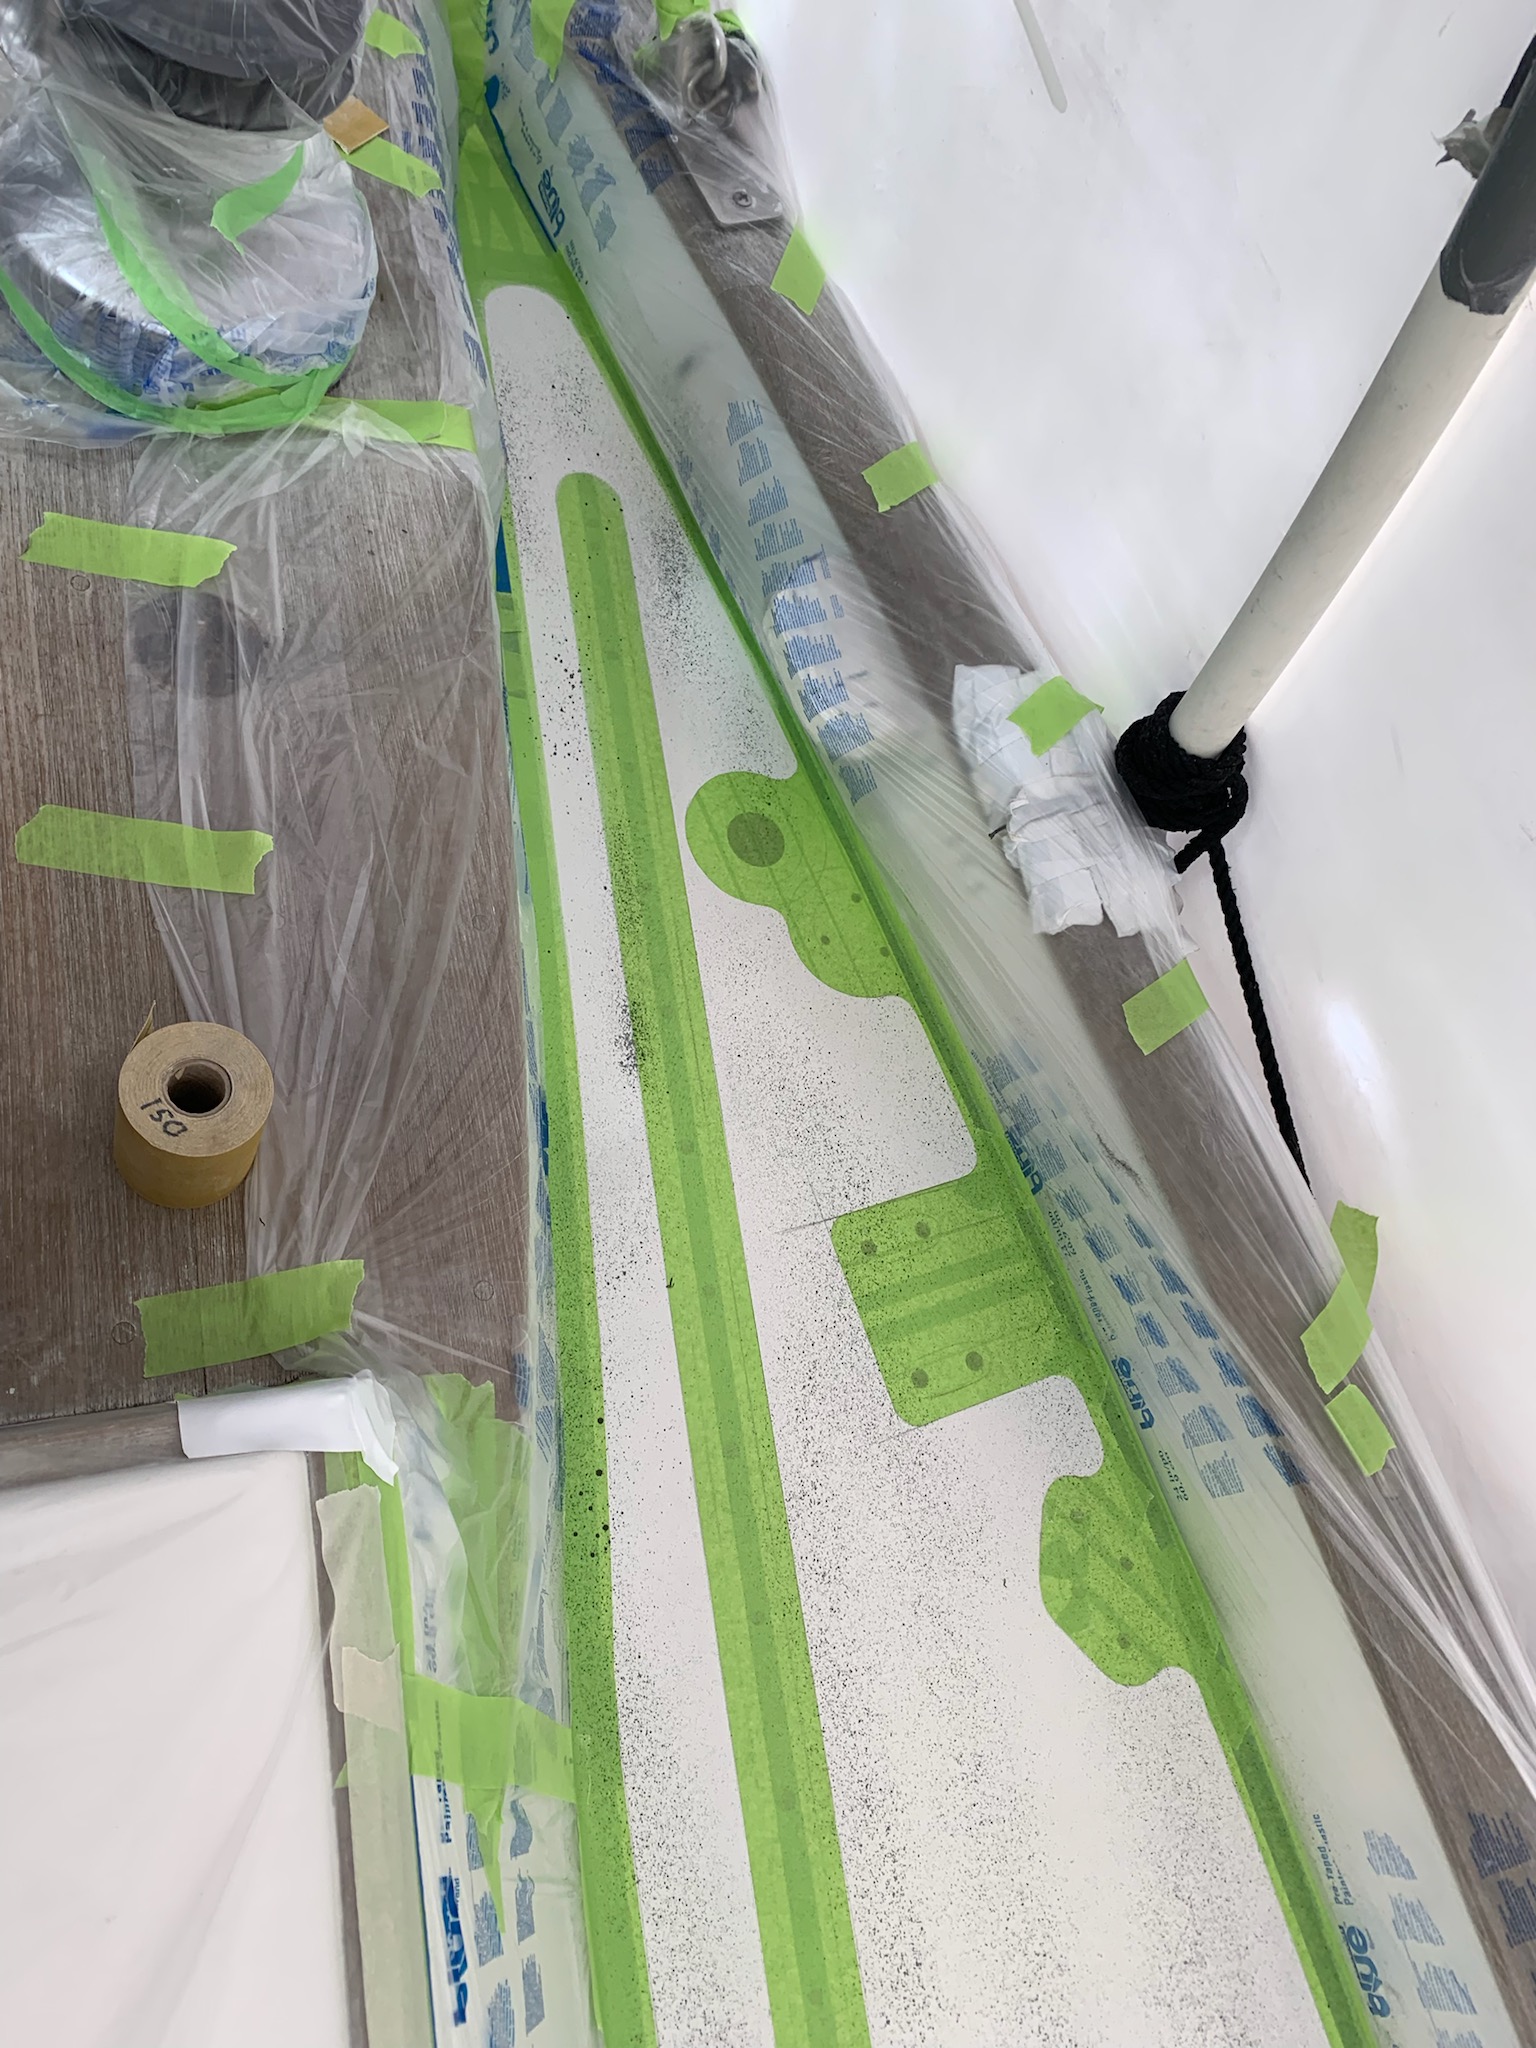
Seems like a crime to sand the gelcoat they just polished, but the awlgrip needs to stick to the deck.
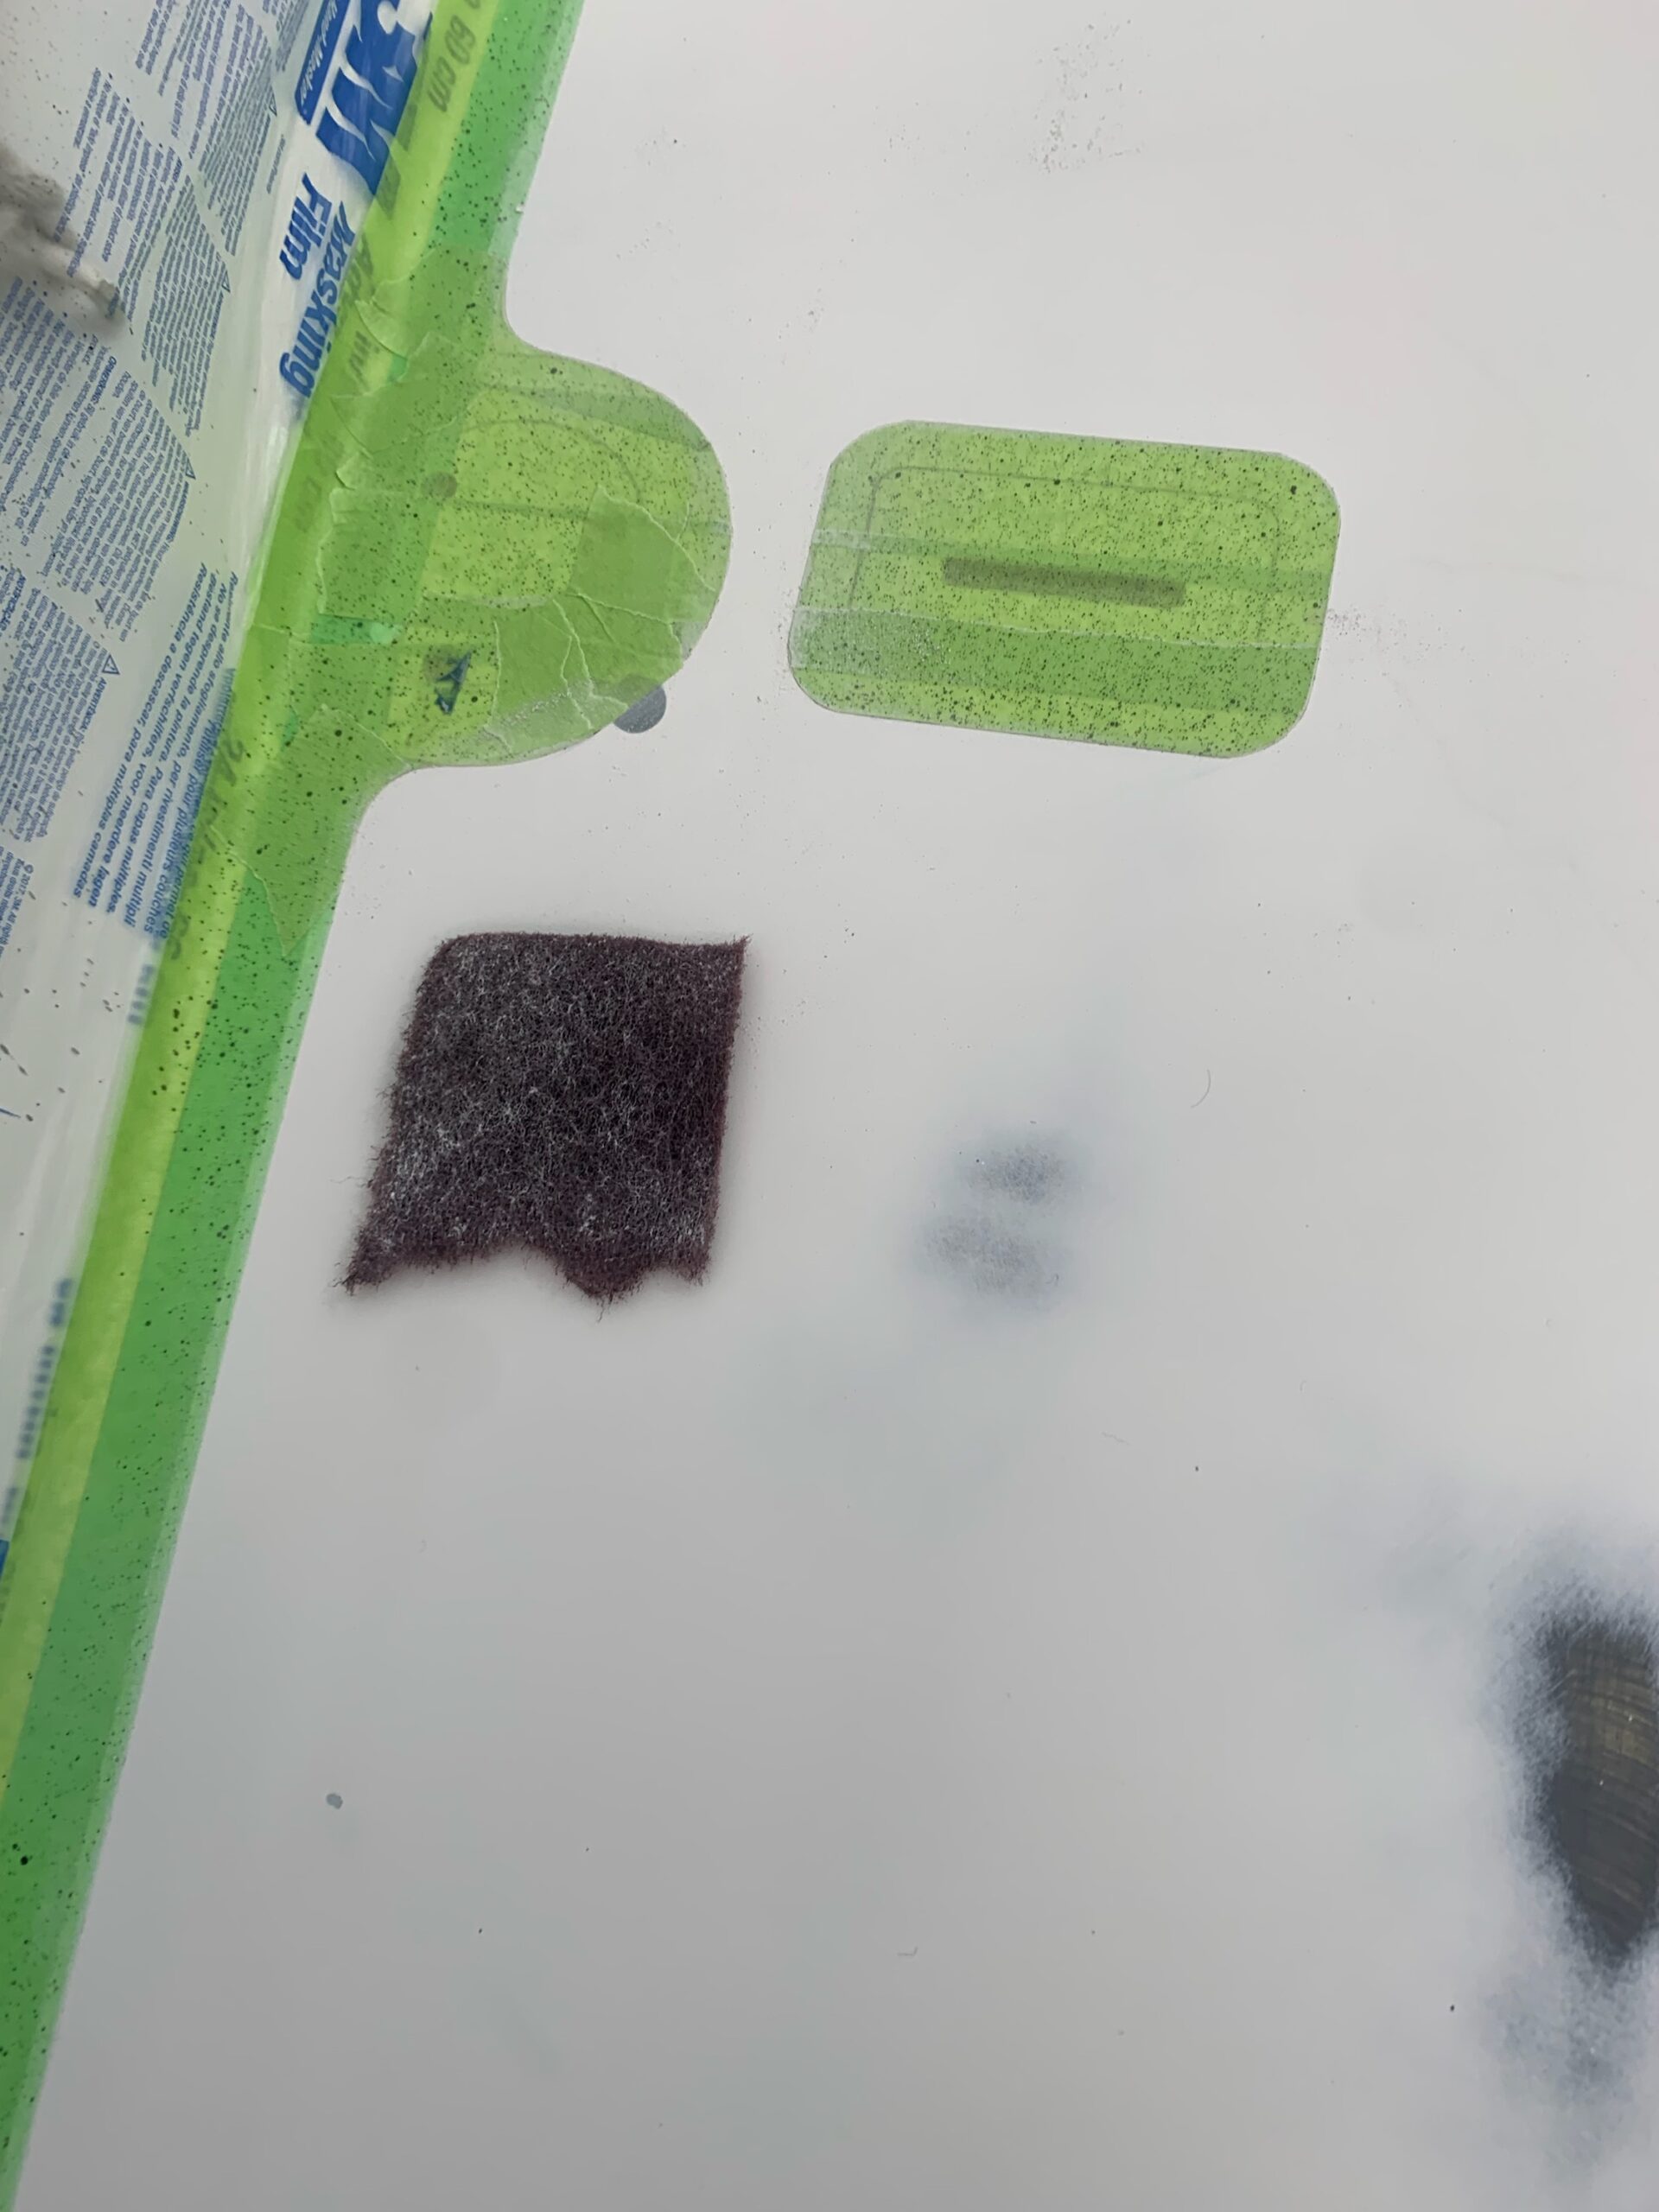
Most of it is power sanded with a machine, but the detail around the tape needs to be hand sanded with a little scrubby.

Then it’s time for coat one of four over the top of the sanded gelcoat and taped off areas.

It looks like a bit of a science project. But again we’re grateful they’re being cautious and safety conscious. The do have big fans and blowers running inside the tarp.
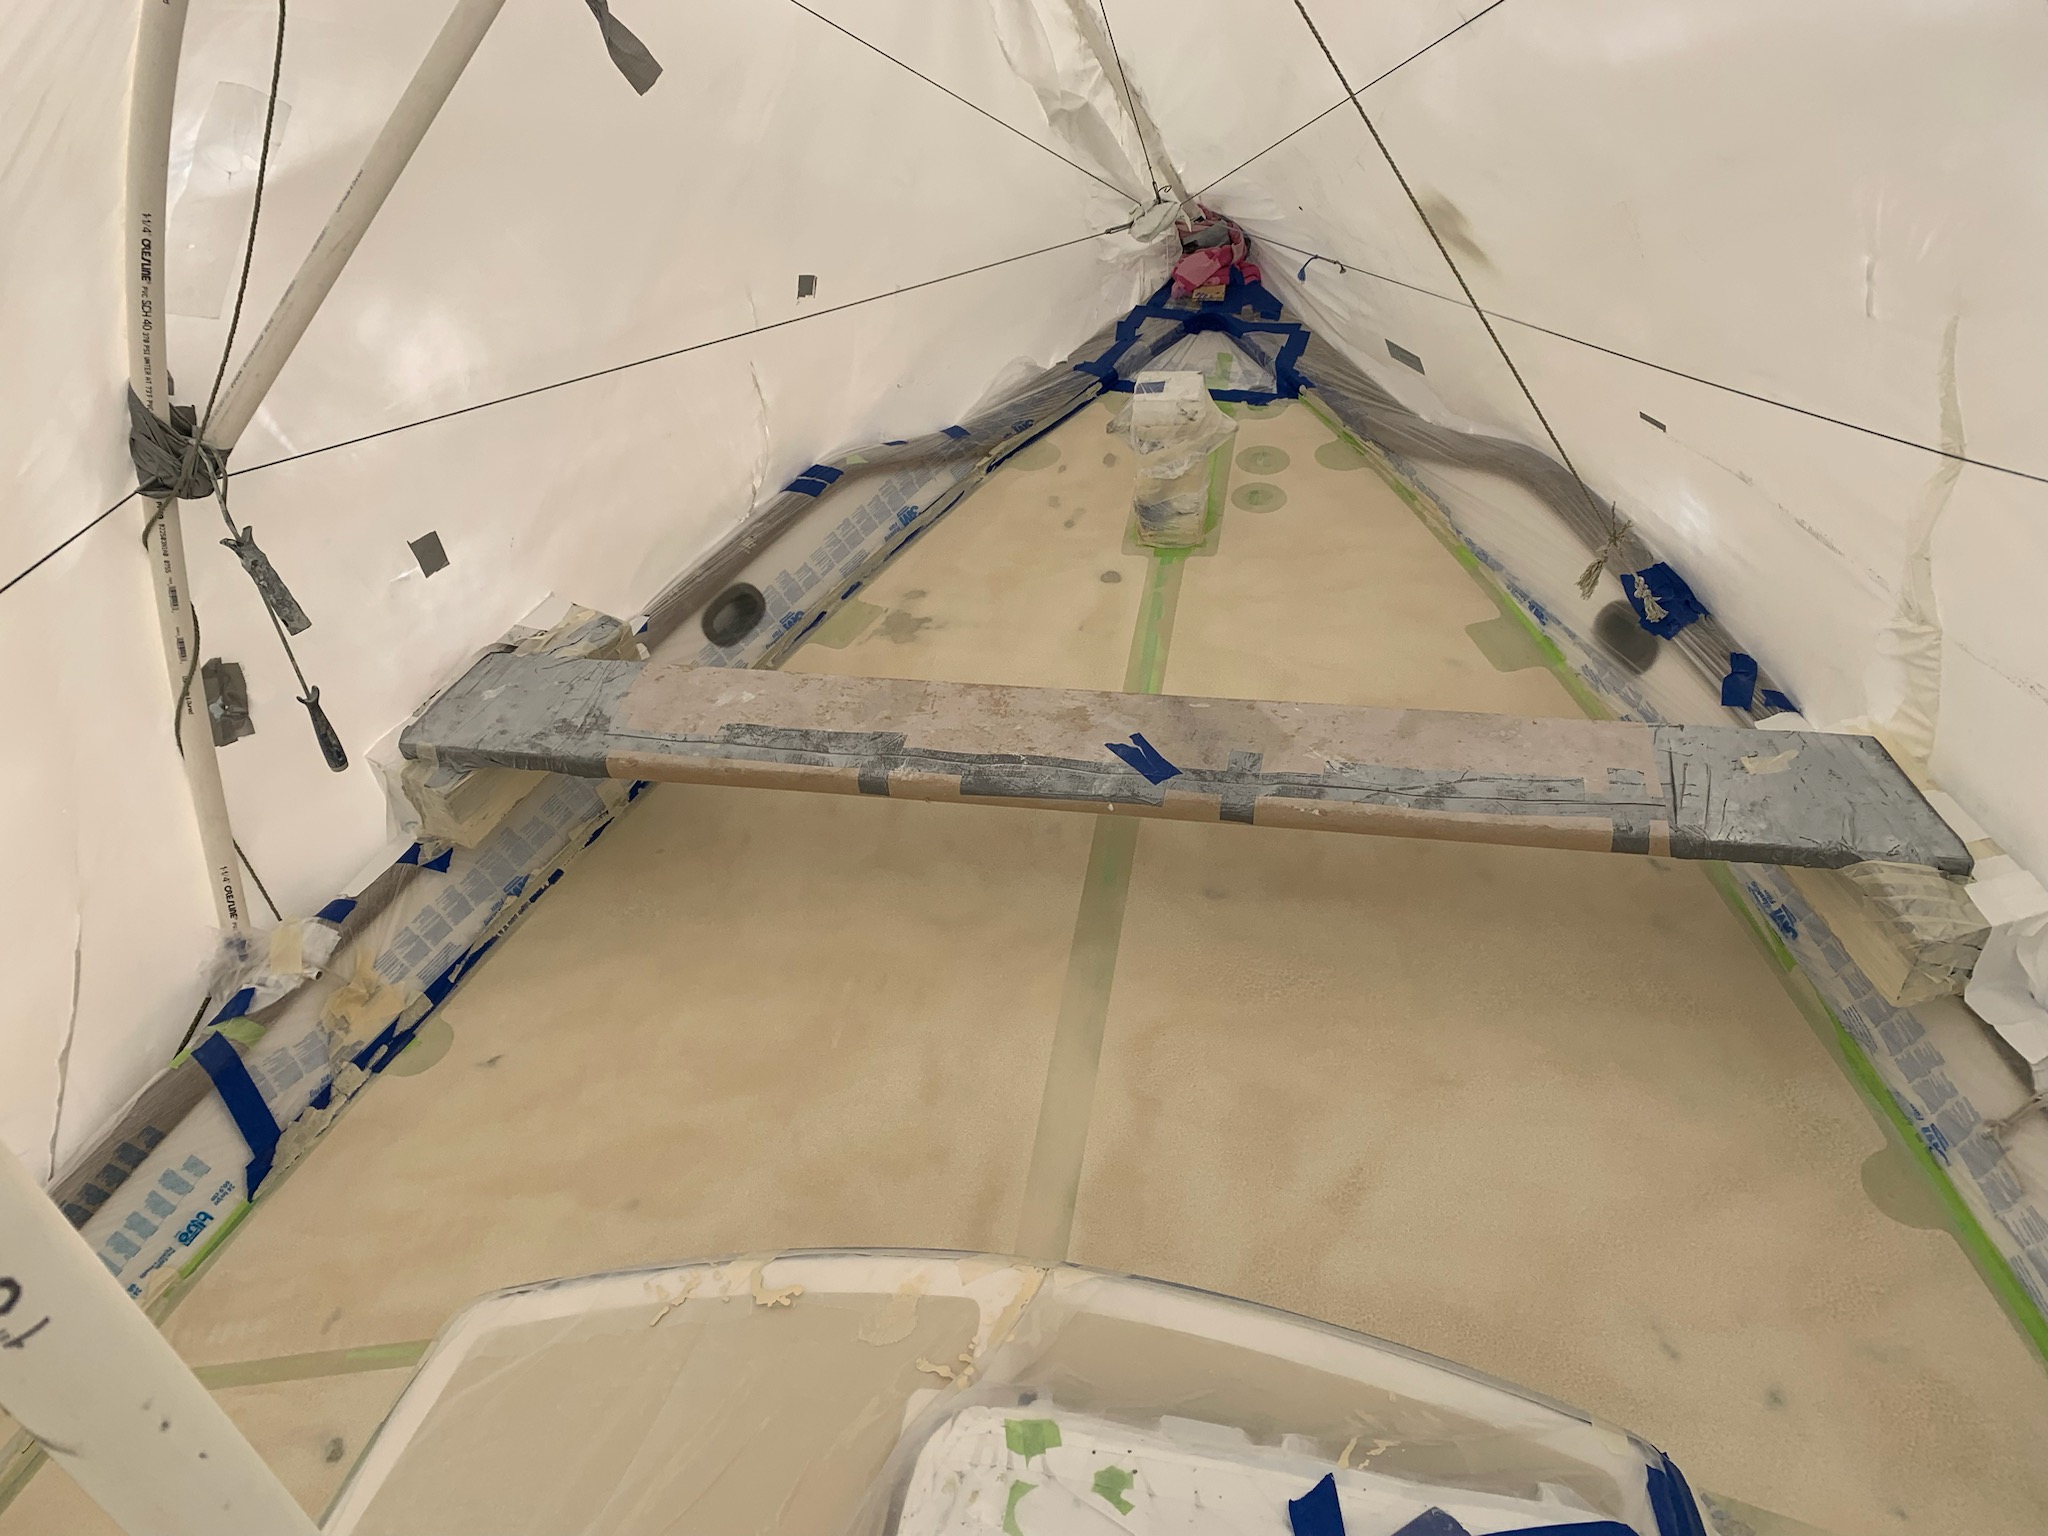
I’m not sure about the gymnastics required with the board across the foredeck, but I’ll leave that to those who are younger than us.
Four days later we have four coats and the flattener and grippy all laid down on the decks.

They pull tape, and look, the decks are done! It took an extra two weeks to dry fit and lay out all the hardware and not just paint the entire deck and lay hardware over the top. But we’re all glad we took the time to do this and the rewards will be apparent once the hardware is all resealed.
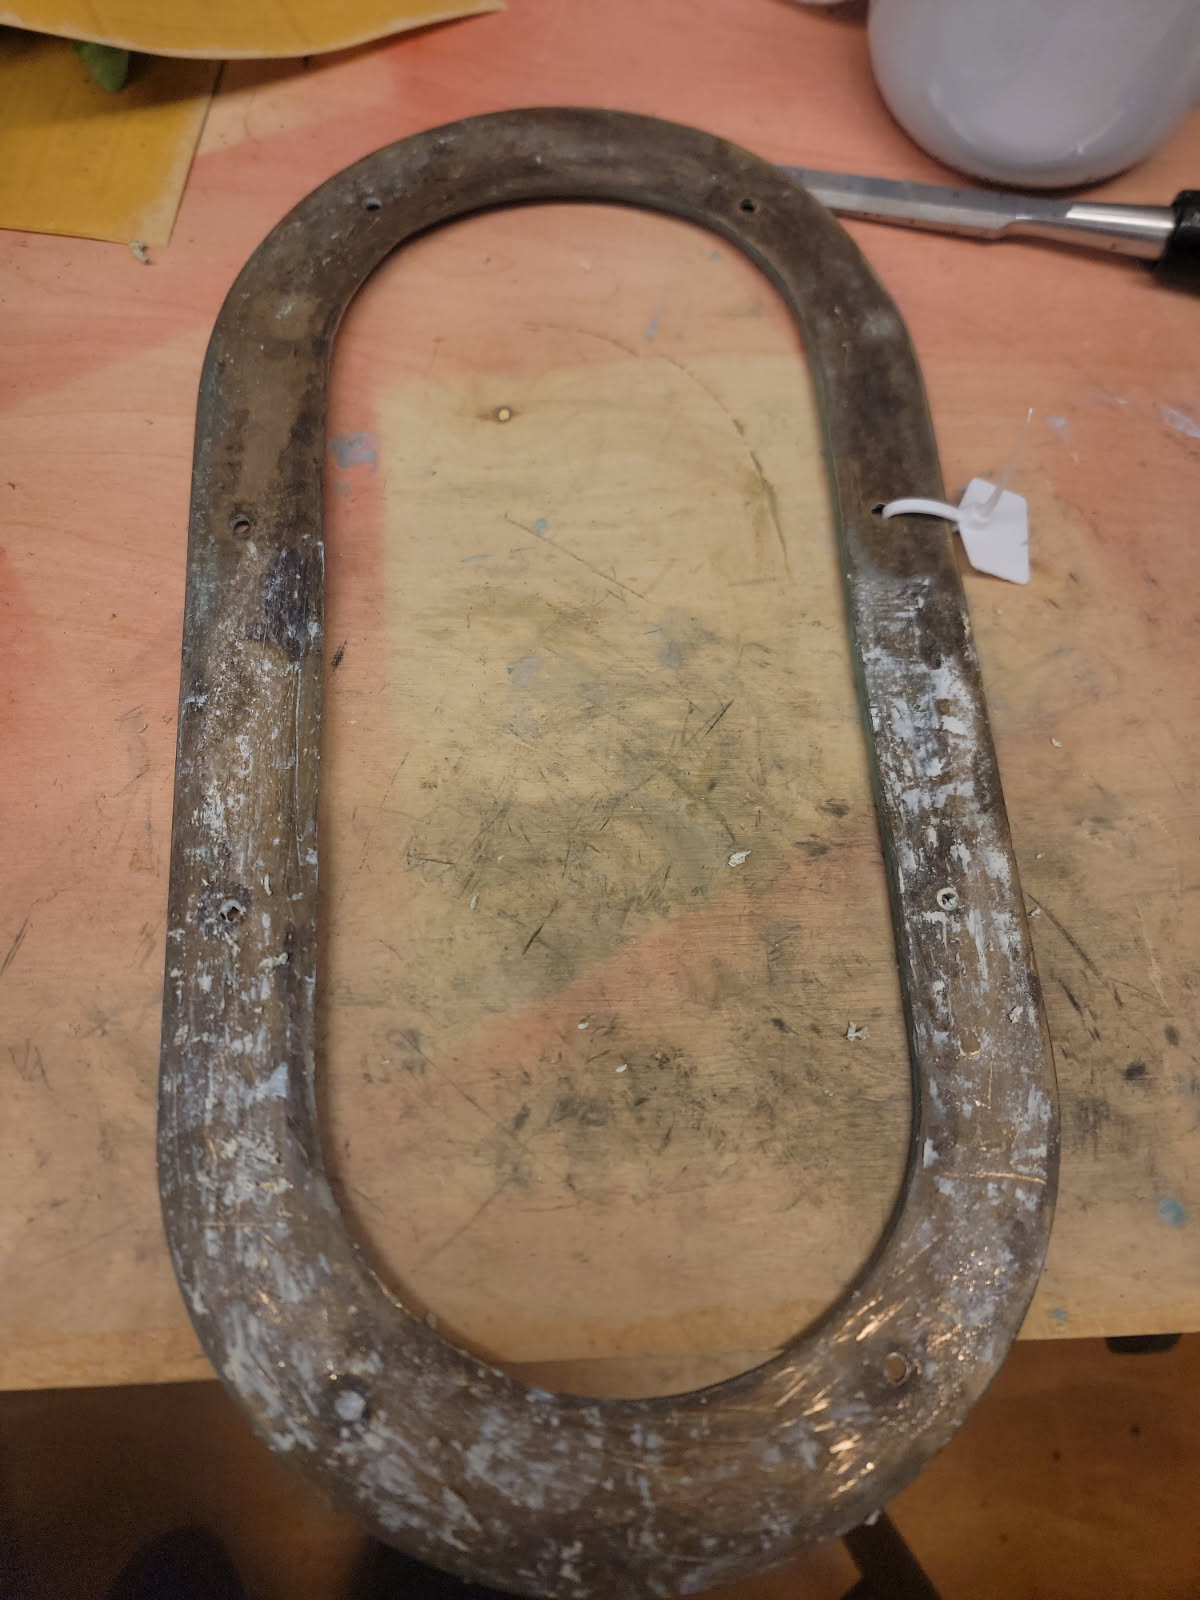
Next week we finish up the bowsprit in the shop and clean up the mast hardware. I’m struggling about what to do with the trim rings for the portlights. Port Townsend Foundry will shine them up for me using a sandblaster, but do I want them really shiny? I’ll figure that out next week.