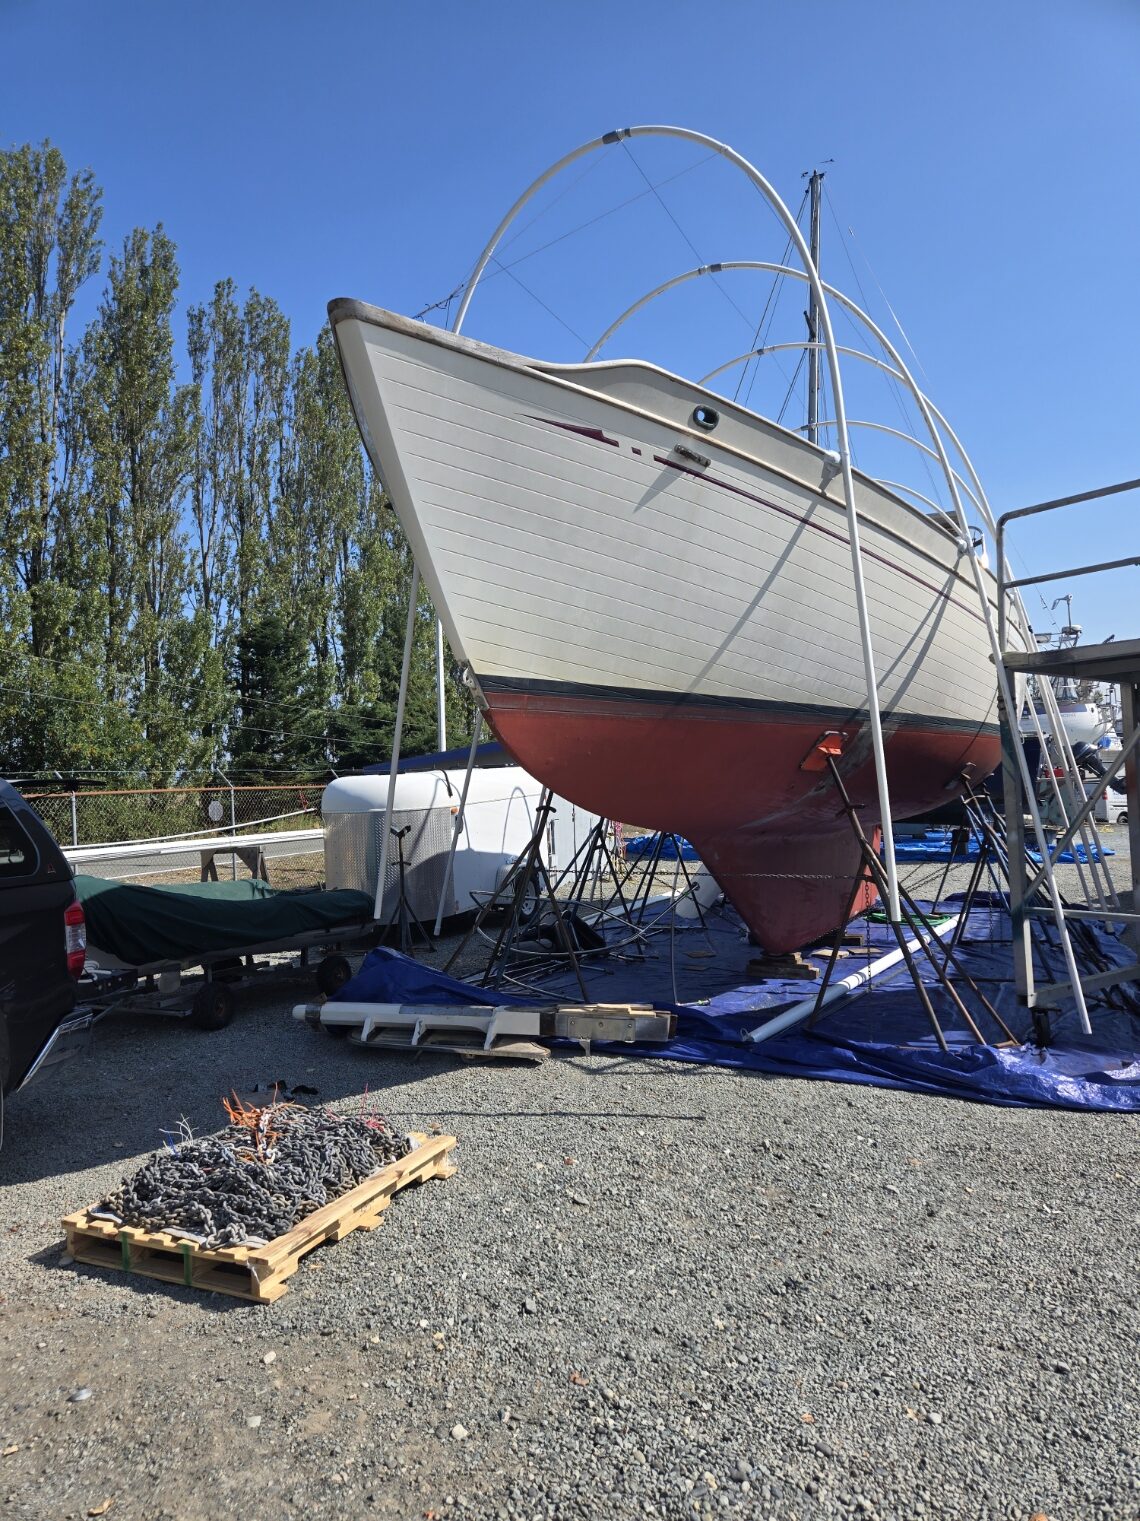
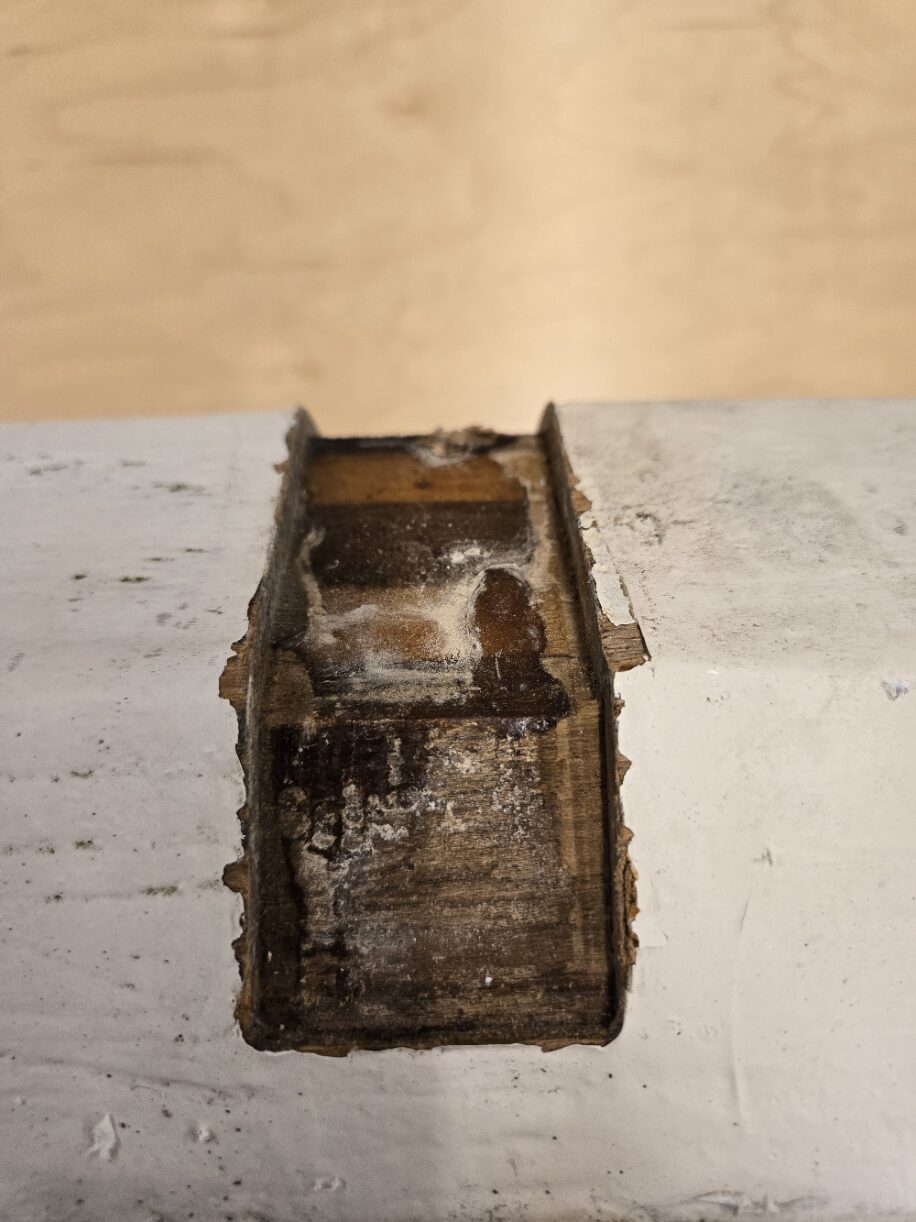
We had to access the wood decking under the bowsprit, so we removed it from the boat. A few things became apparent once it was off. The first was the Samson post is rotting and needs replacement, we’ll address that later. The other is the bowsprit was delaminating. The original bowsprit is laminated teak and holly, which everyone seems to think was a bad idea. In addition to delamination, there were several places where the holly was rotten. Clearly the bowsprit needs replacing, back to my shop it goes.
To be clear, I have never built a bowsprit before. I am not a spar builder, and I am not one of those ancient woodworkers who grew up on hand tools and can turn a lump of wood into a perfectly symmetrical spar just by eyeballing my work. I build things by precision cutting wood and assembling. I am hoping I can figure out how to build a bowsprit rather than crafting one through relentless hand work with a draw knife and hand planes.
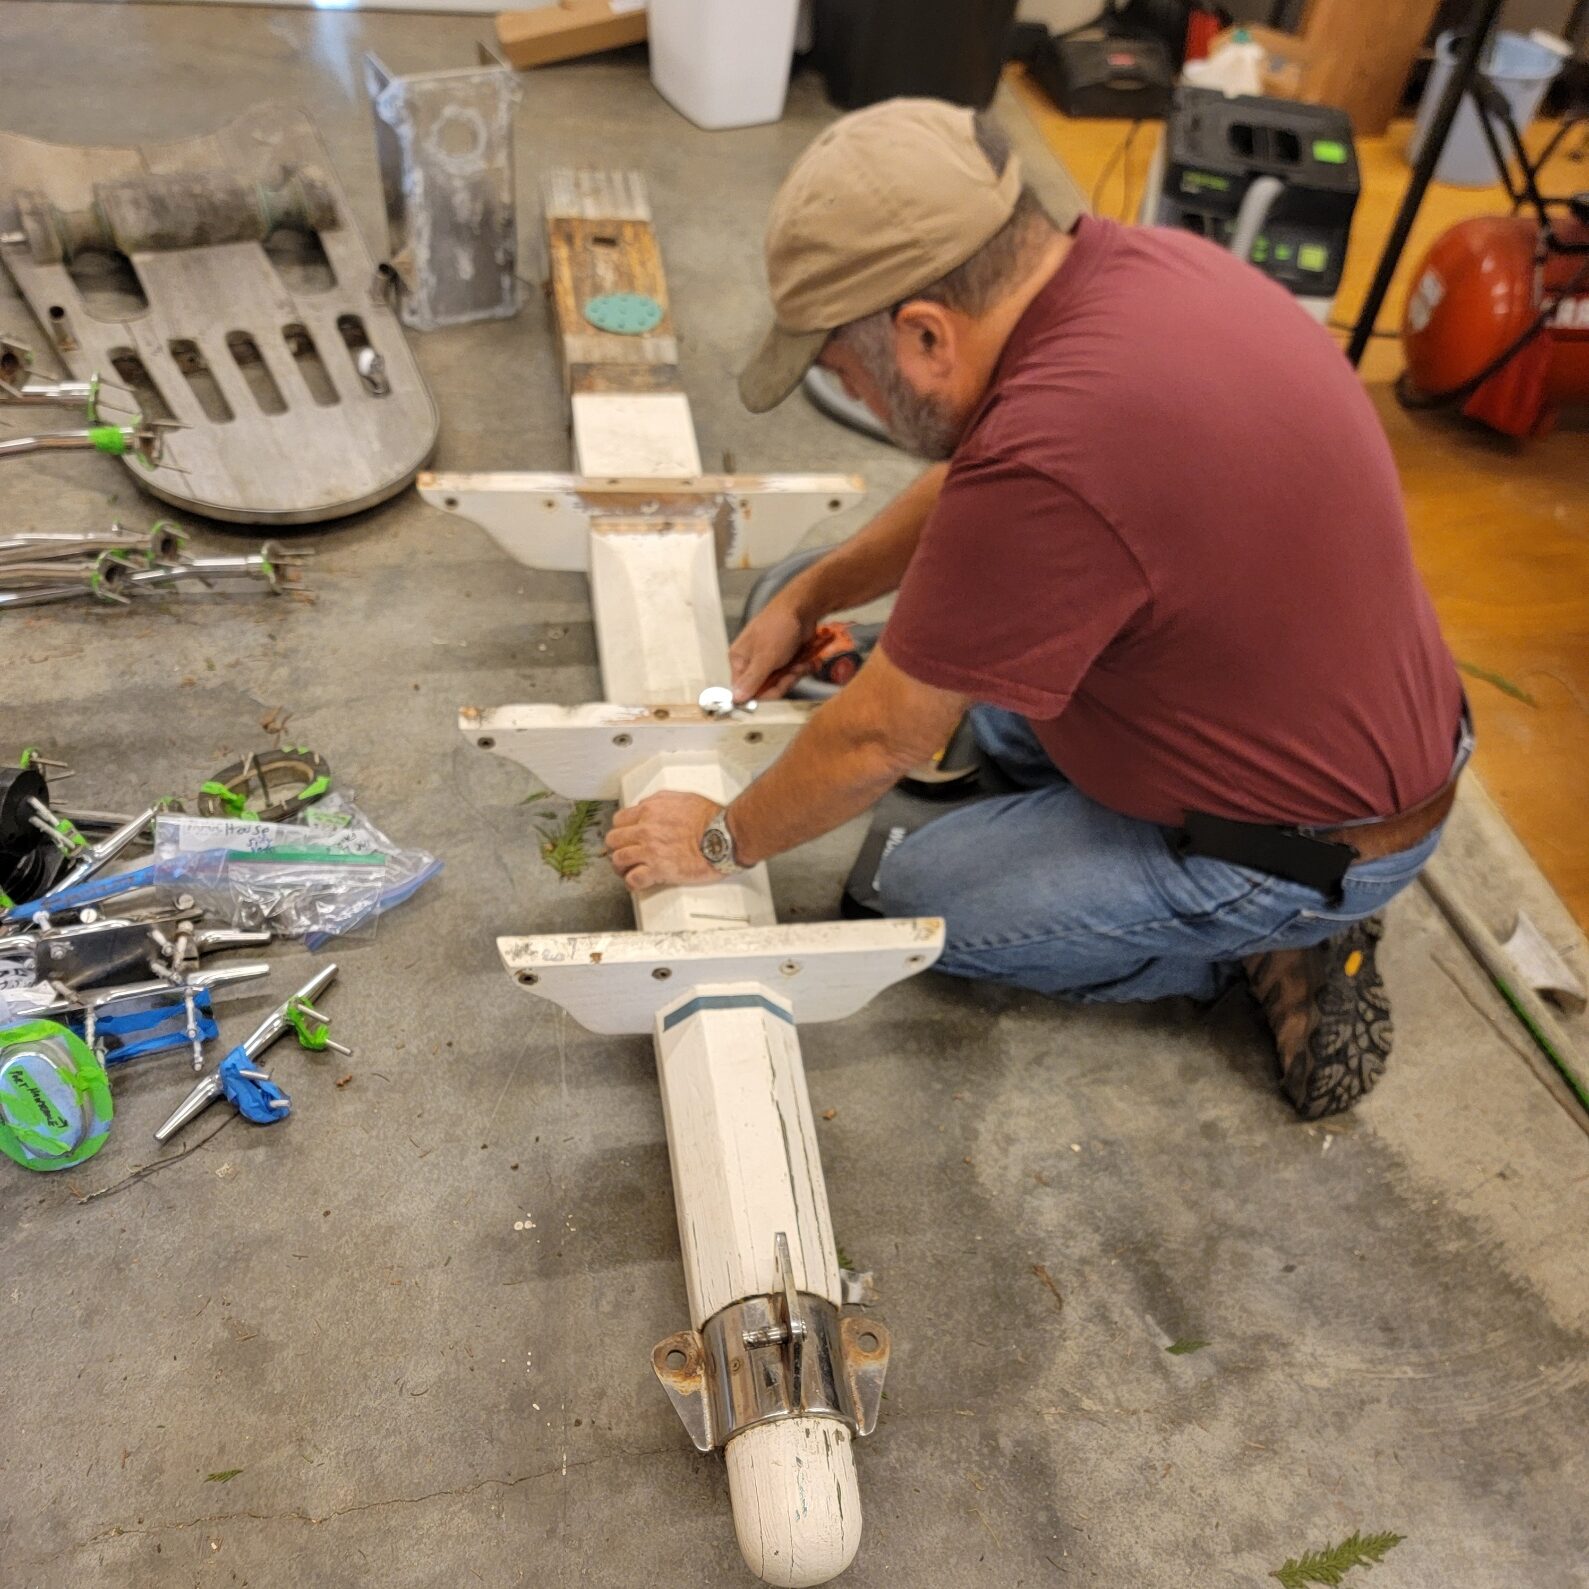
I’m just going to take it apart and figure out how to construct a new one. I started with the platform supports, which were screwed and glued to the bowsprit.
There was a shallow channel in the bowsprit where each platform support attached with glue and two wood screws through the top into the bowsprit.
At this point I called my friend, Garth Wilcox, who is a Naval Architect and wood boat builder. He came over and looked at the bowsprit with me. We discussed what was necessary and what wasn’t, what features of the old bowsprit were key designs or random happenstance, and a few things to improve, like wood screw alternatives. A lot of the shapes and tapers used in this bowsprit are purely vanity, not key to strength. On the other hand, I do want to duplicate the original shape, it is important to the look of the boat. But it is nice to focus on minumum dimensions to maintain strength, and realize the shapes are a little more random than they might appear. The back of the bowsprit changes ratios as it tapers forward, the octagonal section is an irregular octogon, and the whole thing starts out wider than it is tall at the samson post, and taller than it is wide at the cranse iron.
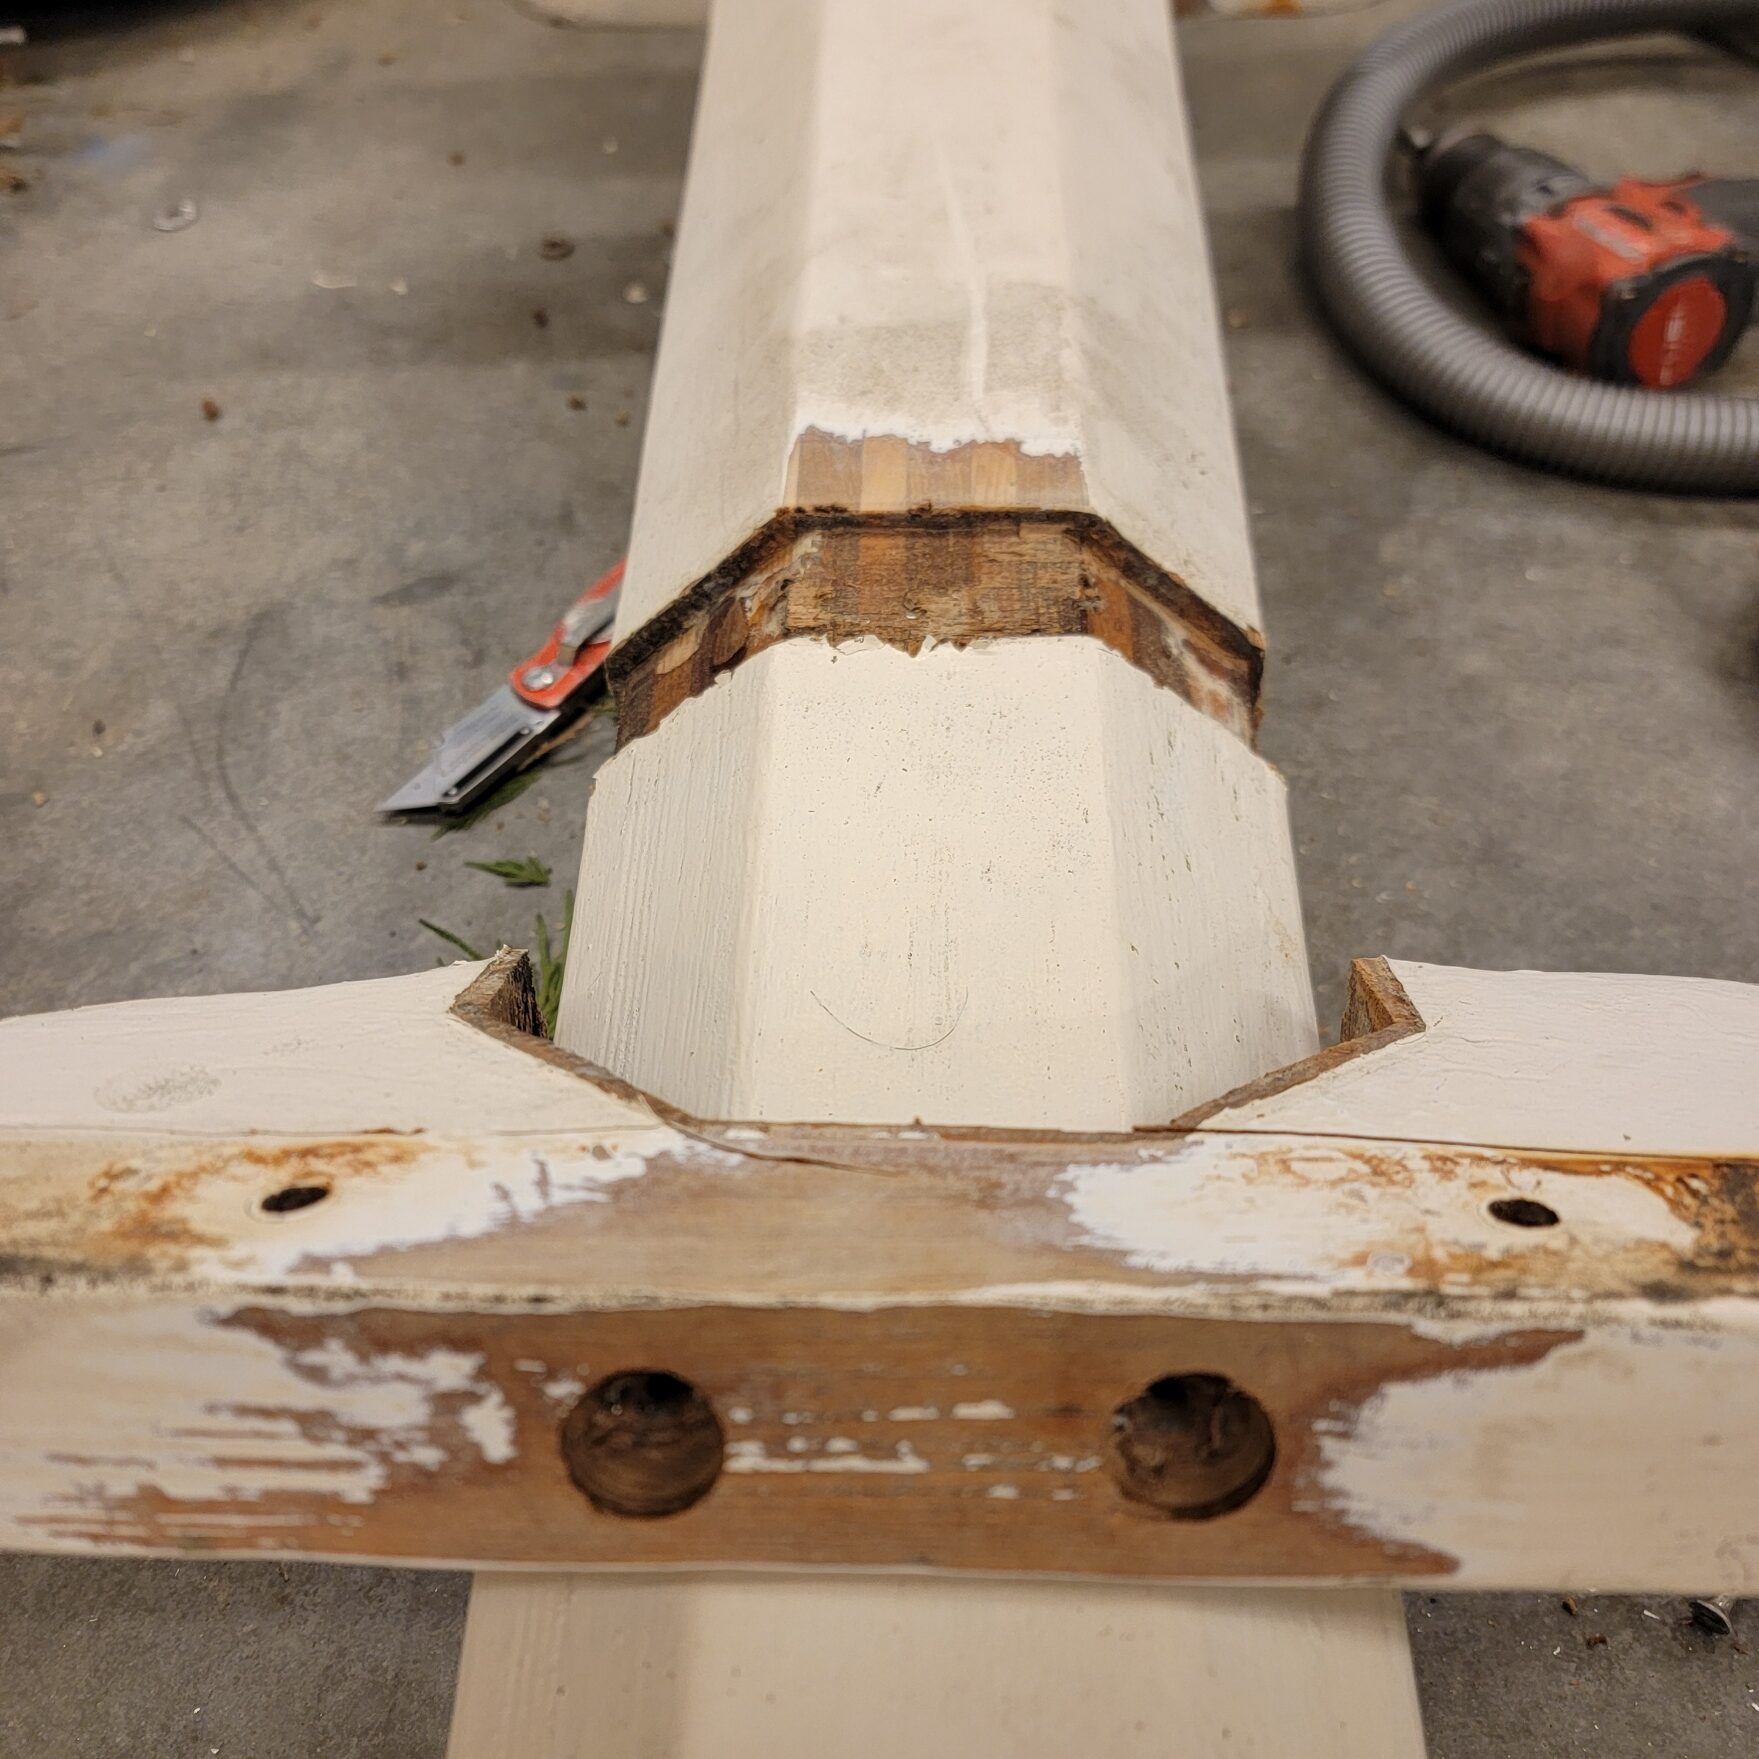
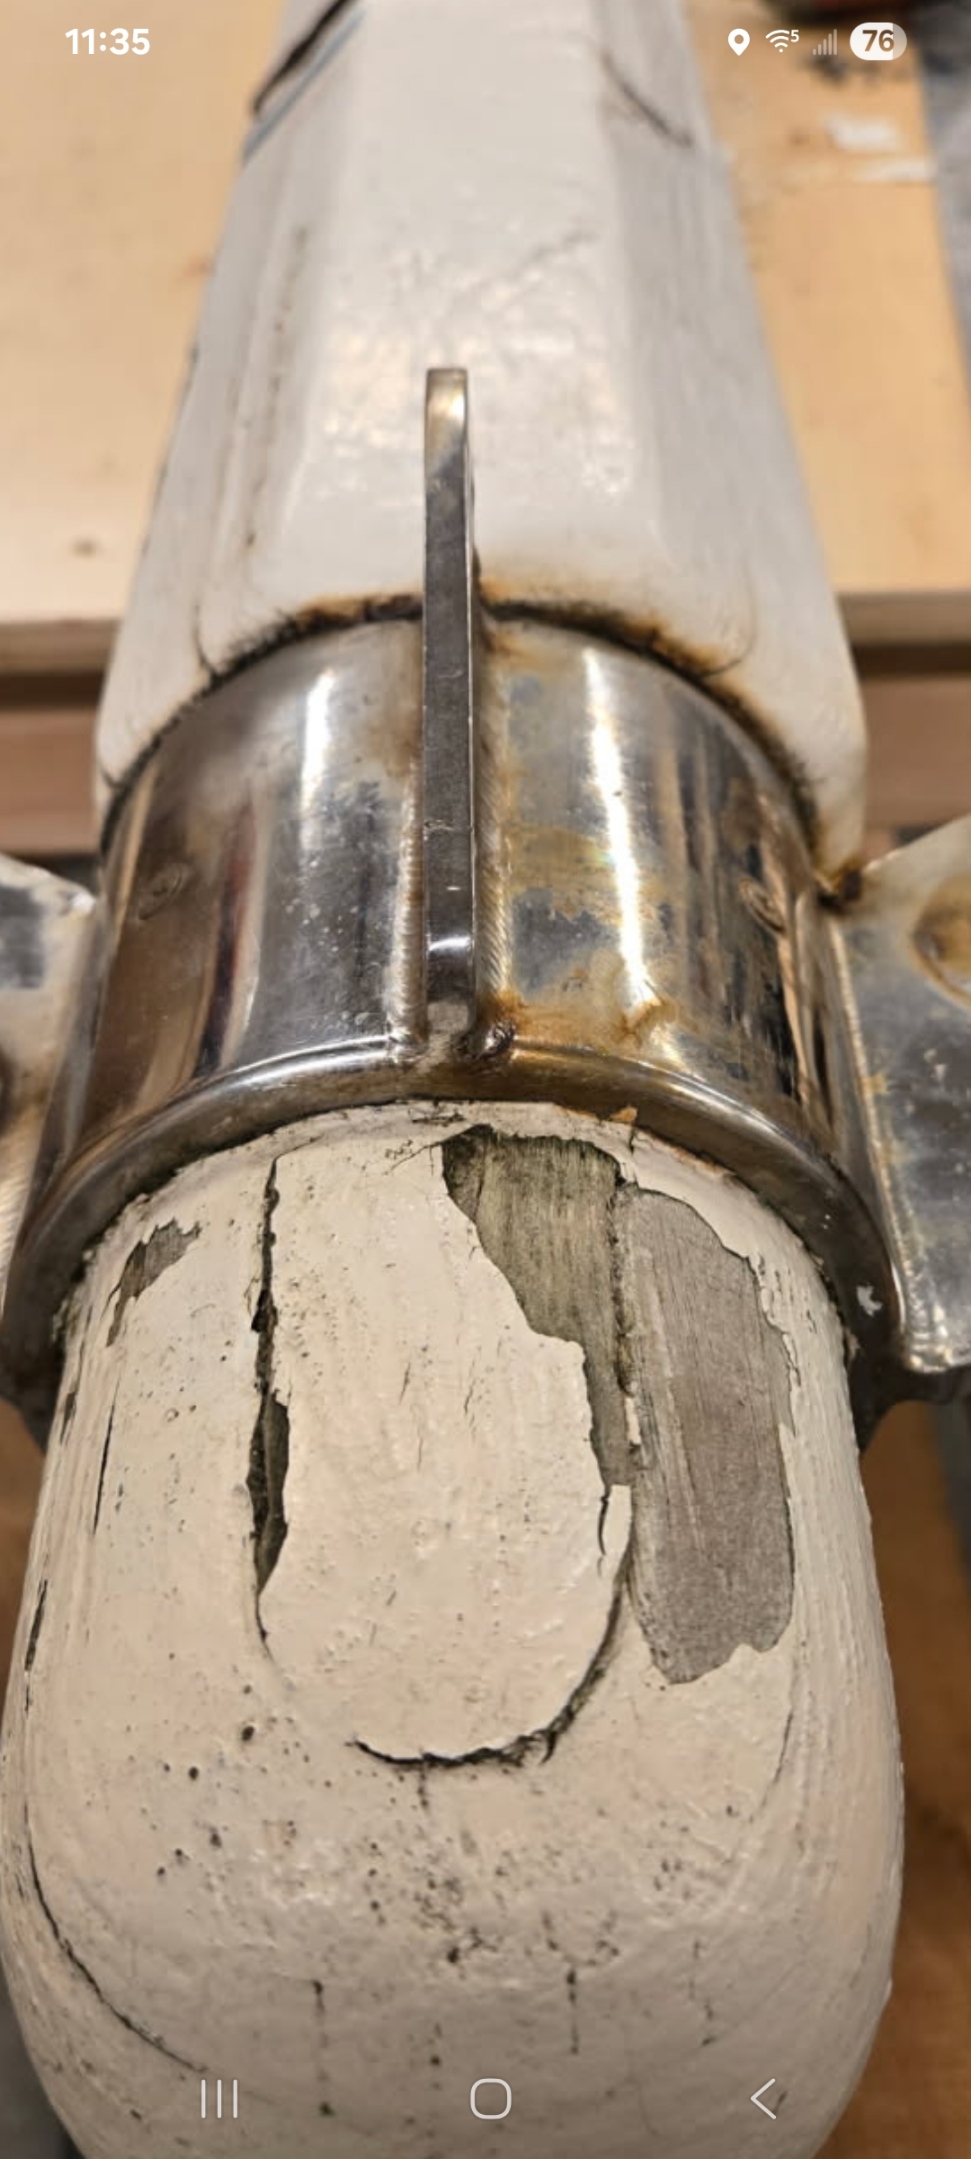
Their are two issues that will be addressed with the new bowsprit. We didn’t care for the abrupt end of the notch for the platform, if water gets into the joint this provides a great starting point for rot. I will see if I can either extend the groove to the bottom of the side or provide a tapered groove.
The other is the blob of epoxy in the above picture. Poor workmanship resulted in a screw and glue connection that was a whole lot less glue than it should have been. I’m guessing it was measured incorrectly and the support bottomed out on the side before the top middle made contact. Poor workmanship is pretty easy to avoid when you do your own work.
As far as construction, I quickly ruled out carving this thing out of a large piece of wood, already covered that. A laminated bowsprit makes a lot of sense, but this time it will all be the same type of wood. Laminating avoids checking and warping issues of a single piece of wood, and the wood is easier to find. As far as wood type, teak is ridiculously expensive, purple heart was recommended but I don’t want the 30% weight increase, so we chose Sapele. I decided to taper the board thickness to accomodate the taper down the width of the bowsprit, which starts at just short of 7.5 inches and is 5-5.25 inches at the back of the cranse iron. The cranse iron is a 4″ circle. Sanding off the paint confirmed this was the method used in original construction, although the random width of the boards is a bit puzzling. I am also hoping to cut the bowsprit height taper into the boards before I glue them up, thereby getting 90% of the bowsprit shape before the glue up and before I pick up my electric hand planer. The electric hand planer keeps me true to my machine-loving roots, apologies to any traditionalists painfully making their way through this.

Off we went to Edensaw in Port Townsend and sifted through a pallet of 4/4 x 9′ planks to get 10 that would work. I plan on dimensioning these to 3/4 and 10 of them exceeds the 7.4″ width I need at the widest point of the bowsprit The original was 13 layers..
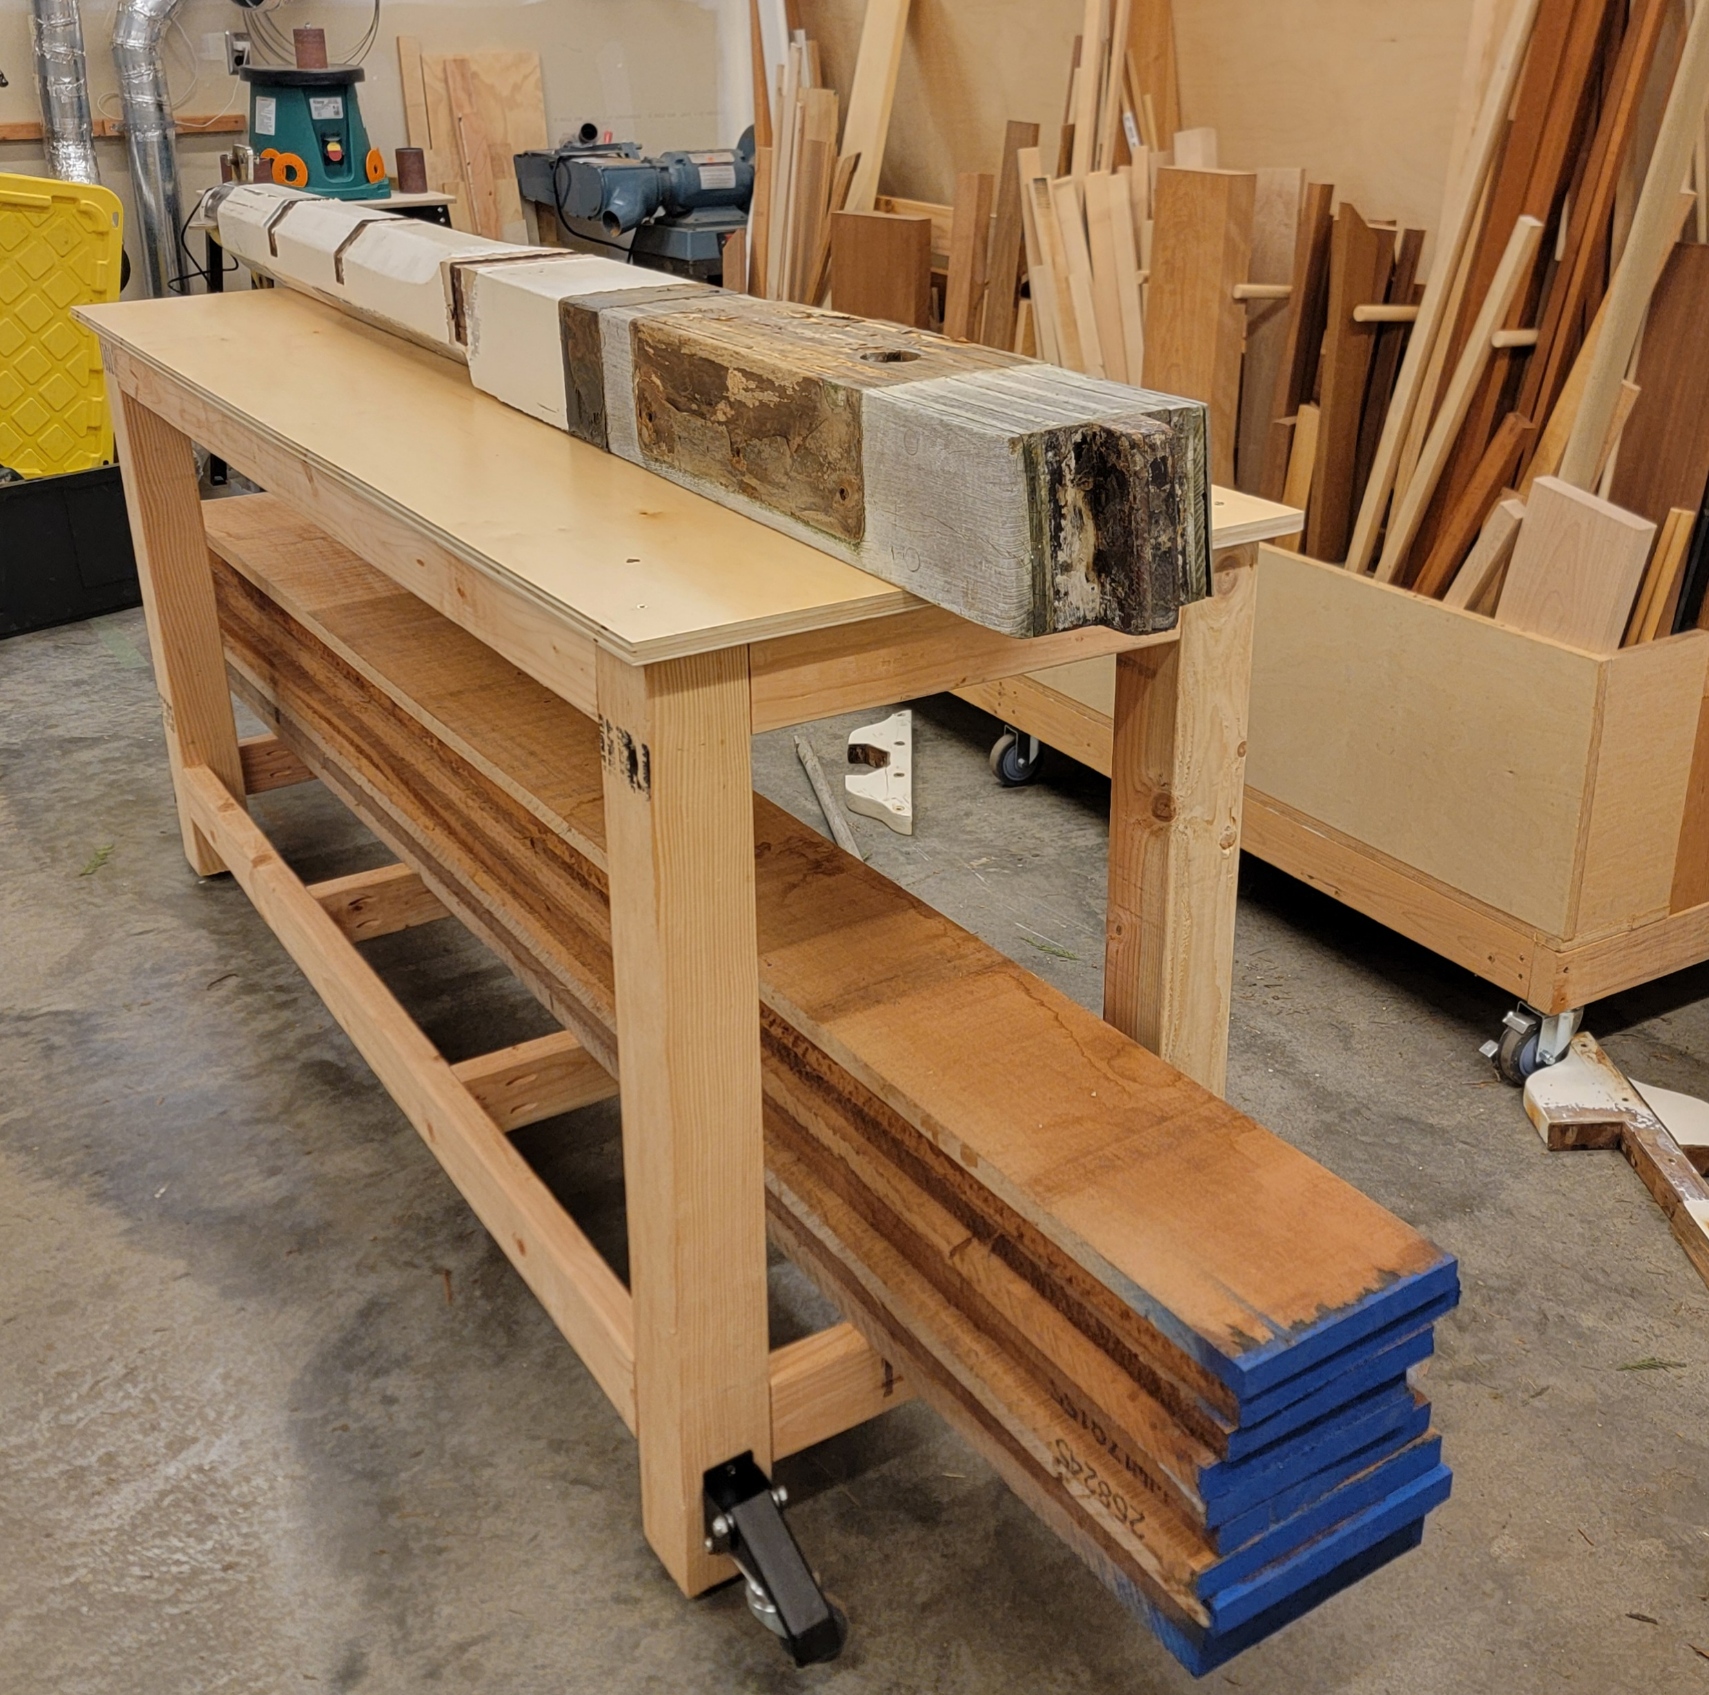
Decided to get the whole thing off the floor and to a more comfortable working height. Built a 6′ workbench for an 8’3″ bowsprit. It’s the same height as my woodworking bench and both are on wheels. Combining the two into a 13′ workbench will come in handy with an 8′ bowsprit, 9′ sapele boards, and a 10′ sled to taper the thickness of the boards with my planer.
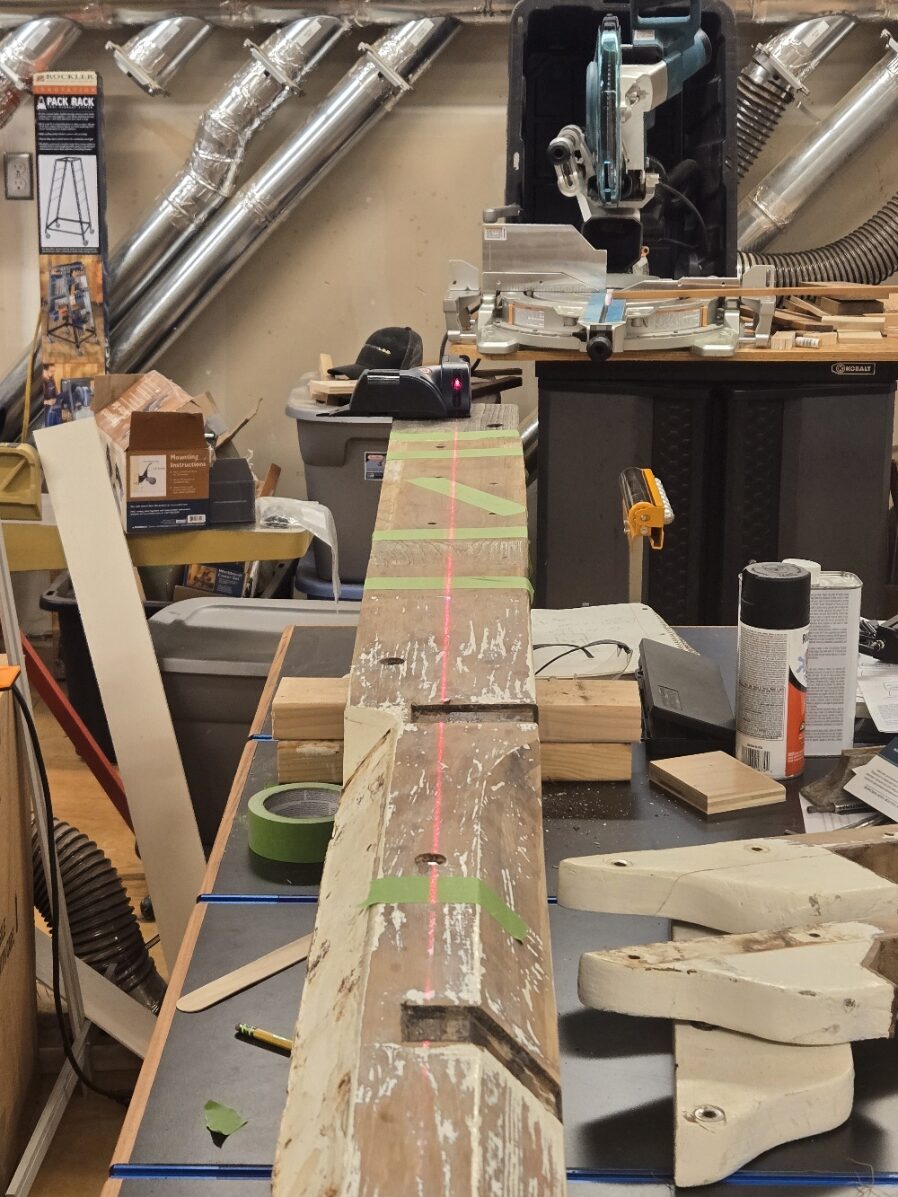
One last prepatory step before I cut wood – define the taper of the SIDES of the bowsprit. To establish a baseline I used a straight line from the middle of the inboard end to the middle of the whisker stay ear on the cranse iron. I then measured both sides. Surprisingly, the measurement to the bottom of the bow sprit was constant over the whole length, the measurement to the top decreased moving forward. So all the taper is cut into the top of the bowsprit. Good news for me because I can accurately cut one side of each board on my cabinet saw, I only have one tapered side to cut with the track saw!
Next is sled construction and actually cutting wood.